
Realistic Lightning Effect
May 7, 2006 | 0 comments
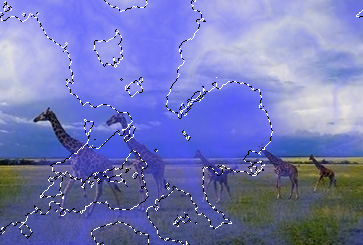
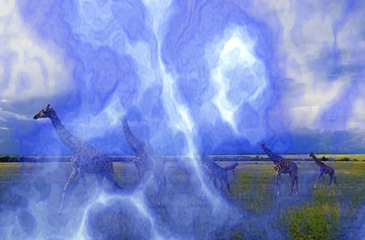
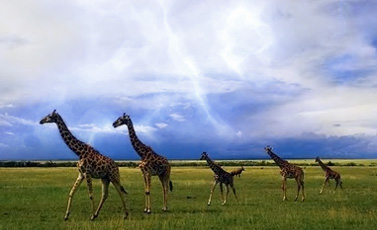
| Start by opening an image that’s showing some sky area. |
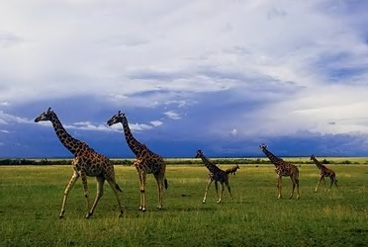 |
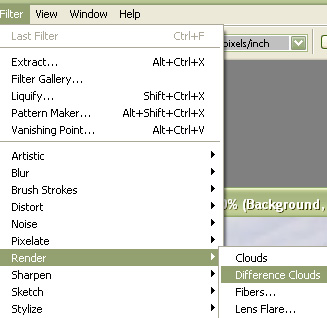
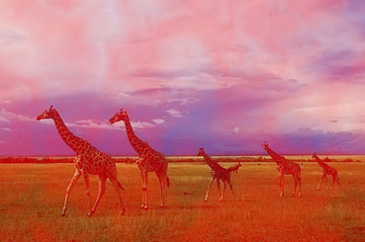
| Create a new layer and press Q to enable quick mask. From filter menu select render>>difference clouds. |
 |
 |
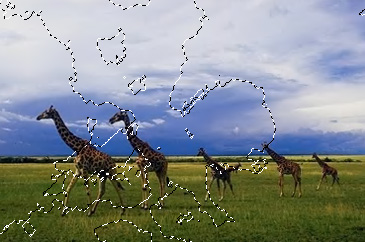
| Press Ctrl+F five times to get this result. |
 |
| Press Q to disable quick masking. |
 |
| Fill the selection with blue color. |
 |
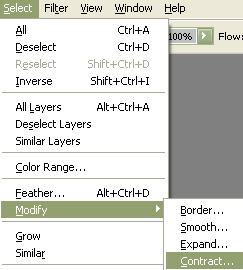
| From select menu click modify>>contract. |
 |
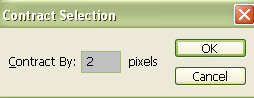
| Contract the selection by 2 pixel. |
 |
| Fill it with white color. |
 |
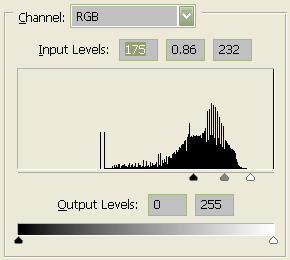
| Press Ctrl+L to open level settings window. Apply settings as shown. |
 |
 |
| Press Ctrl+T and scale down vertically. |
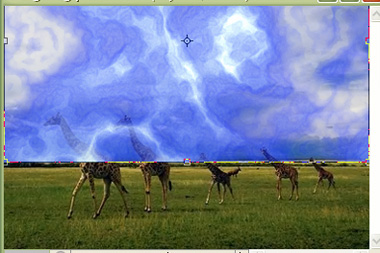 |
| Select eraser tool and remove the unwanted areas. |
 |
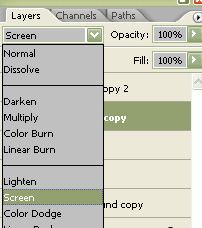
| Change the layer mode to screen. |
 |
 |
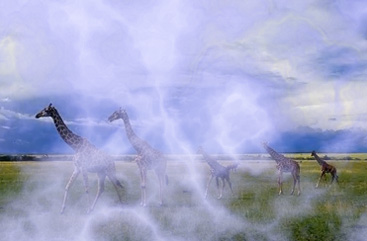
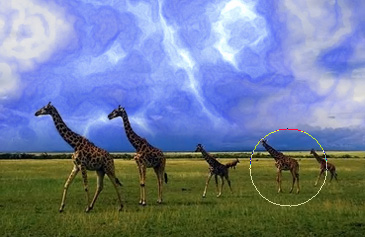
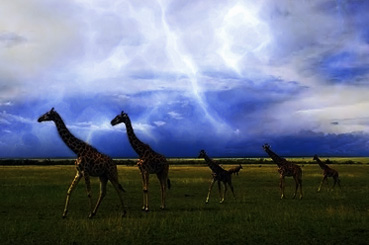
| Select the image layer and press Ctrl+M to open curve window. Apply curve settings as shown. |
 |
 |
Comments