
Create a drop-down menu
Create a drop-down menu
The drop-down menu we’ll create in this tutorial involves three steps. First, we’ll create the content of the drop-down menu, then we’ll add actions to show and hide the menu, and finally we’ll specify that the drop-down menu is hidden when the page loads.
Add the drop-down menu content
Now you’ll add the secondary level of navigation that will become the drop-down menu. You’ll add one more layer beneath the navigational button, and you’ll place three images in it that could be linked to other parts of your website, or to another website. Later, you’ll add an action to the navigational button to show and hide this secondary level of navigation.
-
Click in the blank space to the right of the last layer marker. Double-click the Layer icon in the Basic set of the Objects palette to add a layer in the document window.
-
In the Layers Inspector, enter a name (for example, Navigation) in the Name field. Enter pixel positions in the Left and Top fields so that the layer is positioned just beneath the image that contains text. Enter Width and Height values that allow for the three images we’ll place in the layer, and then press Enter or Return. Adjust the position and size of the layer if necessary.
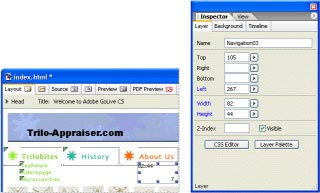
Adding a second layer beneath the image used as the text portion of the navigational button

-
Now, we’ll add three images to this layer. Drag the Image icon from the Basic set of the Objects palette to the layer you just added. With the Image placeholder selected, drag from the top Pick Whip button in the Image Inspector to the first of the three images you want to appear in the drop-down menu. Repeat this step to add two more images to the layer.
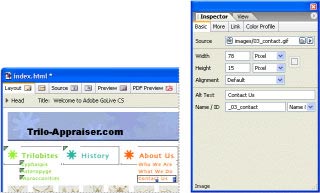
Adding images for the drop-down menu to the layer.
Comments