
Airplane turbine effect
1. Create New Document with size 400x400px.
2. Go to Gradient Tool, set colors black and white and tool’s mode to Difference. Apply Gradient from top left corner to right bottom corner.

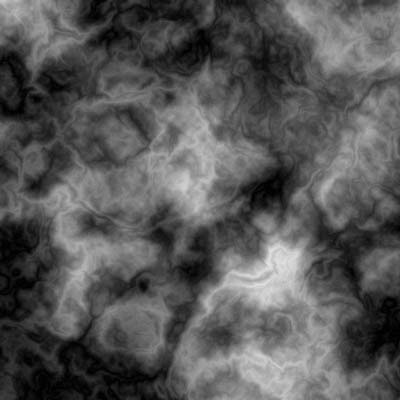
3. Apply Filter>Render>Difference Clouds and repeated 20-30 times.
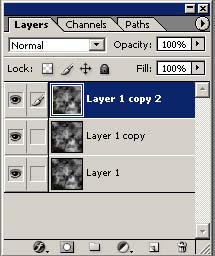
4. Duplicate the layer, do it again, need 2 copies of first layer:

5. Click on first duplicated layer and go to Filter>Distort>Wave:
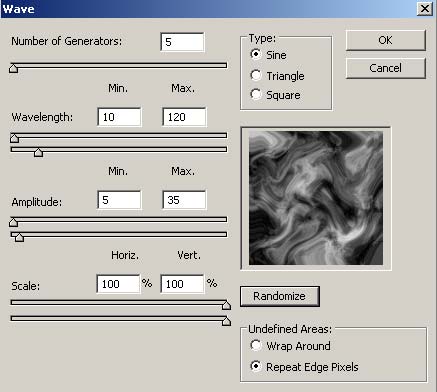
Press Randomise button for this Filter.
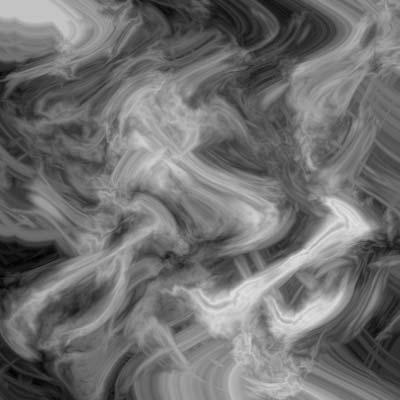
6. Repeat step 5 on second duplicated layer. Set mode for this layer to Lighten:
7. Layer>Merge Visible.
8. Press Ctrl + U to open the Hue/Saturation menu:

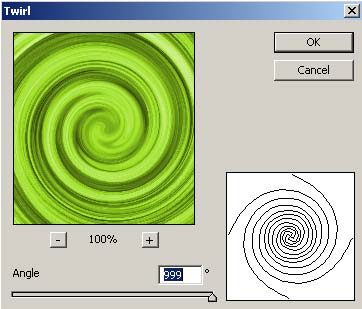
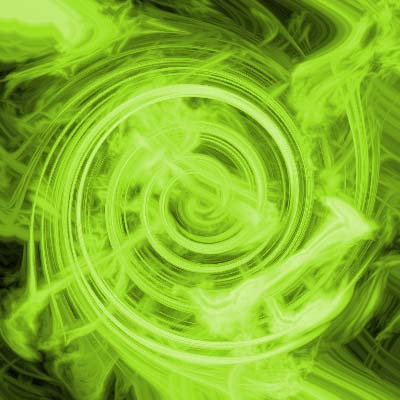
9. Duplicate the layer and go to Filter>Distort>Twirl and set it to 999%, apply to layer mode Lighten, now you can press Ctrl + Shift + E to Merge Visible:
Results:
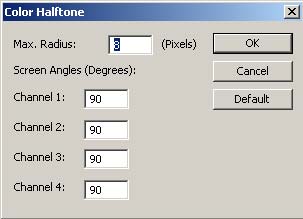
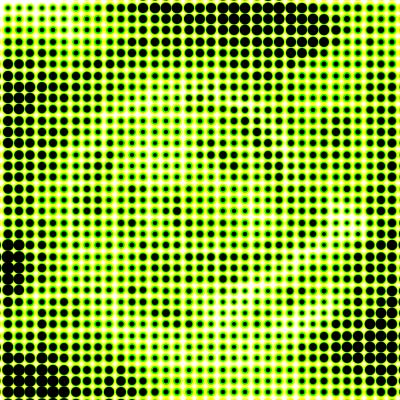
10. Duplicate the layer and go to Filter>Pixelate>Color Halftone:
Results:
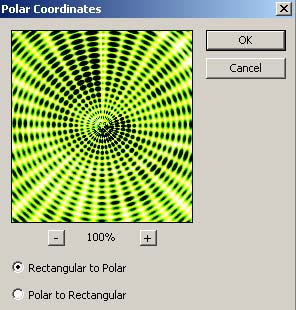
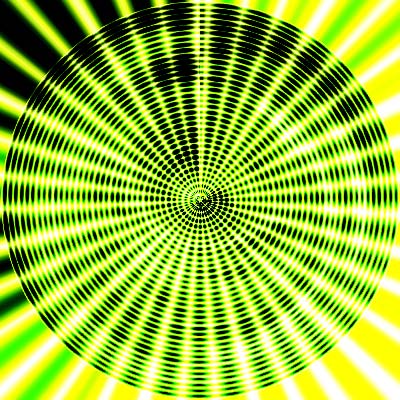
11. Apply Filter>Distort>Polor Coordinates:
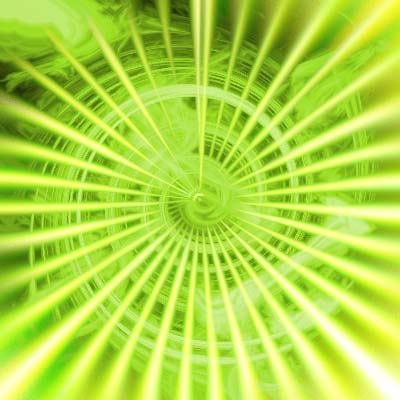
12. Go to Filter>Blur>Radial Blur:
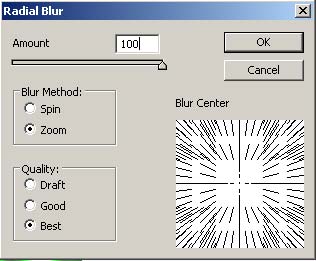
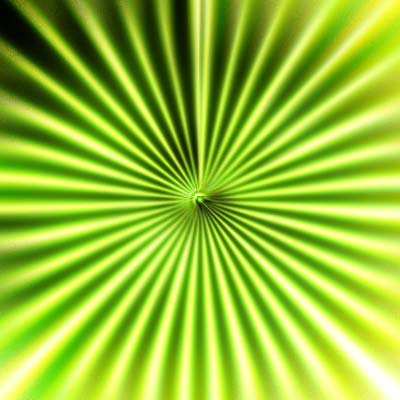
and set the layer mode to Lighten.
My Final Results:
Good luck, and be sure to check out our other Photoshop Tutorials!
Comments