Animation Killer Tips for Flash MX 2004 – Still More Tips
Still More Tips
Animation to Symbol
Nesting is placing animations inside symbols and symbols in symbols and so on…. It’s always a good idea to make use of nesting as often as possible. I for one have often gone off the handle and been so carried away by my wonderful work that I forgot to create a symbol to contain it. I’m sure I’m not alone, right? But it’s one thing to convert a selected object that’s not moving into a symbol. It’s something different to convert an entire timeline. Or is it?
To convert any timeline to a symbol, press CTRL-ALT-A (SHIFT-CMD-A on Mac) while viewing that timeline. You’ll notice that this selects the entire timeline and everything on it. Now press CTRL-ALT-X or OPT-CMD-X on Mac (Cut Frames), then CTRL-F8 to create a new symbol. Name the symbol and press OK. This takes you to your new symbol’s timeline. Once here, select the empty keyframe on Frame 1 and then press CTRL-ALT-V or CMD-F8 on Mac to paste your cut frames into the new timeline. You’ll have to clean up your original timeline a bit because it will have empty frames from the cut, but other than that, you’re done.

Figure 9A. Timeline with all frames selected
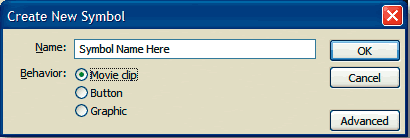
Figure 9B. Creating a new movie clip symbol
Even Shapes Need a Hint
In this book, you’ve heard the term “hint” several times. Normally it has referred to ActionScript. Until now. There is another type of hint in Flash known as a shape hint. Here’s an example showing how it works.
Make sure Snap to Objects is enabled, and then create a square on Frame 1 of your Timeline. Now add an empty keyframe on Frame 24 and place a circle of similar size to the Stage. Add a Shape Tween to the frame span so it will morph from a square to the circle. Watch the animation and see how Flash morphs from one to the next. Now go to the first keyframe of the tween and press CTRL-SHIFT-H (SHIFT-CMD-H on Mac). You’ll see a small red circle with an “a” in it appear. This is called a shape hint. Press CTRL-SHIFT-H again. Drag the “b” circle up to the bottom-left corner of the square until it snaps in place. Drag the “a” to the bottom-right corner. Go to Frame 24 and drag the “b” to the top-right edge of the circle and the “a” to the top left. They should snap in place and turn green to indicate that they’re set.
When you replay the animation, you’ll see that the same animation morphs in a whole new way. Flash matches the point of each shape hint on each keyframe to that of the next. This enables you to actually control the way your shapes animate. Add as many hints as you like and right-click any of them to remove one or all of them. Doesn’t get much more powerful than that.
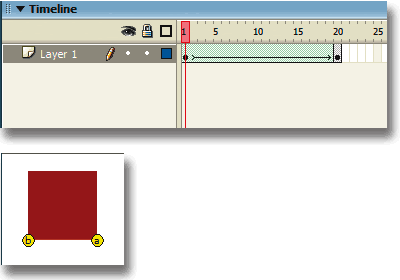
Figure 10A. Original 20-frame tween and square showing shape hints
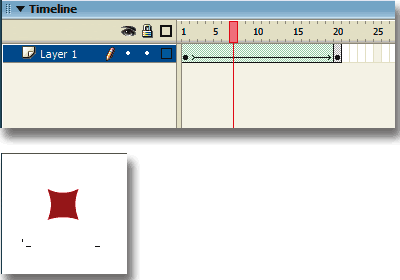
Figure 10B. Animation on Frame 7 after adjusting shape hints
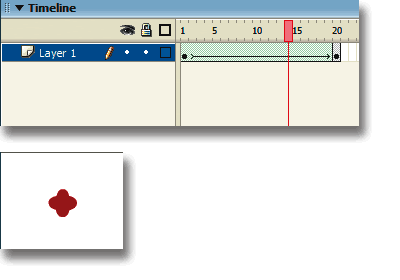
Figure 10C. Animation on Frame 14 after adjusting shape hints
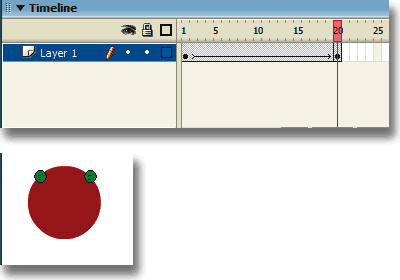
Figure 10D. Animation on Frame 20 after adjusting shape hints
Flip It, Flip It Good
Let’s just cut right to the chase on this one. Draw a circle on Frame 1 of your Timeline and convert it to a symbol by selecting it and pressing (F8). Add another keyframe on Frame 20 and add a Motion Tween to the span of frames. On the final keyframe, select the circle instance, go to Modify > Transform, and choose Flip Horizontal. Now watch your animation and you’ll see that a nice little coin flip effect is in place.
Of course, you don’t have to use this tool for animations only. It can be very helpful when you just need to flip a symbol to face in another direction. And don’t forget the Flip Vertical command that appears right next to it.
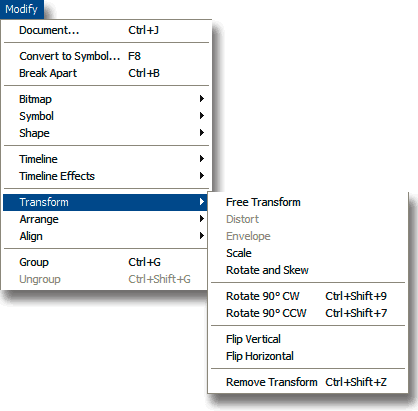
Figure 11A. Selecting Transform and Flip Horizontal from the Modify menu

Figure 11B. Circle on Frame 1
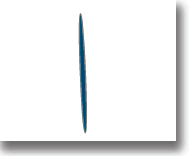
Figure 11C. Circle on Frame 10

Figure 11D. Circle on Frame 20


Comments