
The Bird Phoenix
October 26, 2006 | 0 comments
Create a new file with 972×944 px and 72 dpi. Paint it in black.

Use the next instrument  and the white color to represent a bird’s silhouette, like in the picture.

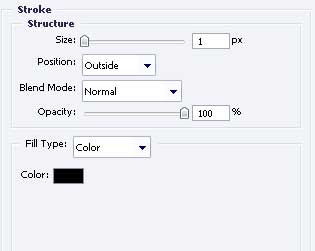
Use the same instrument to represent the bird’s eye with the color FDF785 and the indicated parameters below:


Blending Options-Stroke
Represent in the next picture the bird’s tongue. Apply the color FF0000.

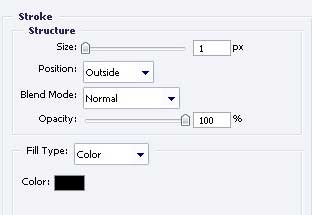
The previous instrument will be helpful in representing the bird’s wing of the white color, like in the picture with the indicated parameters.

Blending Options-Stroke
Page: 1 2
Comments