
Christmas Balls Design
November 11, 2006 | 0 comments
Create a new file that would have 800x600px and 72 dpi.

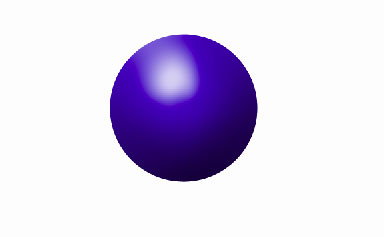
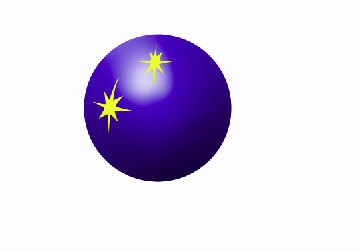
Represent now a circle, using this tool  . Its color must be 121ECA and the parameters form below.
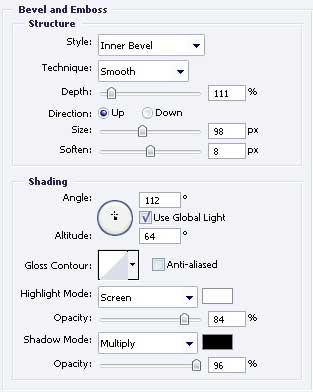
Blending Options-Bevel and Emboss

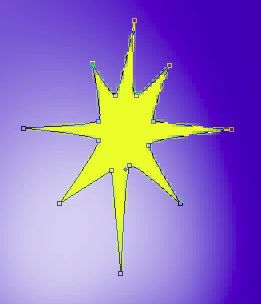
With next instrument’s help  , picture a small star with the color FFF600
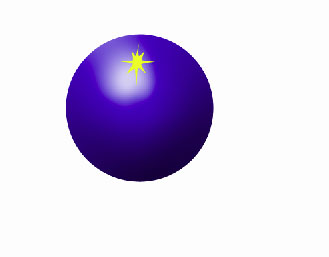
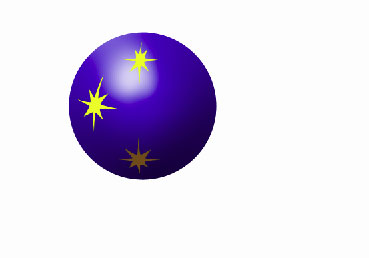
Apply the previous instrument to picture one more small star with the same color – FFF600
Take the same instrument to represent another small star with the color 845A1E, like it is demonstrated below.
Make use of the same instrument to picture another star. This time it must have next color – 7F7F37
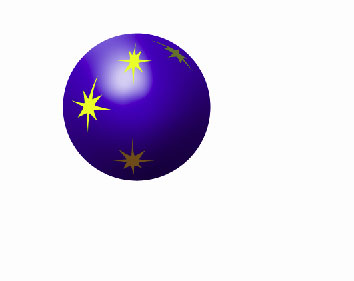
Take the previous instrument and picture another small star with the indicated color – A4914F.

Comments