
Abstract Christmas Wallpaper
In this tutorial we will learn how to design abstract Christmas wallpaper using Photoshop techniques and trick.
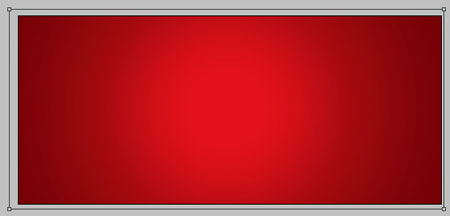
Final Image Preview

Open a new file with 1040×460 px and 72 dpi. Its parameters must be those from below.
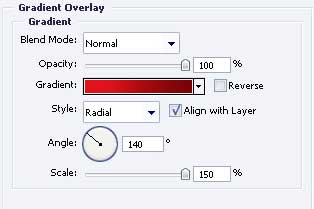
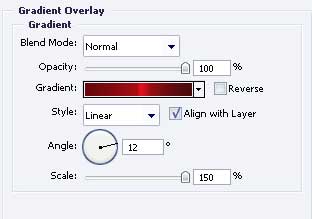
Blending Options-Gradient Overlay
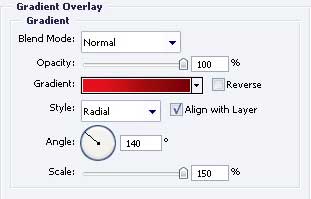
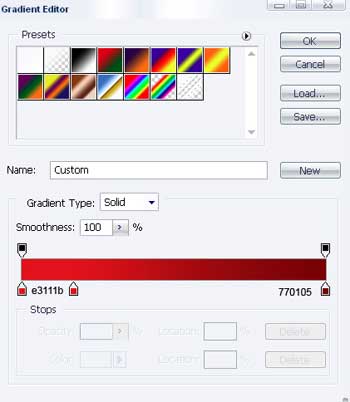
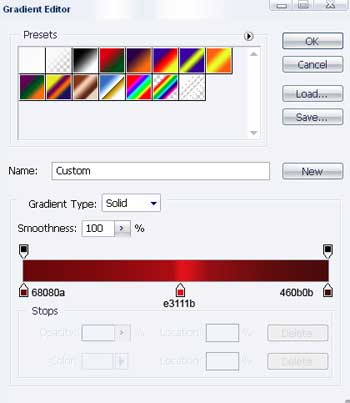
Gradient’s parameters.


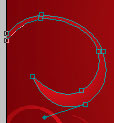
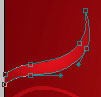
Take next instrument  and draw a kind of picture like the next one, with the same parameters.


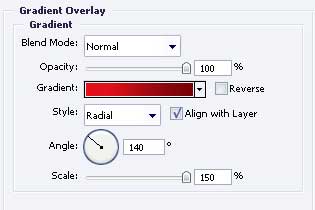
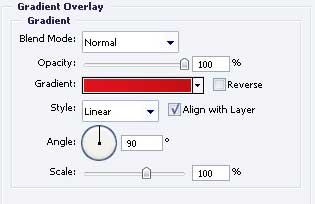
Blending Options-Gradient Overlay
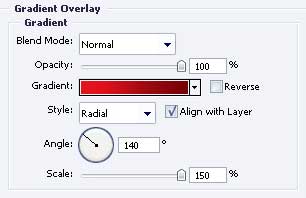
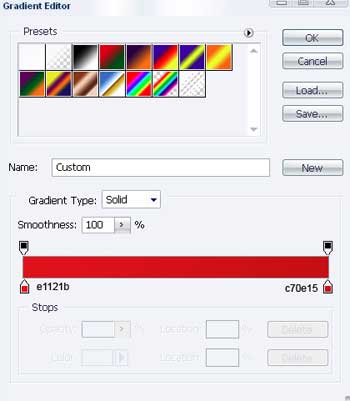
Gradient’s parameters.

Having the same instrument, continue representing the picture.

Blending Options-Gradient Overlay
 Gradient’s parameters.

Apply the previous instrument to draw the next element with the sizes from next image.

Blending Options-Gradient Overlay
Gradient’s parameters.
Take the same instrument and the same Gradient Overlay parameter to picture the next figures, indicated next step.

One more figure, represent by the same instrument, but this time, it must have the white color.

Continue with the same tool and picture the figure with the next sizes.

Blending Options-Gradient Overlay
Gradient’s parameters.
 Take the next tool again and insert next elements that must look exactly like in the next picture.

Blending Options-Gradient Overlay
Gradient’s parameters.
You must represent another figure now, but of the white color.

Get the next tool to picture one more figure colored in BE151C.

Take now the brush (choose it with the right button)
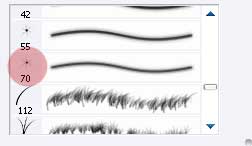
And picking the white color, create several small stars of different sizes that must be placed like in the next image.

Get the next instrument again to picture a figure colored in EE1C25 with the parameters demonstrated below.

Blending Options-Stroke
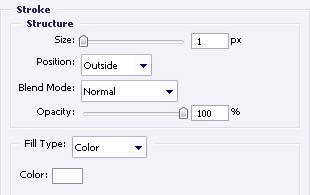
The same instrument can be helpful in representing the next image with the same color and parameters shown next step.
 Blending Options-Stroke
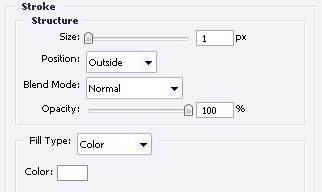
Choose another instrument now  to insert three stripes of white color with the shown parameters next image (the same for each stripe).

Blending Options-Stroke
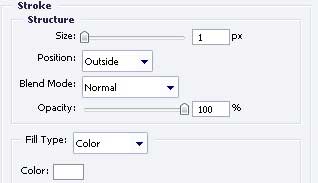
Using the same method, the same color and the same parameter Blending Options – Stroke, create one more box.

The last feature includes representing a band with a bow of white color on the box, applying the known instrument.

Introduce the same elements on the other box, but this time you must pick the next color – C4151C.

As a result we’ll have the next illustration!
The final result!
Comments