
Valentine’s Day Romantic Background
Final Image Preview

Create a new file that must have 450×470 px and 300 dpi. Paint it then in this shown color’s code – EE1C25.

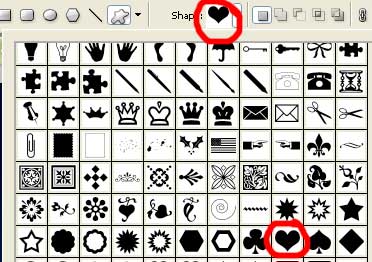
The next instrument  will be useful when choosing the right cliché from the table below. You may select that one encircled with red color.
Fill 0% on the layers
Select after the Free Transform option to turn the figure under the necessary angle. Applying the usual tool for the next operation  , try to make the necessary corrections on the heart’s shapes and make it look like in the following picture.


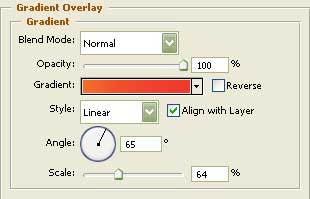
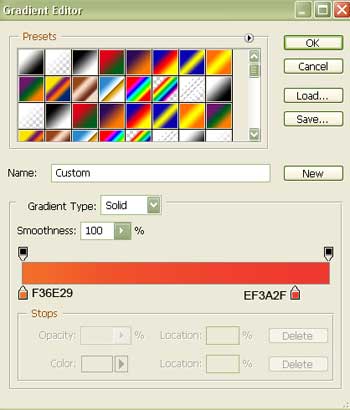
Blending Options-Gradient Overlay
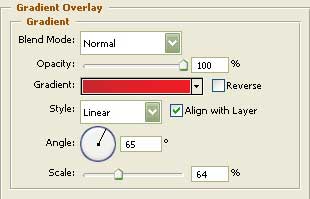
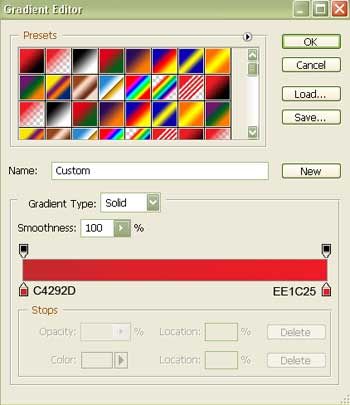
Gradient’s parameters:
 Blending Options-Stroke

We should copy now the new made layer and apply again the Free Transform option to make it a little smaller. Change the parameters with those indicated below.

Fill 0% on the layers.
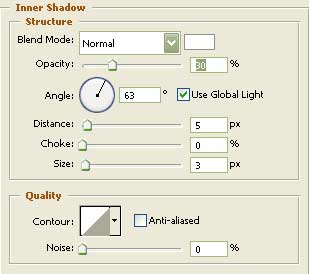
Blending Options-Inner Shadow
Blending Options-Gradient Overlay
Gradient’s parameters:
 The next instrument
  will be helpful in representing a small brightness on the upper part of the heart figure.

Fill 0% on the layers.
Click with the mouse on the indicated option below

and everything will be applied in the heart’s contours’ limits.

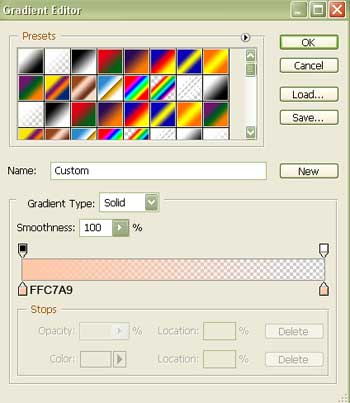
Blending Options-Gradient Overlay

Gradient’s parameters:
Now we should combine all the layers containing the heart in a group. Then copy the new made group about 29 times and if that is necessary we may apply one more time the Free Transform selection to make the copies smaller or bigger. Everything should be placed finally the way it is demonstrated in the following picture.
The final result is this one!
Comments