
Futuristic Car Navigation System
January 31, 2007 | 0 comments
Learn how to make many different interface components and add them to your interface. By the end of this tutorial, you will have a complete, professional looking navigation interface.
Create a new file with 600×400 px and 72 dpi. Then take the next shown instrument  and represent the file’s background.

Blending Options-Gradient Overlay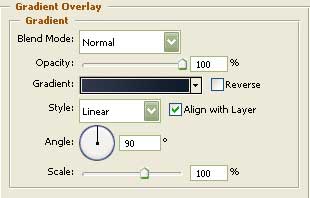
Gradient’s parameters: 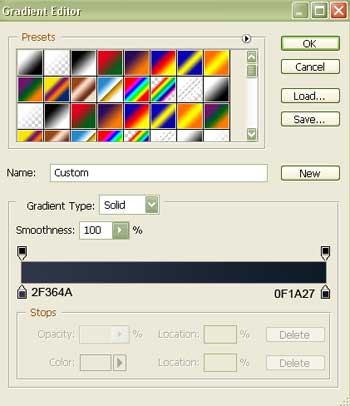
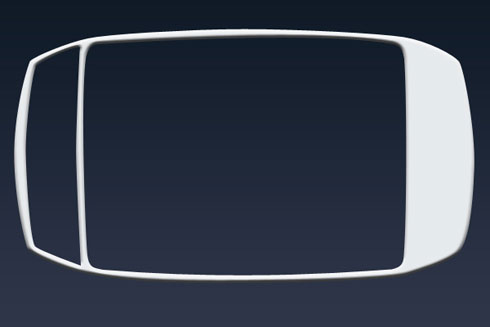
When creating the navigator corps, make use of the following tool  . Correcting its shape is possible by applying the next instrument
  .
.
The inside openings reserved for the buttons can be made with the next instrument and holding the Alt button (the color should be E7EAEC).

Blending Options-Bevel and Emboss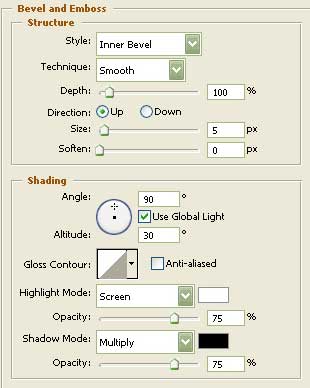
Comments