
Microsoft Windows Media Player 10 Wallpaper
February 3, 2007 | 0 comments
Microsoft Windows Media Player 10 Wallpaper
Learn how to design the Windows Media Player Wallpaper from scratch.
Open a new file with 1024×768 px and 72 dpi.
Select then the next instrument  and create the background for the logotype to be next.

Blending Options-Gradient Overlay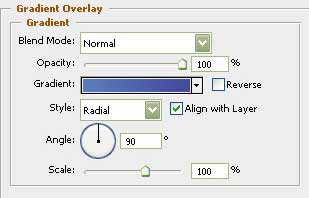
Gradient’s parameters: 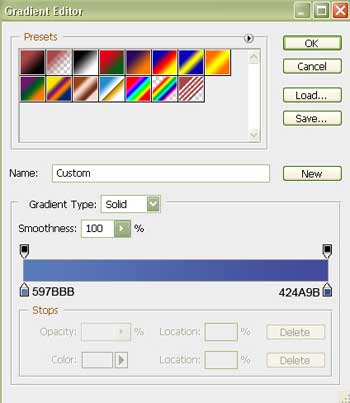

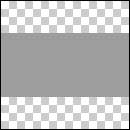
Create now a new layer having 4×4 px and 72 dpi and use the next shown instrument on it  to represent the basis for the textured cliché, colored in 9D9D9D.
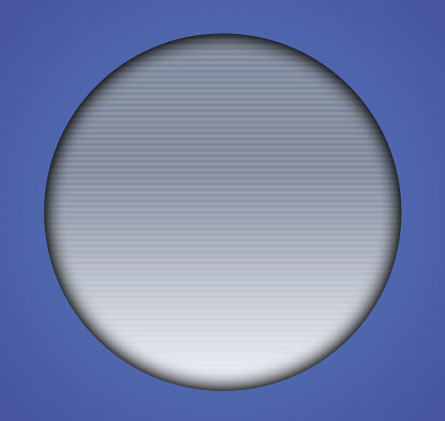
Use then the indicated here instrument  and represent the lowest layer for the logotype to be.
Comments