
Valentine’s Day Wallpaper
This tutorial shows how to create a Valentine’s day wallpaper for your loved ones.
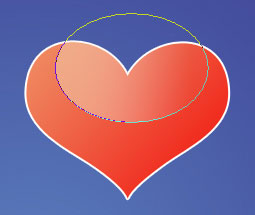
Final Image Preview

Open a new file having 1024×768 px and 72 dpi. Applying the next instrument  , represent the background for the picture to be next.

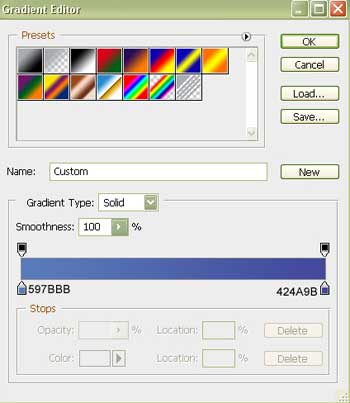
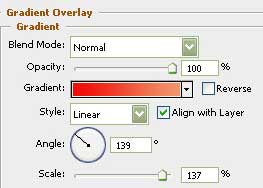
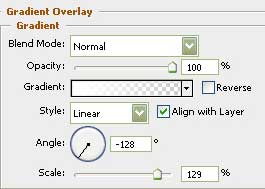
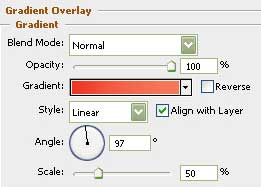
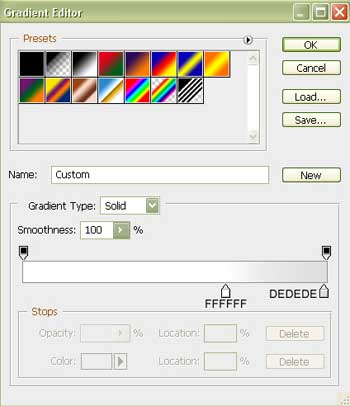
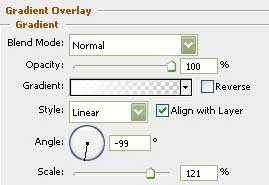
Blending Options-Gradient Overlay
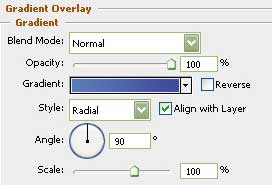

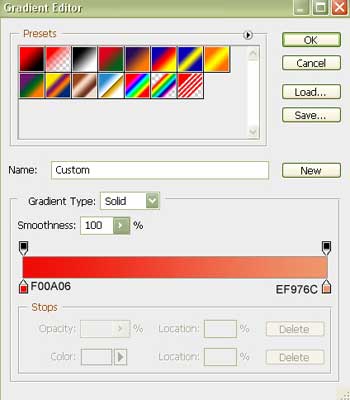
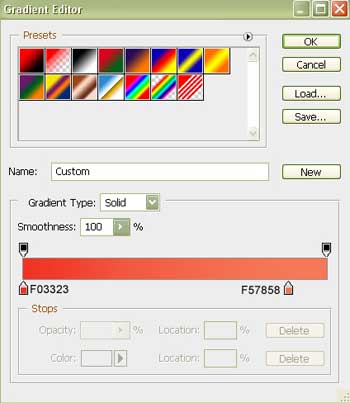
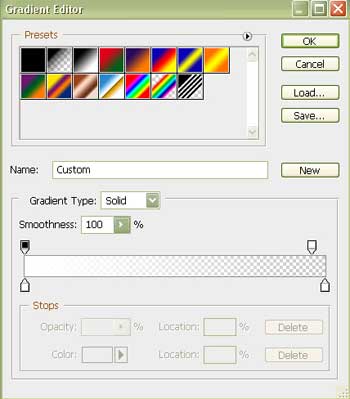
Gradient’s parameters:
Insert the text on our picture, but be attentive with the demands shown in the tables from here:
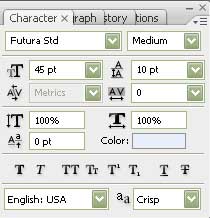
(Be loved!)
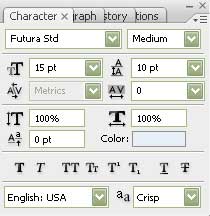
(Wish you a Saint Valentine’s Day full of fun and love adobetutorialz.com)
Blending Options-Drop Shadow

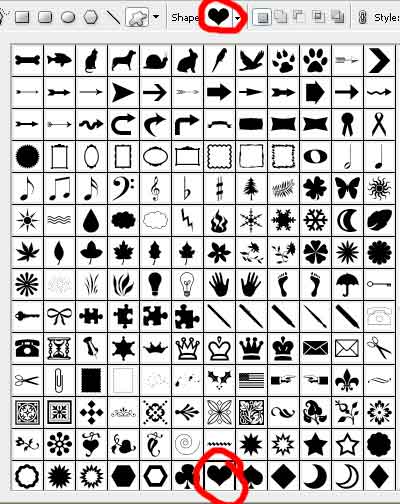
Select the following instrument  and choose the appropriate cliché shown in the next picture. It is encircled with red color, as usually:

Blending Options-Gradient Overlay
 Gradient’s parameters:
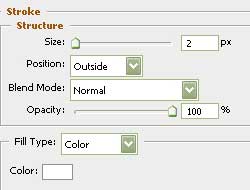
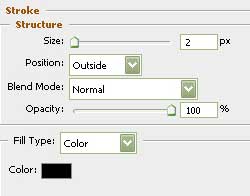
Blending Options-Stroke
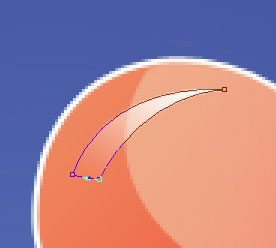
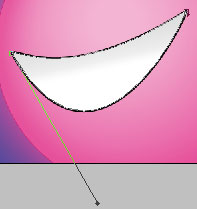
Take the following tool  to draw a flare of white color, applying these conditions: on the layers we should have 9% Fill and Opacity of 63%.
Then mark out the layer with the heart on it and click with the mouse on the following option:

The effects will be applied in the limits of the heart’s contours.
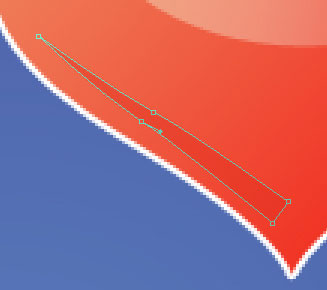
 Take the next tool
  to draw a flare on the left half of the heart – figure.

Fill 0% on the layers.
Blending Options-Gradient Overlay
Gradient’s parameters:

Choosing the previous instrument, represent another flare on the right half of the heart this time.
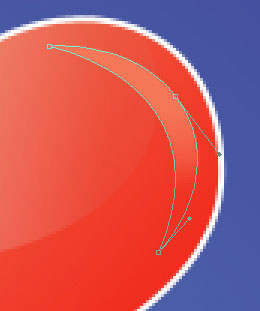

Fill 38% on the layers.
Blending Options-Gradient Overlay
Gradient’s parameters:
We should apply again this instrument to draw the shadow on the left half of the heart, colored with E93C28.
 For our convenience, we should merge down all the layers in a group, containing the small heart.
Make two copies of this group and make use of the Free Transform selection to minimize the copies and turn them on the necessary angle.

Take this tool to draw now a pink ball.
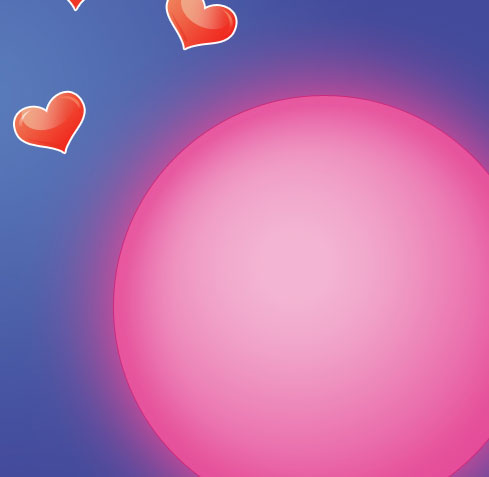
Blending Options-Outer Glow

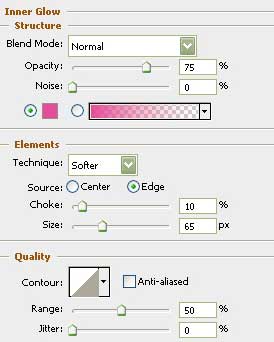
Blending Options-Inner Glow
Blending Options-Gradient Overlay
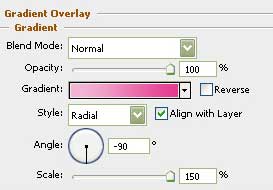 Gradient’s parameters:

Blending Options-Stroke

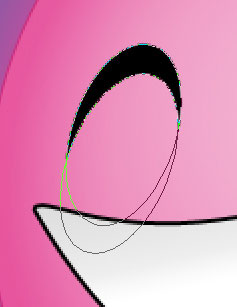
Selecting the next tool , it’s possible to create the lowest layer reserved for the teeth on the ball.

Blending Options-Gradient Overlay
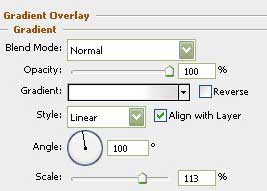 Gradient’s parameters:
Blending Options-Stroke
Choose the next instrument and draw the so-called eyes of the ball in black color. First represent one circle, then click on Alt button and continue using the same instrument to erase all the unnecessary elements.

Make a copy of this new layer and make use of the Free Transform option to turn it around on 180 degrees.
 Take the next tool
  and represent several stripes of black color, between the teeth.

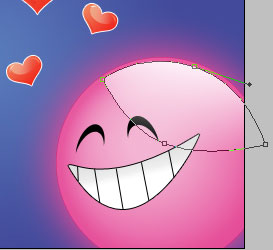
Take the next instrument and represent a flare on the upper part of the ball.
Fill 0% on the layers.
Blending Options-Gradient Overlay
Gradient’s parameters:

And the illustration is finished!
View full size here.
Comments