
Apple iPhone Mobile Phone Design
Design a sophisticated Mobile Phone using these easy to follow steps.
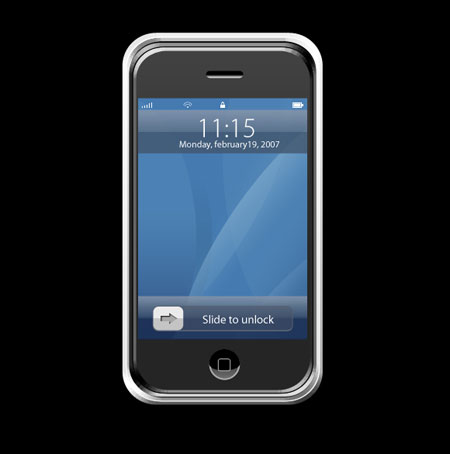
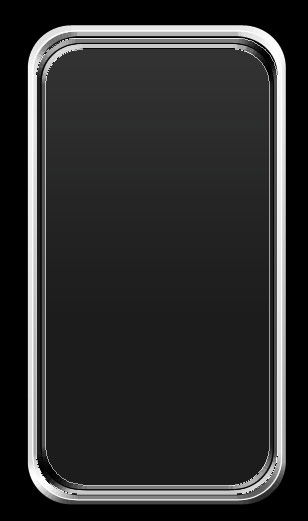
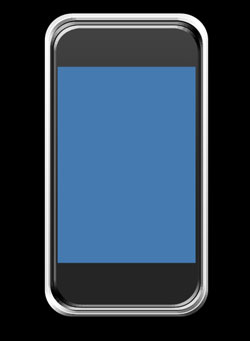
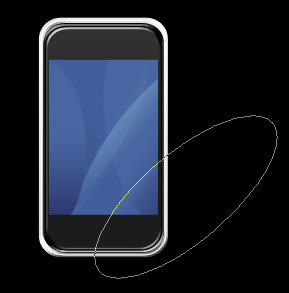
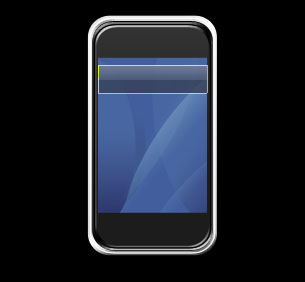
Final Image Preview
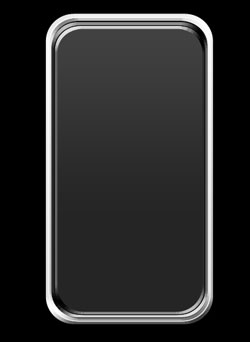
Open a new file having 1024×768 px and 72 dpi. Paint it after that in black color, the way you may see it below:


The next instrument  will be helpful in representing the lowest layer of the communicator we want to design.
Fill 0% on the layers.
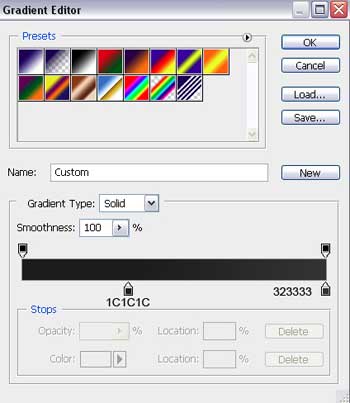
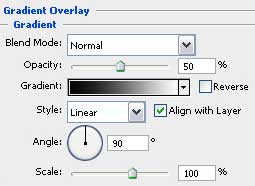
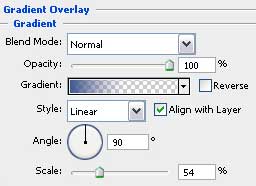
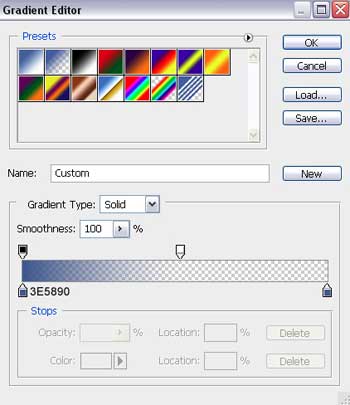
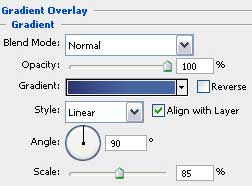
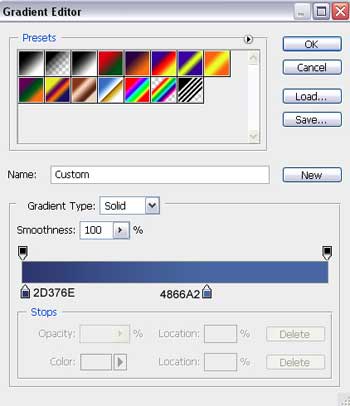
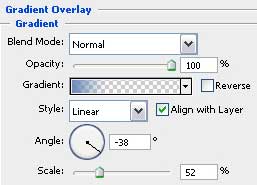
Blending Options-Gradient Overlay
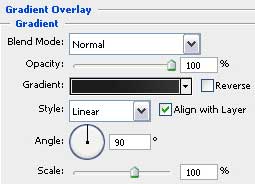
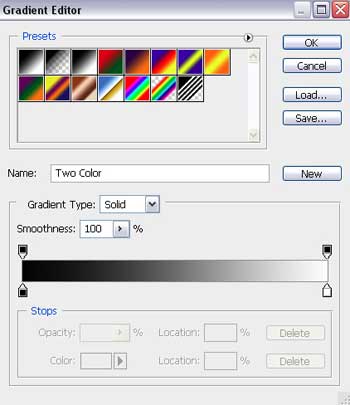
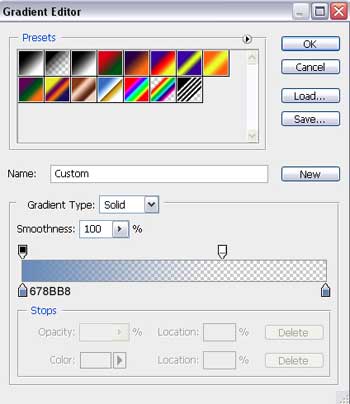
Gradient’s parameters:
Related Link: iPhone Wallpapers, Apps, Games, NewsThe same instrument will be helpful in drawing the lateral side of the communicator.
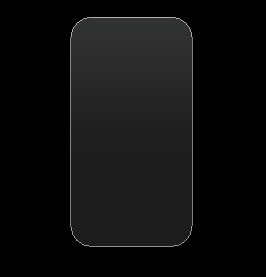
First create the outside layer, click on the Alt button and cut out the inside zone, applying the same instrument too.
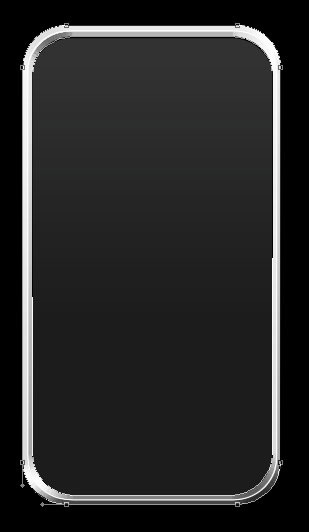
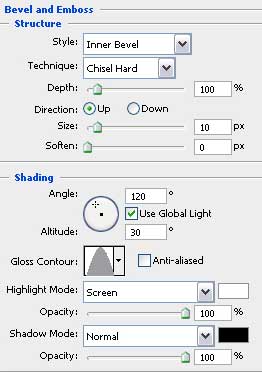
Blending Options-Bevel and Emboss
Blending Options-Gradient Overlay
Gradient’s parameters:
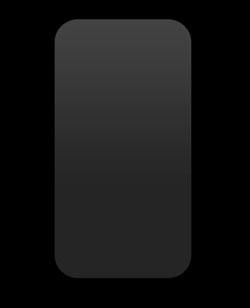
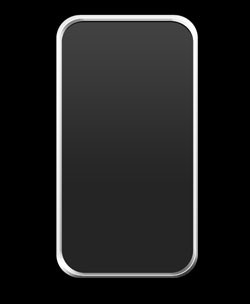
 Make a copy of the new made layer and make use of Free Transform option to make the copy smaller a little and to change the copy’s parameters:
Blending Options-Bevel and Emboss
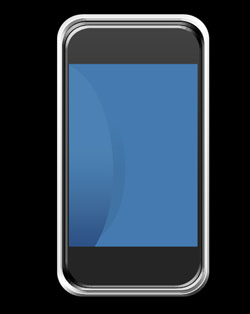
Choose the next instrument  to draw the communicator’s screen. Its color should be this one – 447AB0.
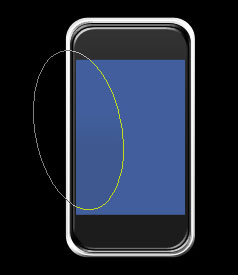
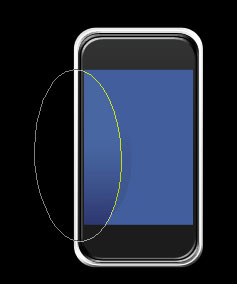
Take the next instrument  to draw an ellipse situated on the screen’s zone.
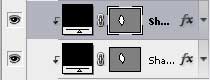
 Mark out the ellipse’s layer and press the Alt button to click in the same time between the layers.

Fill 0% on the layers.
Blending Options-Gradient Overlay
Gradient’s parameters:
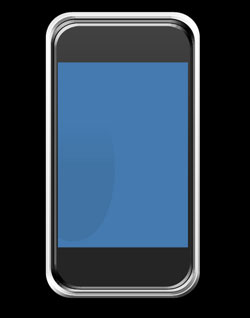
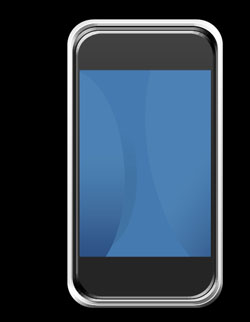
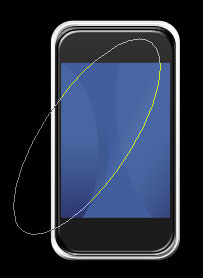
Applying the previous instrument, it’s possible to insert several more ellipses figures.
 Mark out the ellipse’s layer, press the Alt button and click between the layers too.
Fill 0% on the layers.
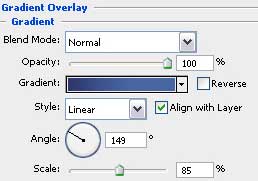
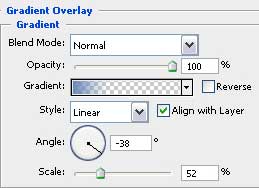
Blending Options-Gradient Overlay
Gradient’s parameters:
 Mark out the ellipse’s layer, press again on the Alt button and click between the layers.

Fill 0% on the layers.
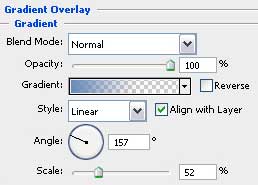
Blending Options-Gradient Overlay
Gradient’s parameters:

 Mark out the ellipse’s layer again, press on the same Alt button and do the operation we did earlier: click between the layers.

Fill 0% on the layers.
Blending Options-Gradient Overlay
Gradient’s parameters:
 Mark out the ellipse’s layer, hold on the Alt button and click between the layers.
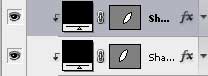

Fill 0% on the layers.
Blending Options-Gradient Overlay
Gradient’s parameters:

 Realize the previous operation exactly the same way we did it earlier.


Fill 0% on the layers.
Blending Options-Gradient Overlay
Gradient’s parameters:

Take the following tool after all the operations we did and represent finally the panel designed for the communicator’s menu.

Page: 1 2
Comments