
Virtual DJ Picture
April 27, 2007 | 0 comments
In this detailed tutorial we will learn how to design this nice DJ smile.
Create a new file with 1280×1024 px and 72 dpi and select the Rectangle Tool (U) to represent the primary layer for the picture to be next.

The layer’s parameters:
Blending Options>Gradient Overlay
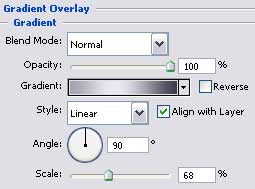
Gradient’s parameters: 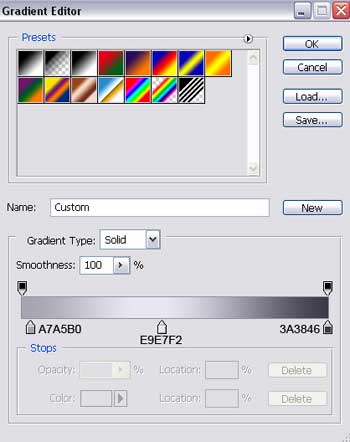

Next we have to choose the Ellipse Tool (U) and draw the lowest layer for the small ball we want to picture out next.
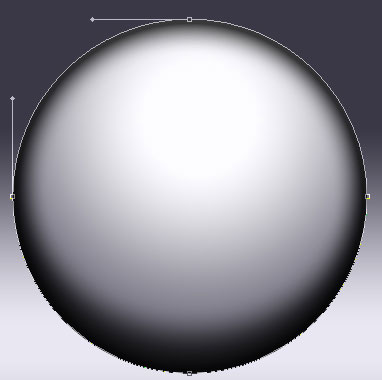
The layer’s parameters:
Fill 26% on they layers.
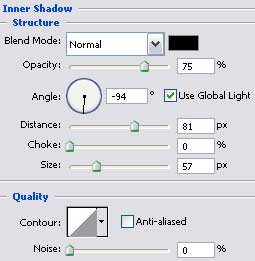
Blending Options>Inner Shadow
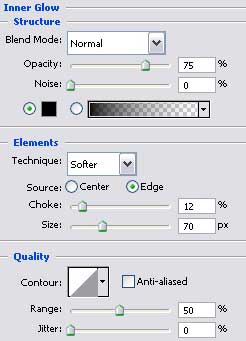
Blending Options>Inner Glow
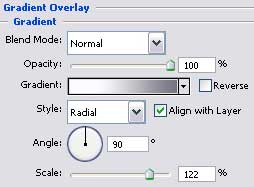
Blending Options>Gradient Overlay
Comments