
E-Shop – online store logo
This tutorial explains how you can quickly create a logo for an online store.
Open a new file (File>New) that would have 450×450 px and 72 dpi.
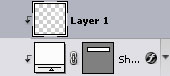
Select after that the Rounded Rectangle Tool (U) to represent the primary layer of the logotype to represent next.

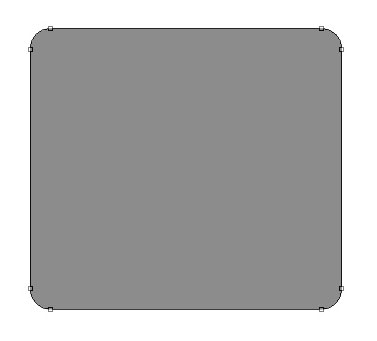
The layer’s parameters:
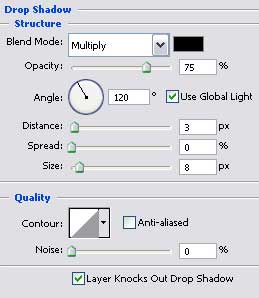
Blending Options>Drop Shadow

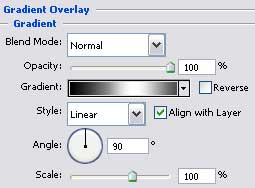
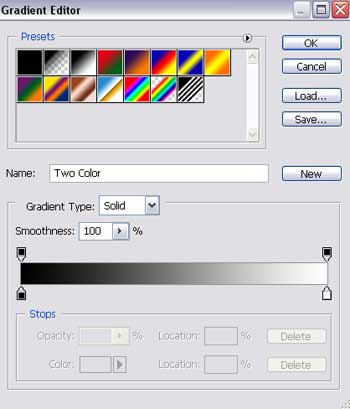
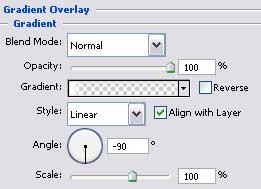
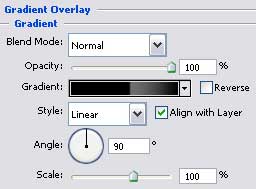
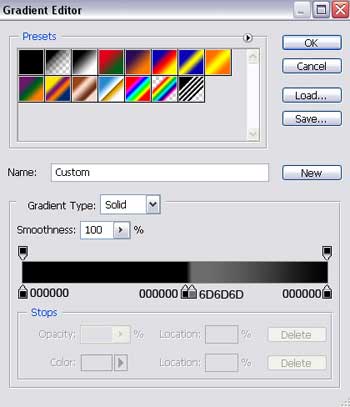
Blending Options>Gradient Overlay
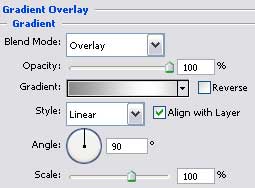
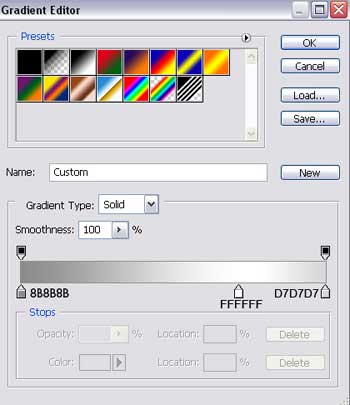
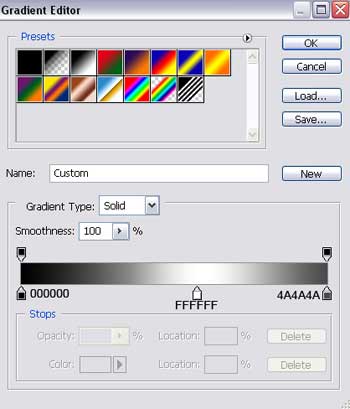
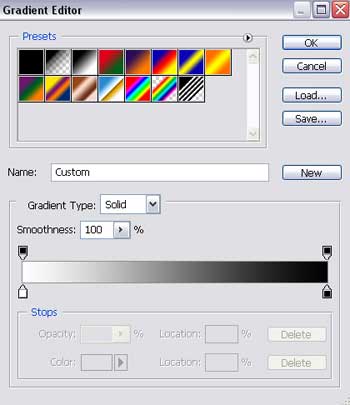
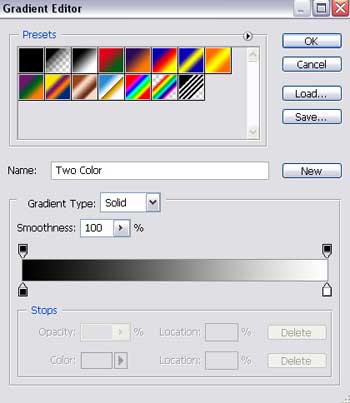
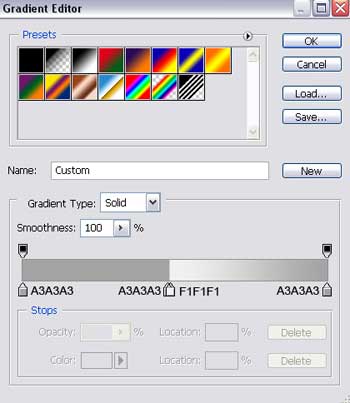
Gradient’s parameters:

Choose then the Rectangle Tool (U) just for separating the zone of logotype’s layer’s marking zone that would have this color: #FCFCFC
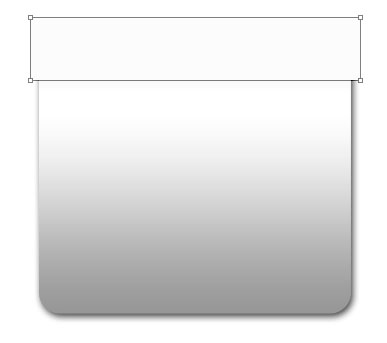
The layer’s parameters:
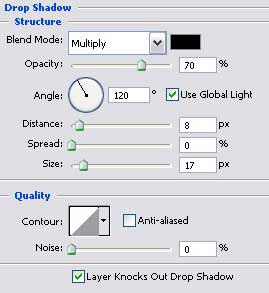
Blending Options>Drop Shadow
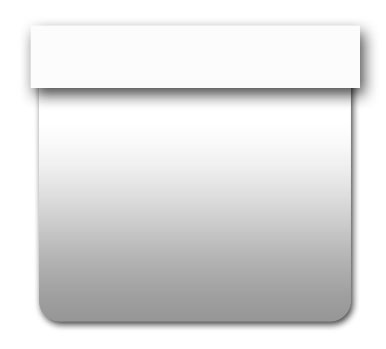
Press now the Alt button and make a mouse’s click in the same time between the previous layer and the recently made one and the layer situated on the top will be applied in the limits of the first one.
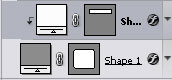

Create a new layer and apply the Eraser Tool (E) to erase the unnecessary elements, like it is demonstrated in the picture. Apply the same method described earlier to click between the layers.

Select now the Ellipse Tool (U) to create the next layer designed also for the logotype.

The layer’s parameters:
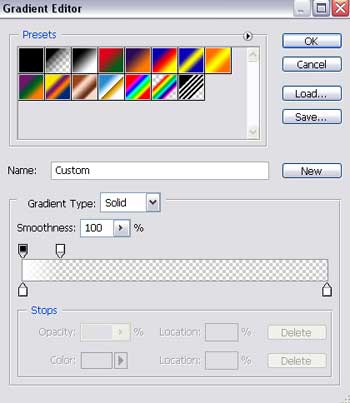
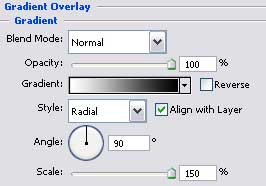
Blending Options>Gradient Overlay
Gradient’s parameters:
Blending Options>Stroke
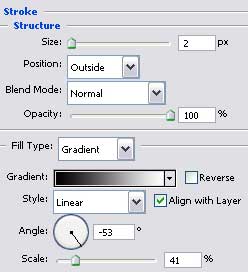
Gradient’s parameters:

Make a copy of the recently made layer and apply the next parameters shown below.
Fill 0% on the layers.
Blending Options>Gradient Overlay
Gradient’s parameters:
Using the same instrument, create one more layer situated inside.

The layer’s parameters:
Blending Options>Gradient Overlay
Gradient’s parameters:
Blending Options>Stroke
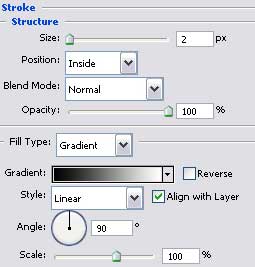
Gradient’s parameters:

Insert a letter inside the already made circle.

The layer’s parameters:
Blending Options>Gradient Overlay

Gradient’s parameters:

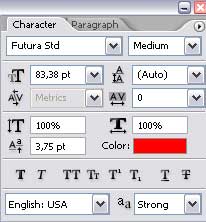
The last stage includes writing the text inserted in the logotype, keeping the demands represented in the next tables.
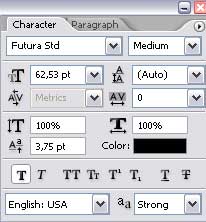
(E-Shop)
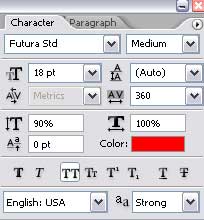
(store online)

The layer’s parameters (E-Shop)
Blending Options>Gradient Overlay
Gradient’s parameters:

Finished!
Comments