
Modern Online Pharmacy Web Layout
This tutorial will show you how to create a modern web layout for online pharmacy.
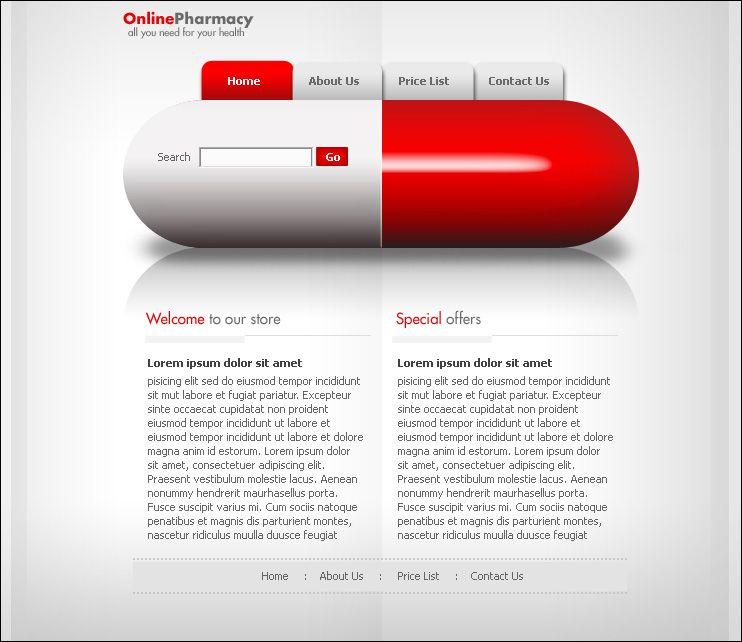
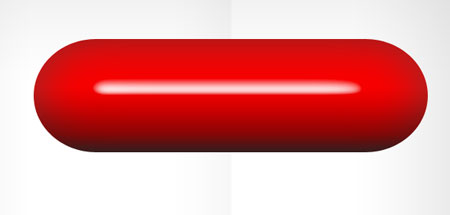
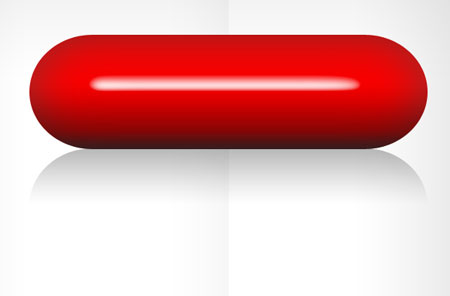
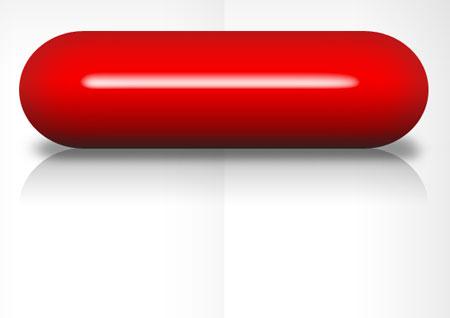
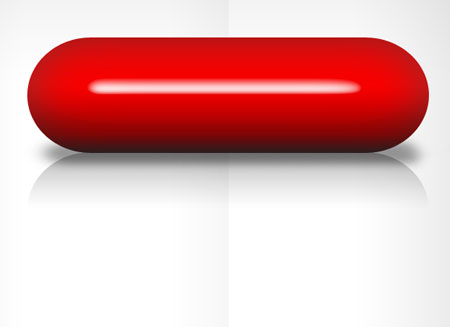
Final Image Preview
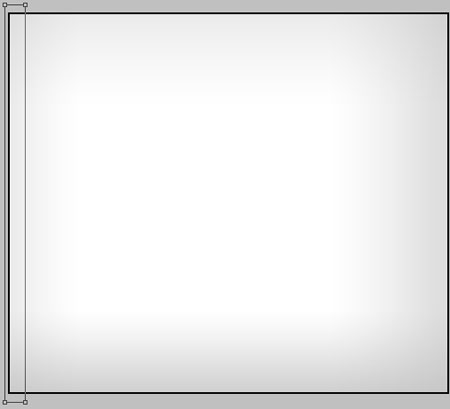
Create a new file having 742×642 px and 72 dpi and apply the Rectangle Tool (U) to represent the primary layer for the site’s background.
The layer’s parameters:
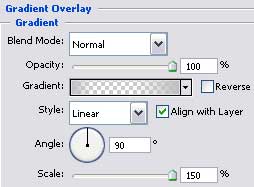
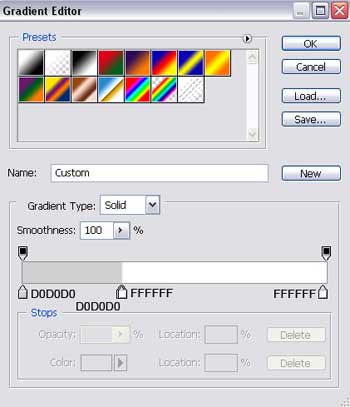
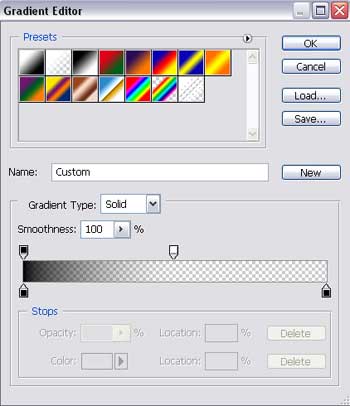
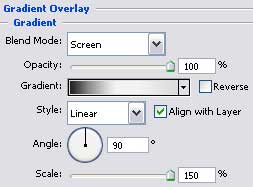
Blending Options>Gradient Overlay
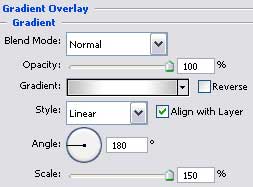

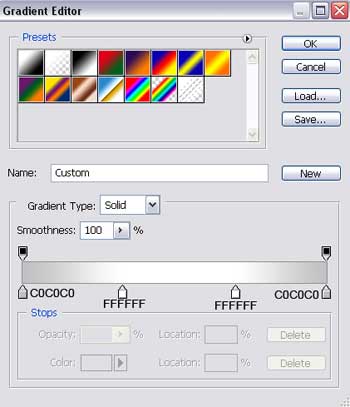
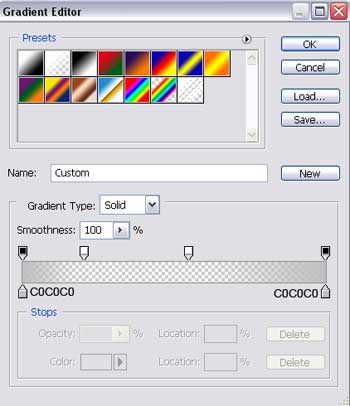
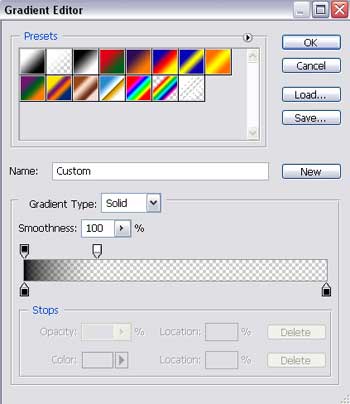
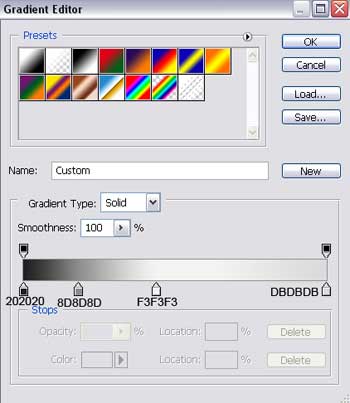
Gradient’s parameters:

Make a copy of the last made layer and change the copy’s parameters:
Fill 0% on the layers.
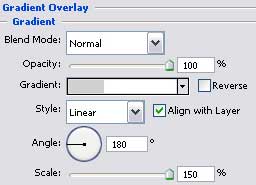
Blending Options>Gradient Overlay
Gradient’s parameters:
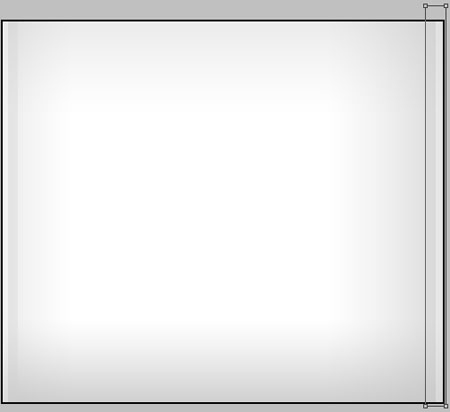
 Using the Rectangle Tool (U), represent a vertical stripe along the background’s left side.
The layer’s parameters:
Fill 0% on the layers.
Opacity 30%
Blending Options>Gradient Overlay
Gradient’s parameters:

Make a copy of the recently made layer and select the Free Transform option to turn the copy over and place it the way it is indicated below.

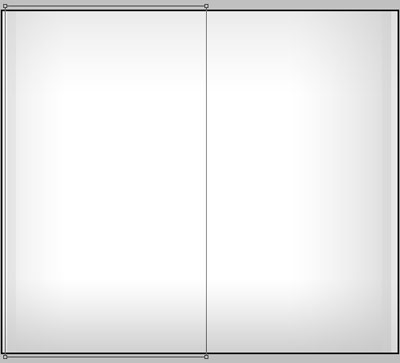
Select again the Rectangle Tool (U) to divide the background in two halves.
 The layer’s parameters:
Fill 0% on the layers.
Blending Options>Gradient Overlay
Gradient’s parameters:

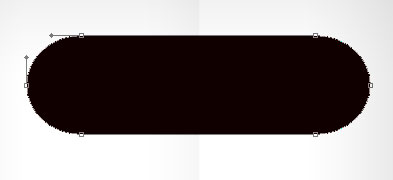
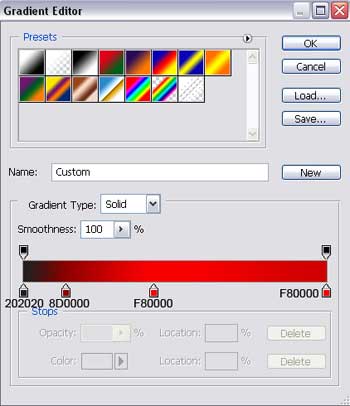
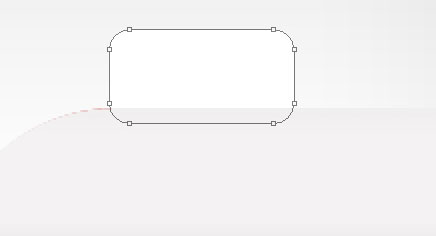
Now we have to represent an element of the menu on the site’s header, using the Rounded Rectangle Tool (U).

The layer’s parameters:
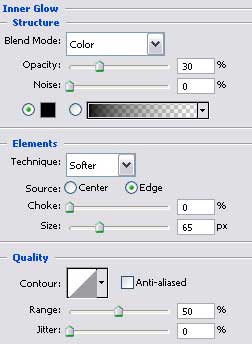
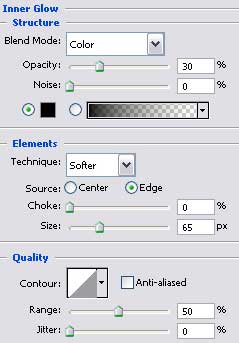
Blending Options>Inner Glow
Blending Options>Bevel and Emboss
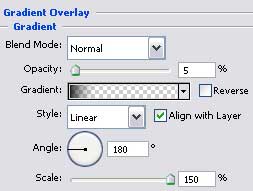
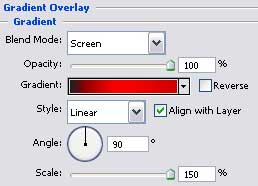
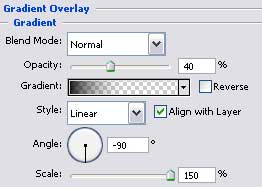
 Blending Options>Gradient Overlay
Gradient’s parameters:
Make a copy of the last created layer and select again Free Transform option to situate the copy like it is shown on the next picture, changing its parameters too.
The layer’s parameters:
Fill 0% on the layers.
Blending Options>Gradient Overlay
Gradient’s parameters:
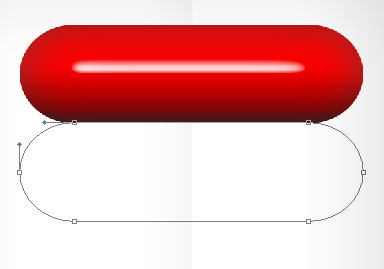
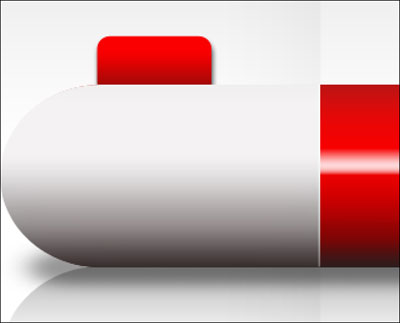
 Create a new layer and select the Brush Tool (B) to represent the shadow under the capsule.

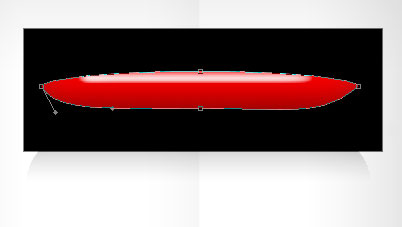
Next we have to select two instruments for darkening out the lowest part of the capsule. Choose for the beginning the Rectangle Tool (U) and represent a black rectangle above the capsule’s surface and then press on the Alt button, selecting the Ellipse Tool (U) simultaneously to cut out an opening on the capsule. The opening’s shapes may be corrected with the Convert Point Tool.
Press on the Alt button and make a click between the opening’s layer and the capsule’s one and we’ll get the necessary effect of darkening the capsule.
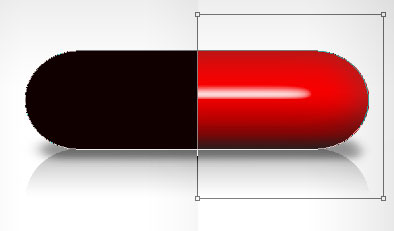
Make another copy of the capsule and place the copy above all the layers (on the layers’ palette). Press Alt button, choosing the Rectangle Tool (U) and cut out the copy on its middle part, changing also the copy’s parameters:
The layer’s parameters:
Blending Options>Inner Glow
 Blending Options>Gradient Overlay
Gradient’s parameters:

Draw a vertical stripe now on the capsule’s middle part that would have the white color, using the Rectangle Tool (U).

For your convenience, combine in a group all the layers composing the capsule and its reflection, shadow and darkening (press on the Ctrl button to mark out the necessary layers and make a mouse’s click on its left button just to move the layers on Create a new group option).
We’ll create now the buttons situated on the menu of the site’s header. They should be situated lower than the previous mentioned group (on the layers’ palette).
Select the Rectangle Tool (U) to draw the button

 The layer’s parameters:
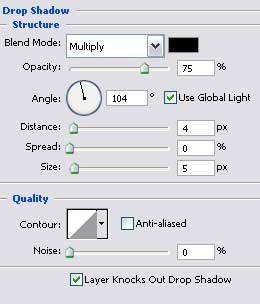
Blending Options>Drop Shadow
Blending Options>Gradient Overlay
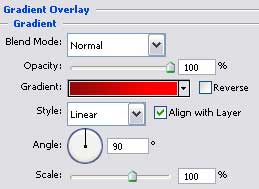
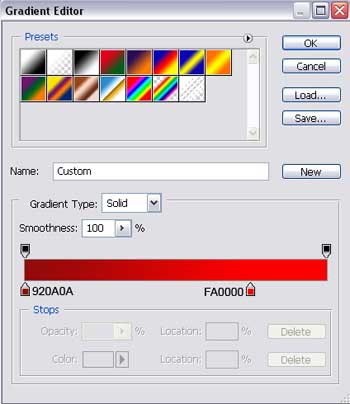
Gradient’s parameters:

Page: 1 2
Comments