
Premium casino poker chip
This tutorial will teach you how to take a simple circle and make it the face of the chip.
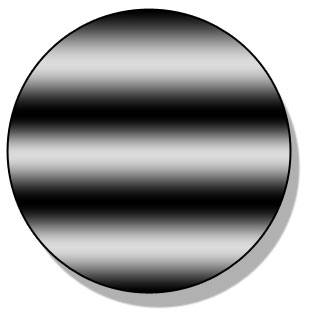
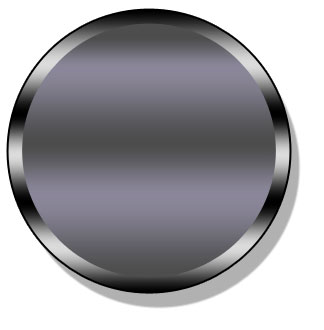
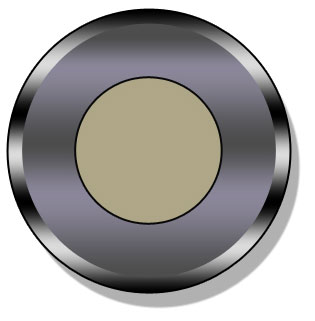
Final Image Preview

Open a new file (File>New) that would have 450×450 px and 72 dpi.
Using the Ellipse Tool (U), create the primary layer reserved for the play counter.
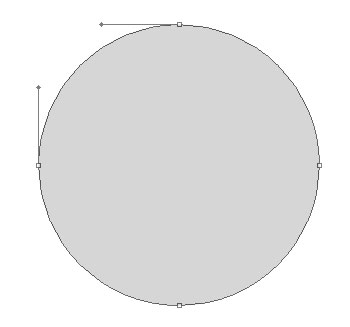
The layer’s parameters:
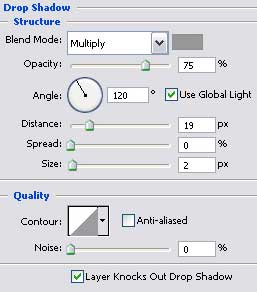
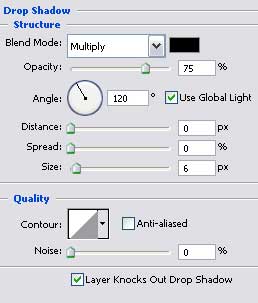
Blending Options>Drop Shadow

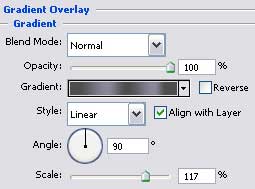
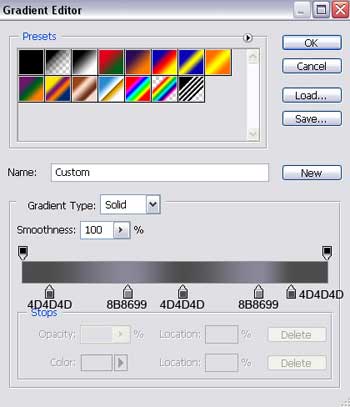
Blending Options>Gradient Overlay
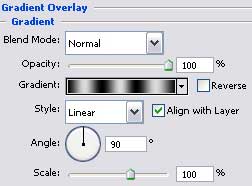
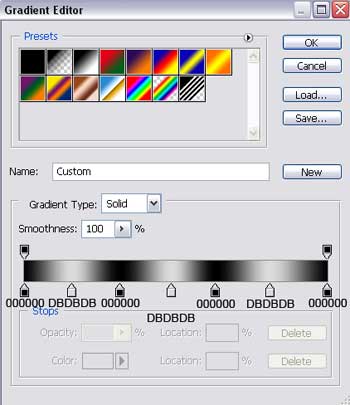
Gradient’s parameters:
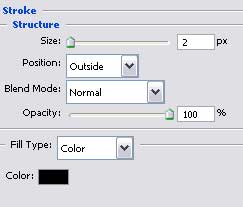
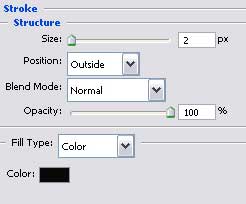
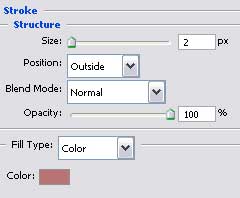
Blending Options>Stroke
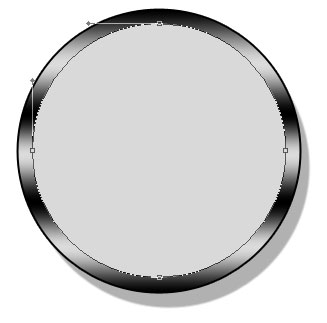
 Using the same instrument, try to represent the next layer for the play counter.
The layer’s parameters:
Blending Options>Gradient Overlay
Gradient’s parameters:
Apply the previous instrument to represent one more layer reserved for the counter, colored in #AEA687.
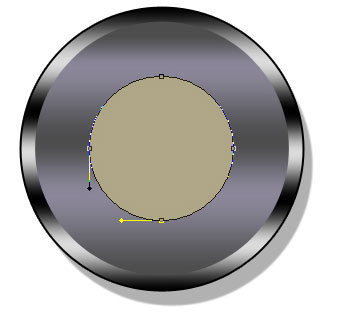
The layer’s parameters:
Blending Options>Stroke
 Using the Ellipse Tool (U), draw next the counter’s middle part.

The layer’s parameters:
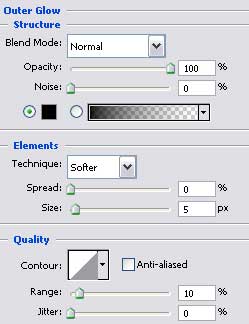
Blending Options>Outer Glow
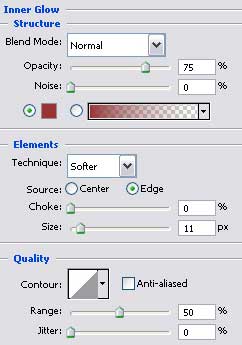
Blending Options>Inner Glow
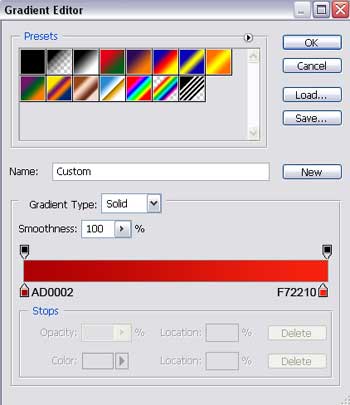
Blending Options>Gradient Overlay

Gradient’s parameters:
Blending Options>Stroke
 Introduce a letter that would be placed on the play counter, keeping the demands from the next table.
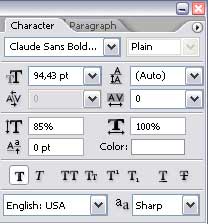

The layer’s parameters:
Blending Options>Drop Shadow
Blending Options>Gradient Overlay

Page: 1 2
Comments