
Desktop Wallpaper
In this tutorial you will learn how to create a high quality wallpaper.
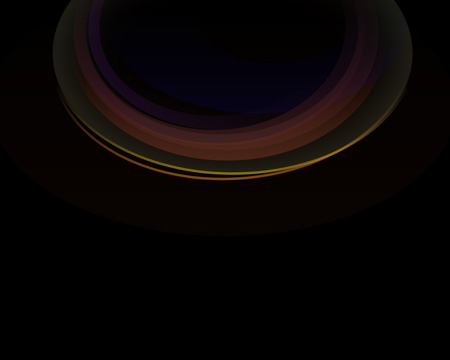
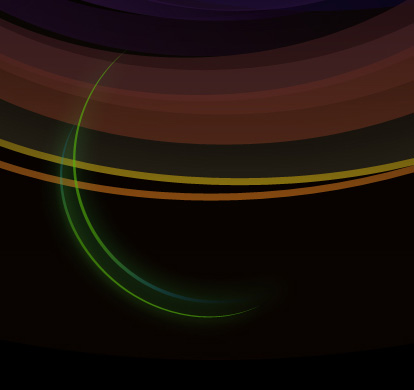
Final Image Preview

Create a new file having 1280×1024 px and 72 dpi. Select after that the Paint Bucket Tool (G) to paint the file in black color.

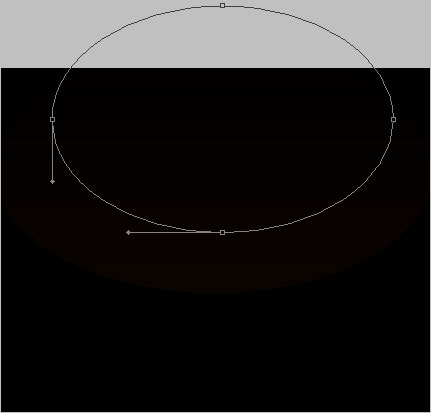
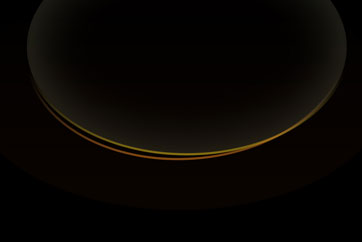
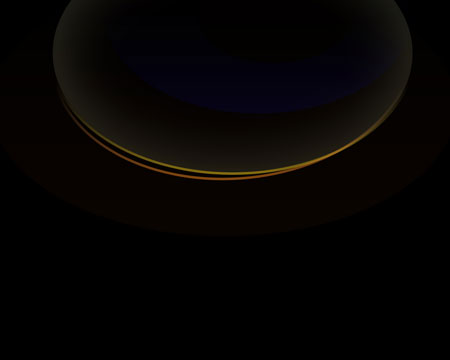
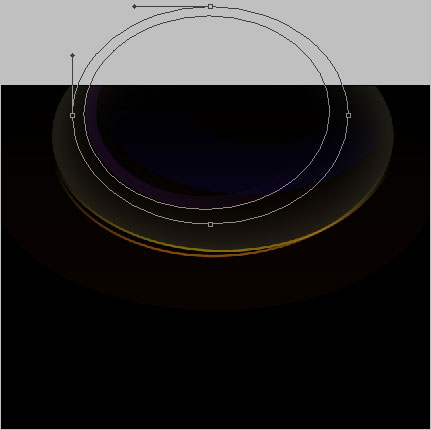
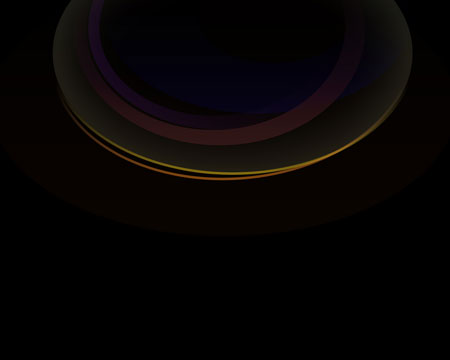
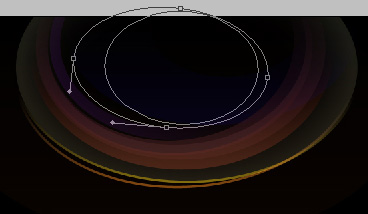
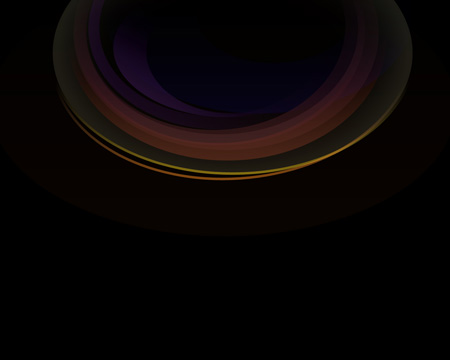
Next we’ll select the Ellipse Tool (U) to create the primary layer of the picture’s background to be.


The layer’s parameters:
Fill 0% on the layers.
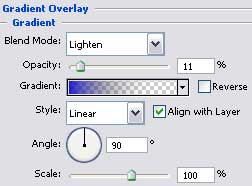
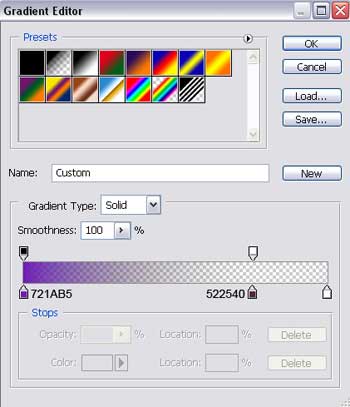
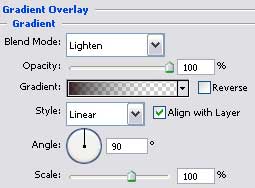
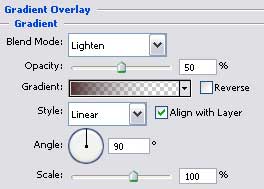
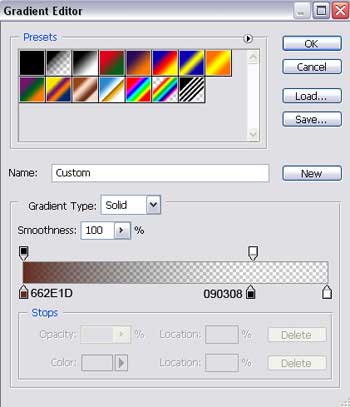
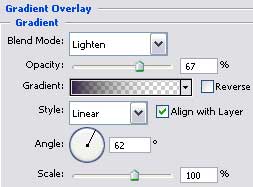
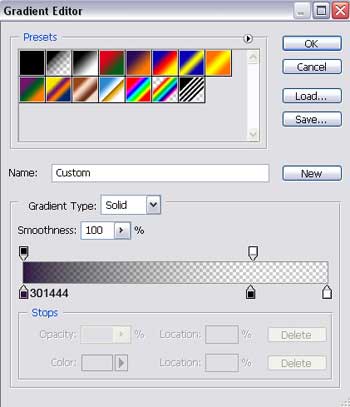
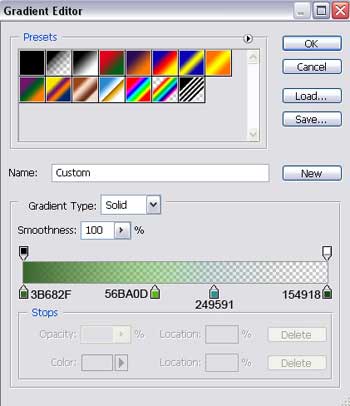
Blending Options>Gradient Overlay
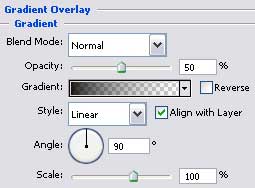
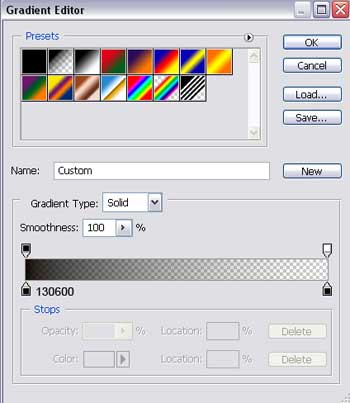
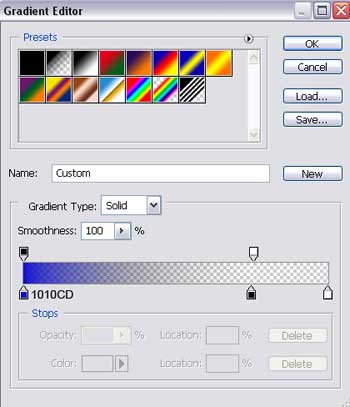
Gradient’s parameters:

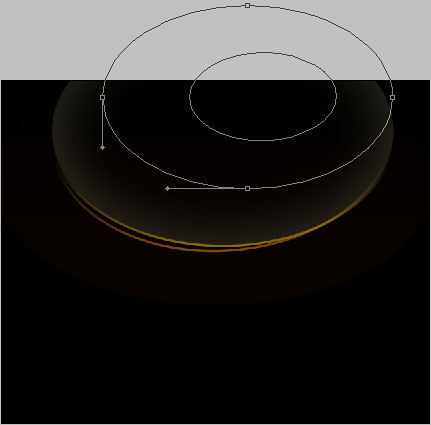
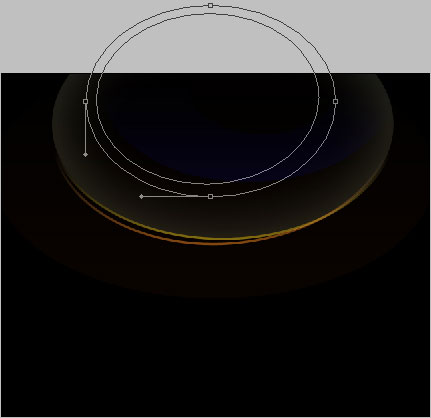
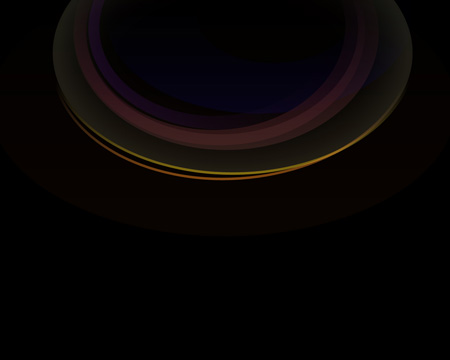
Make a copy of the new made layer and choose Free Transform option to make the copy smaller, changing its parameters too.
The layer’s parameters:
Fill 0% on the layers.
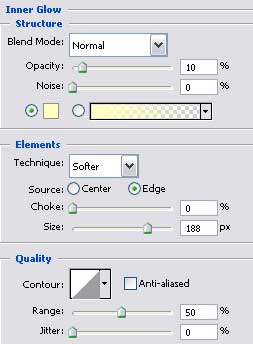
Blending Options>Inner Glow
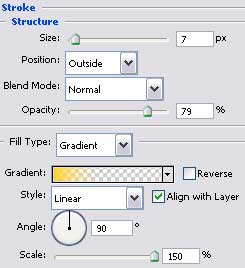
Blending Options>Stroke
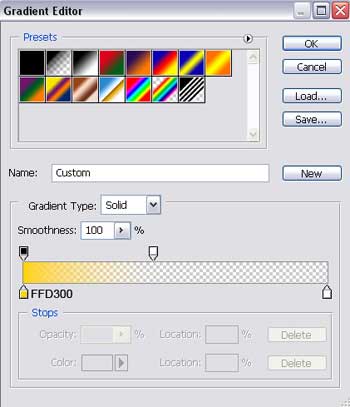
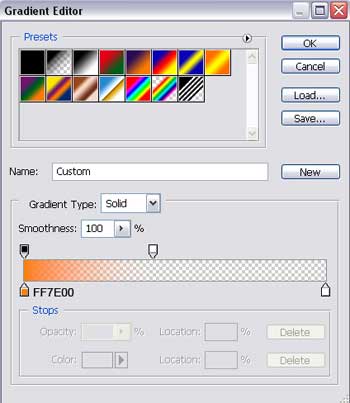
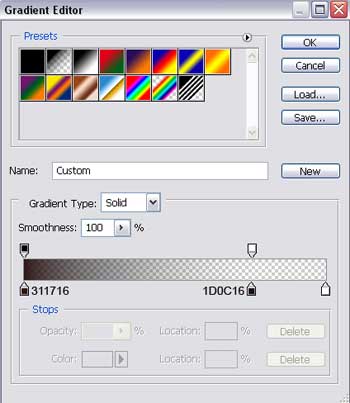
Gradient’s parameters:
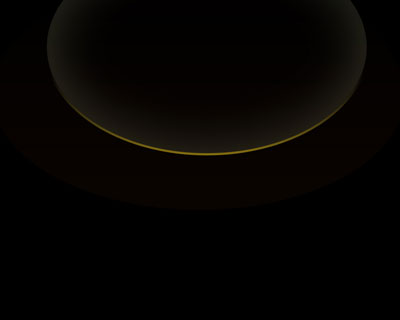
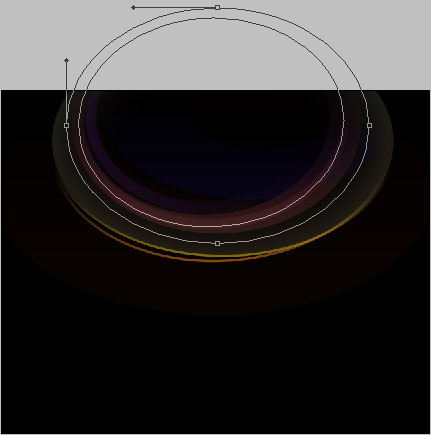
Make another copy of the new created layer, choosing again the Free Transform option to change the copy’s shape, selecting different parameters too.
The layer’s parameters:
Fill 0% on the layers.
Blending Options>Stroke
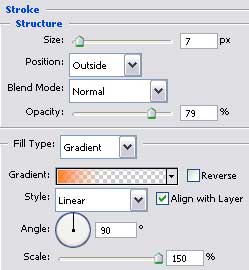
Gradient’s parameters:
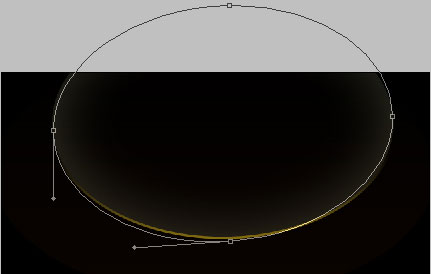
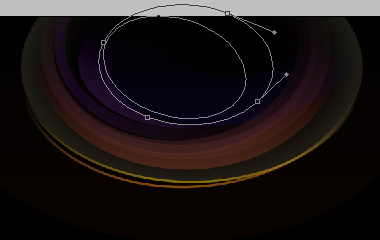
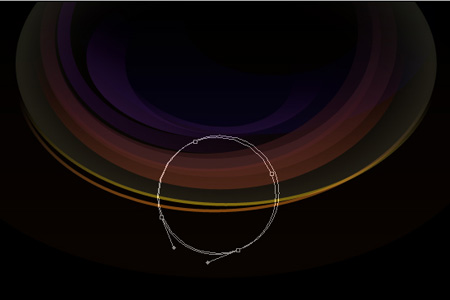
Now we’ll represent several circles. That is why we need to select the Ellipse Tool (U) and for the beginning we’ll represent the outside edges of the circle. Then press the Alt button to cut out the inside figure’s part.
The layer’s parameters:
Fill 0% on the layers.
Blending Options>Gradient Overlay
Gradient’s parameters:
The next circle should be drawn, following the earlier described method, selecting the same tool also.
The layer’s parameters:
Fill 0% on the layers.
Blending Options>Gradient Overlay

Gradient’s parameters:

Make a copy of the new made circle and select the Free Transform option to enlarge a little the copy. We need to select different parameters for the copy too.
The layer’s parameters:
Fill 0% on the layers.
Blending Options>Gradient Overlay
Gradient’s parameters:
Make one more copy of the last made layer, choosing again the Free Transform option to change the copy’s shape and apply different parameters also.

The layer’s parameters:
Fill 0% on the layers.
Blending Options>Gradient Overlay
Gradient’s parameters:

Continue by making one more copy of the last made circle and select after that the Free Transform option to enlarge the copy a little. Change its parameters with different ones, those indicated below:
The layer’s parameters:
Fill 0% on the layers.
Blending Options>Gradient Overlay

Gradient’s parameters:
Take the Ellipse Tool (U) to represent the next background’s layer for the picture to be. Firstly we need to draw the outside edges and then press on the Alt button to delete figure’s inside part.
The layer’s parameters:
Fill 0% on the layers.
Blending Options>Gradient Overlay
Gradient’s parameters:
Make a copy of the last made layer and select the Free Transform option to turn the copy over and change its shape too.
The layer’s parameters:
Fill 0% on the layers.
Blending Options>Gradient Overlay

Gradient’s parameters:

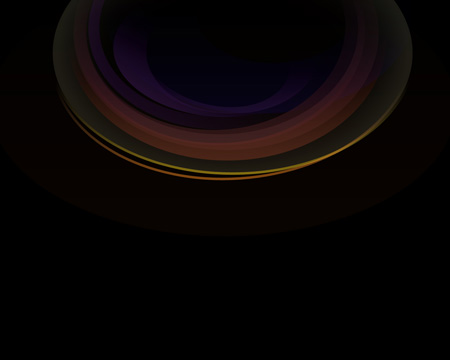
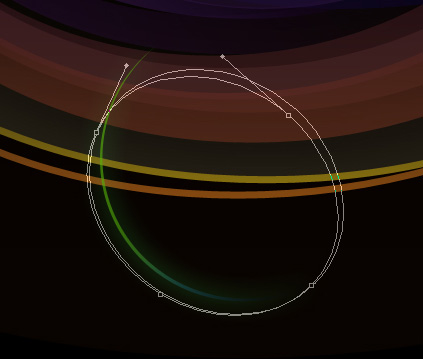
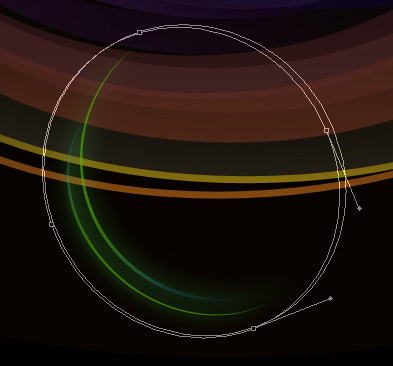
Next we’ll select the same Ellipse Tool (U) to draw the ray. Represent for the beginning the outside ray’s edges and then press on the Alt button to delete the unnecessary elements of the ray.
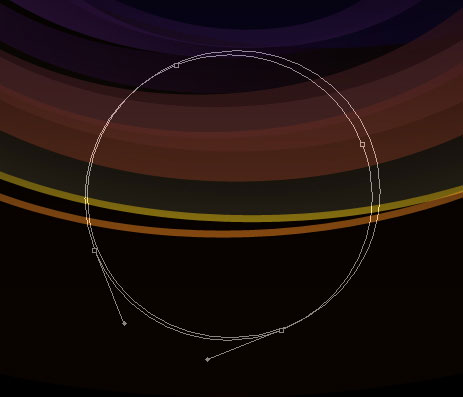
The layer’s parameters:
Fill 0% on the layers.
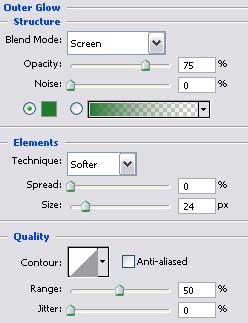
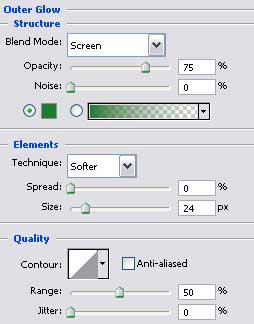
Blending Options>Outer Glow
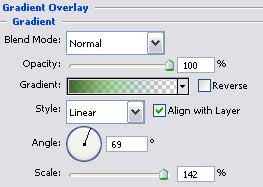
Blending Options>Gradient Overlay
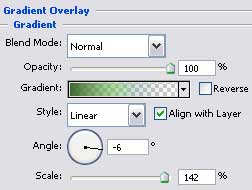
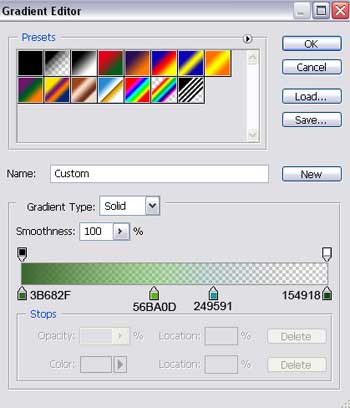
Gradient’s parameters:

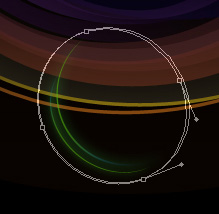
Make two copies of the last made layer and use again the usual Free Transform option to change the shape, the placement and the copies’ size. We need to change the parameters too with those shown below.
The first copy:
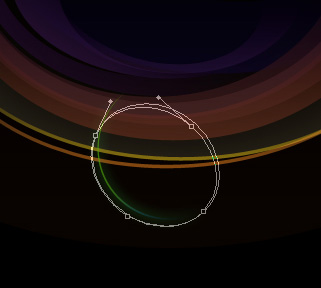
The layer’s parameters:
Fill 0% on the layers.
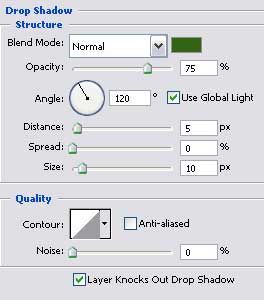
Blending Options>Drop Shadow
Blending Options>Outer Glow
Blending Options>Gradient Overlay
Gradient’s parameters:
The second copy:
Page: 1 2
Comments