
Stylish WebStudio Web Layout
A complete tutorial on how to make a stylish webstudio web layout.
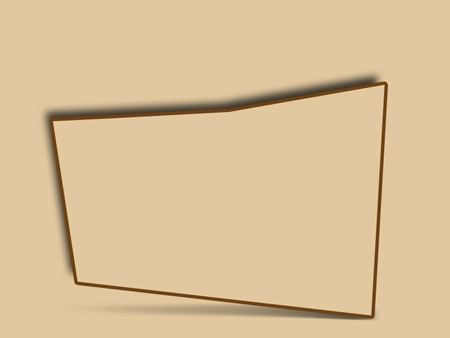
Final Image Preview

Begin by creating a new file (File>New) with 800×600 px and 72 dpi. Using the Paint Bucket Tool (G), paint it out in here showed color: # E2C89F.

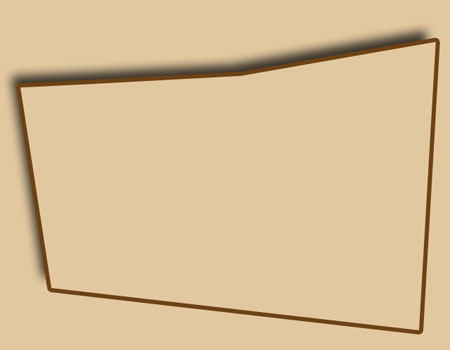
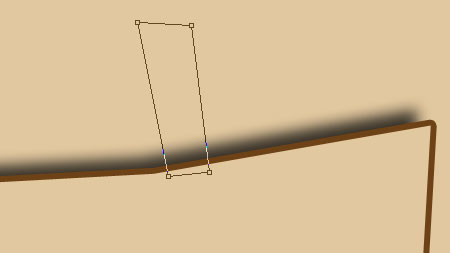
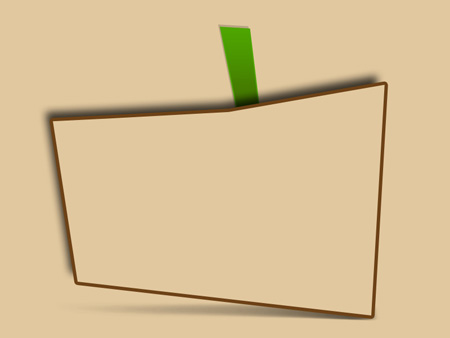
Next we need to take the Rectangle Tool (U) to create the layer designed for the site’s sections, which color is the same with the background’s one. The shape may be corrected with Convert Point Tool. We’ll add one more top with Add Anchor Point Tool.


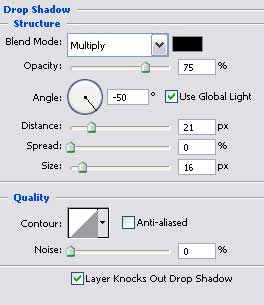
The layer’s parameters:
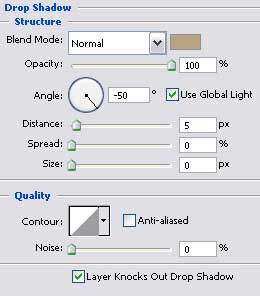
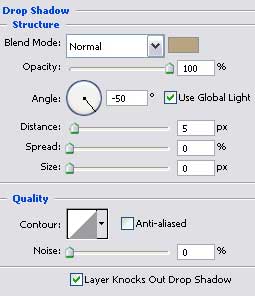
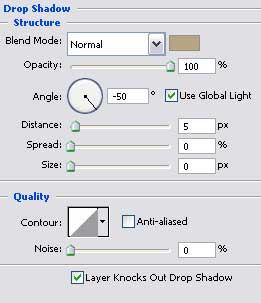
Blending Options>Drop Shadow
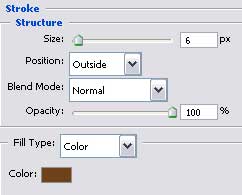
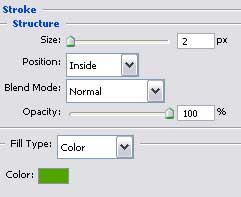
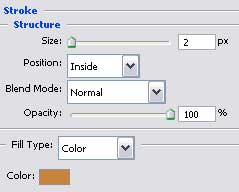
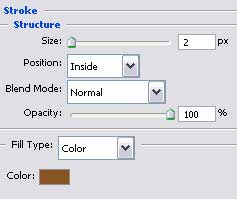
Blending Options>Stroke
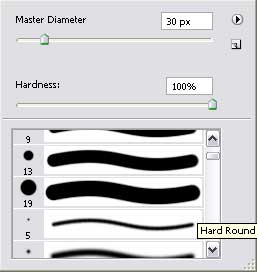
Create a new layer. After that we’ll represent the shadow under the sections’ layer. Using firstly the Brush Tool (B), try to make a patch of black color and then applying the Smudge Tool (R) we’ll blur out the patch from the right side to the left one. The Eraser Tool (E) will be helpful in erasing the unnecessary elements.


Now we’ll represent the menu’s buttons situated on the site’s header, choosing the Rectangle Tool (U). Their shape may be corrected with Convert Point Tool. The layer should be placed lower than the sections’ layer, on the layers’ palette.
The layer’s parameters:
Fill 0% on the layers.
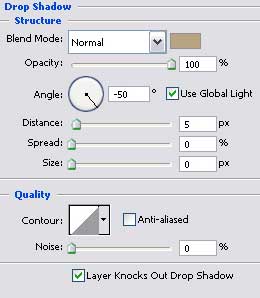
Blending Options>Drop Shadow
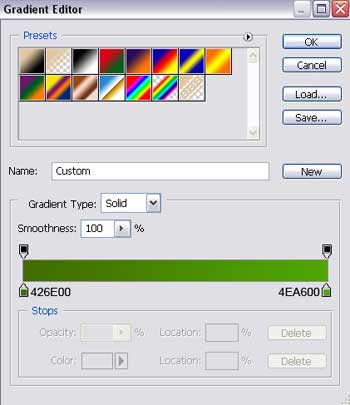
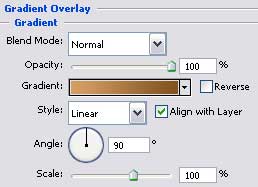
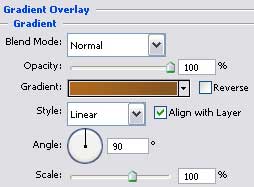
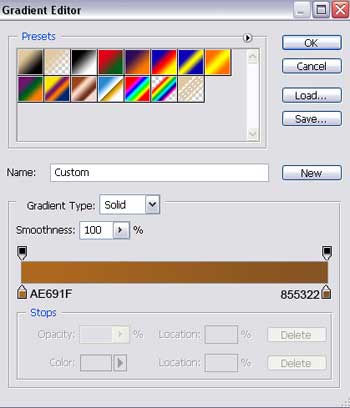
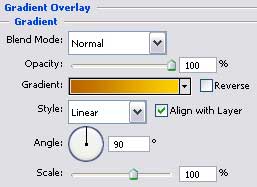
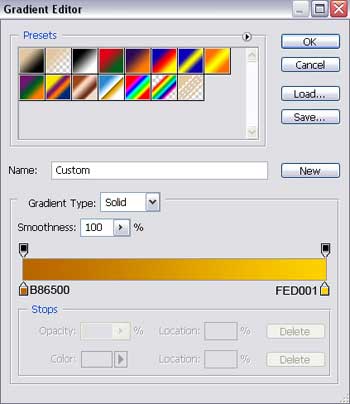
Blending Options>Gradient Overlay
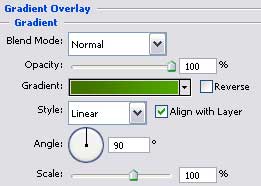
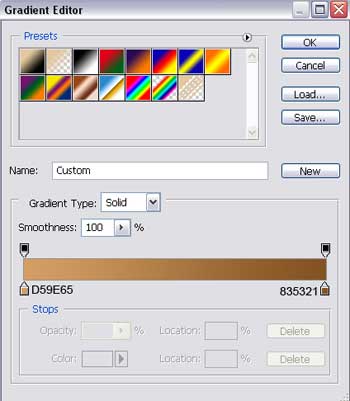
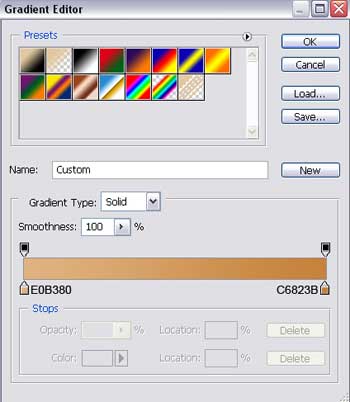
Gradient’s parameters:
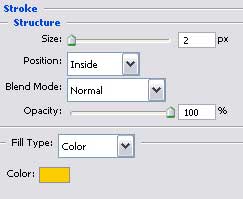
Blending Options>Stroke
Make four copies of the new made button and select the Free Transform option to turn them over if necessary. Choosing the Convert Point Tool, it’s possible to make the corrections on the copies’ shapes too. Change the parameters for each copy’s layer. The copies must be placed, like the first button, lower than the sections’ layer, on the layers’ palette.
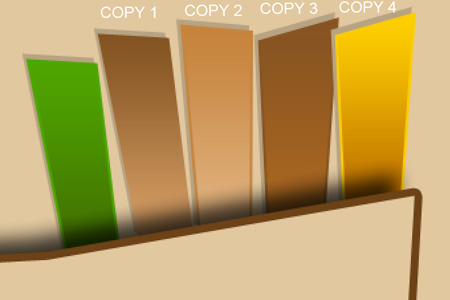
The parameters for the first copy:
Fill 0% on the layers.
Blending Options>Drop Shadow

Blending Options>Gradient Overlay
Gradient’s parameters:
The parameters for the second copy:
Fill 0% on the layers.
Blending Options>Drop Shadow
Blending Options>Gradient Overlay
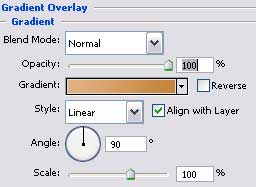 Gradient’s parameters:
Blending Options>Stroke
The parameters for the third copy:
Fill 0% on the layers.
Blending Options>Drop Shadow
Blending Options>Gradient Overlay
Gradient’s parameters:
Blending Options>Stroke
The parameters for the fourth copy:
Fill 0% on the layers.
Blending Options>Drop Shadow
 Blending Options>Gradient Overlay
Gradient’s parameters:
Blending Options>Stroke

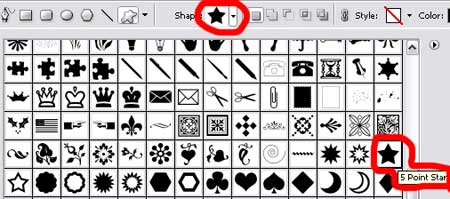
Select then the Custom Shape Tool (U) that would help us to represent several stars (the colors’ codes are indicated). We need to turn the figures over if that is necessary, choosing the Free Transform option:
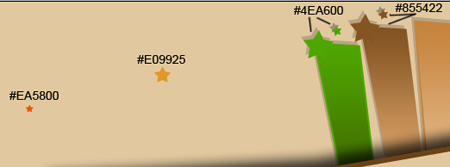
The stars with the shadow have the layer’s parameters:
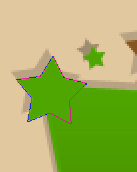
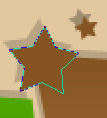
(the same parameters)
Blending Options>Drop Shadow

Page: 1 2
Comments