
Video Player Skin
Design your own video player interface in Photoshop.
Final Image Preview
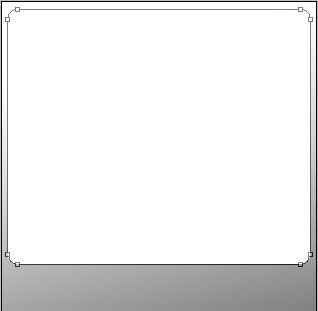
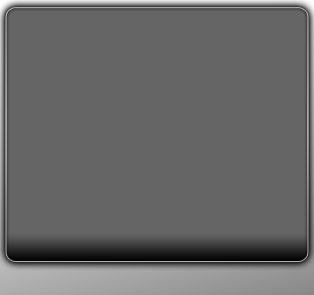
Create a new file (File>New), having 314×550 px and 72 dpi. Take then the Rectangle Tool (U) to create the background of the next picture to be.
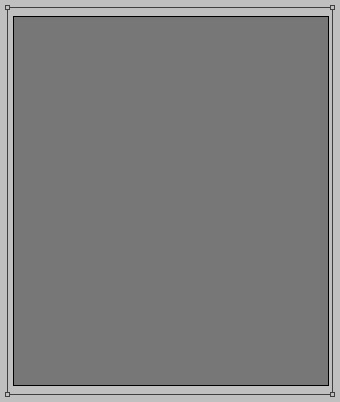
The layer’s parameters:
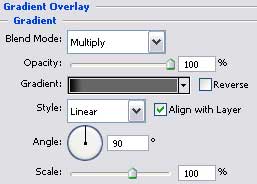
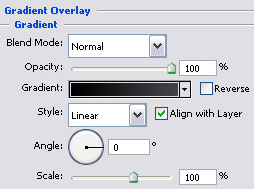
Blending Options>Gradient Overlay
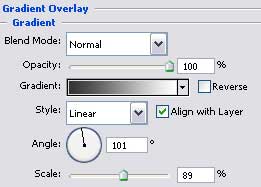

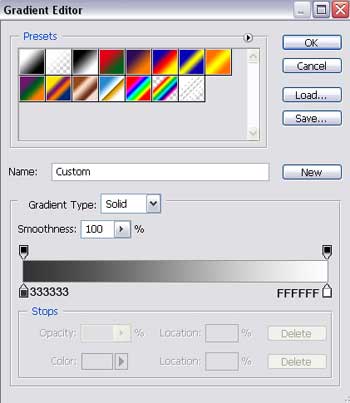
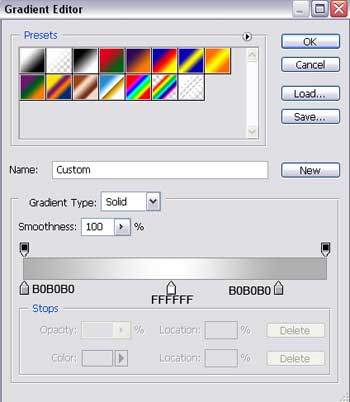
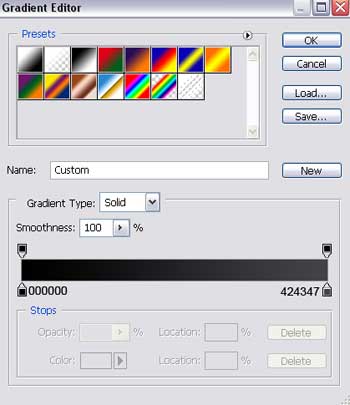
Gradient’s parameters:
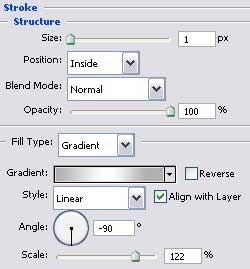
Blending Options>Stroke
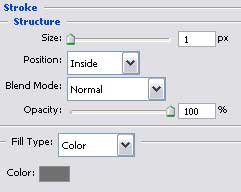

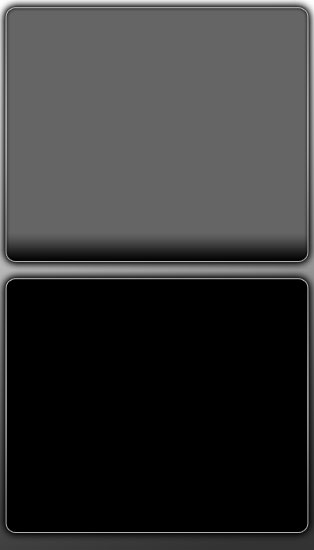
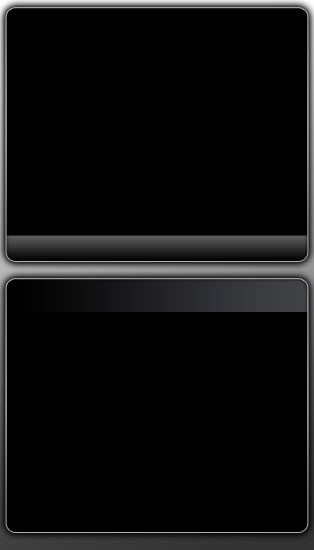
Next we’ll select the Rounded Rectangle Tool (U) and we’ll draw the upper palette of the media player to be.

The layer’s parameters:
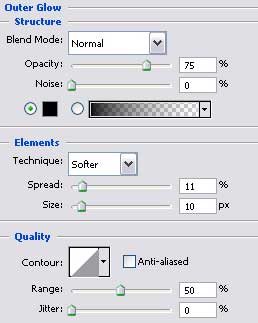
Blending Options>Outer Glow
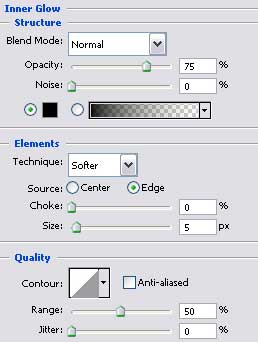
 Blending Options>Inner Glow
Blending Options>Gradient Overlay
Gradient’s parameters:

Blending Options>Stroke
Gradient’s parameters:
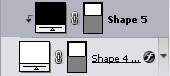
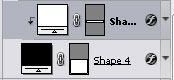
Make a copy of the new made layer and choose the Free Transform option to place the copy like it is shown in the next picture. We shall move off the unnecessary parameters out of the copy: Blending Options>Gradient Overlay
(the main copy’s color is black)
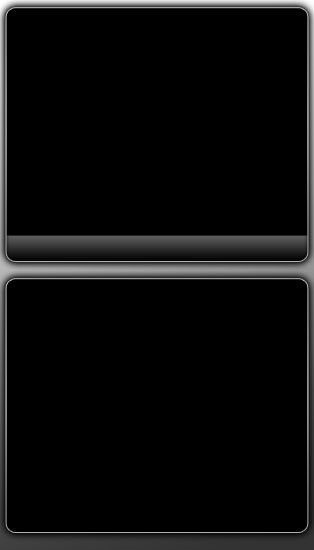
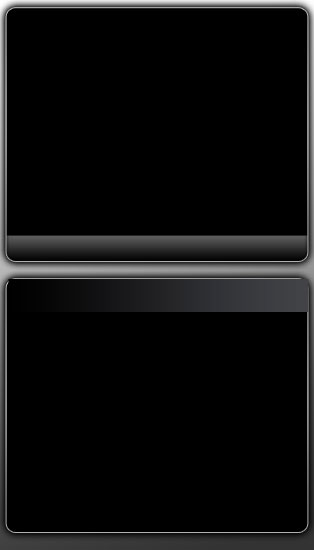
Choose now the Rectangle Tool (U) to represent on the upper part of the media player’s palette a kind of screen of black color. The screen’s layer must be placed upper than the layer of the upper palette, on the layers’ palette.
 Press on the Alt button and make a mouse’s click between the black screen’s layer and the upper palette of the media player for the screen to be applied in the limits of the palette.
Draw next a thin stripe on the upper part of the lowest palette. The stripe is reserved for the media player’s play list. Place the stripe’s layer upper than the layer of the lowest palette of the media player.
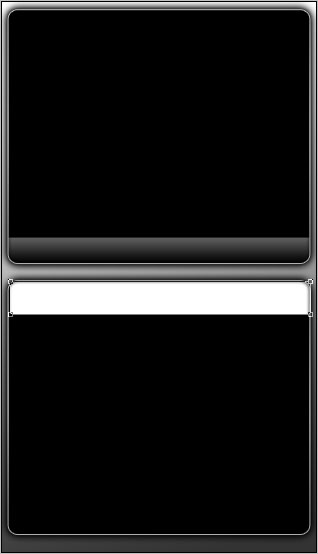
The layer’s parameters:
Blending Options>Gradient Overlay
Gradient’s parameters:
Press on the Alt button and make a mouse’s click between the layers to get the result described before.
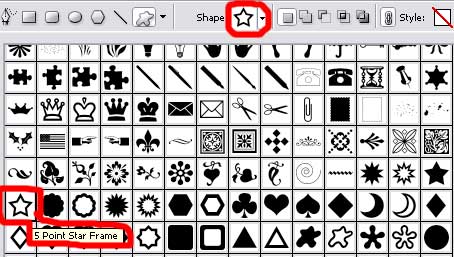
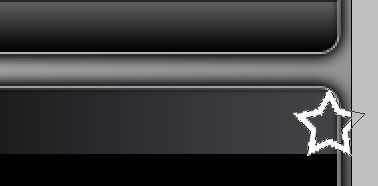
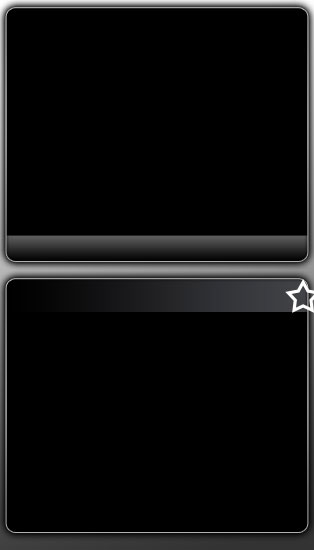
 Draw next a small star on the stripe’s right side. The star should be of white color. Select the Custom Shape Tool (U) for this operation. The star’s layer should be placed upper than the layer containing the play list’s stripe.
Comments