
Create Contact Icon
Step by step tutorial on how to create contact icon for your website.
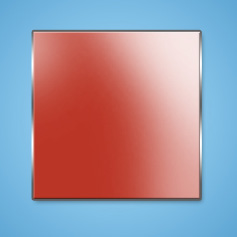
Final Image Preview

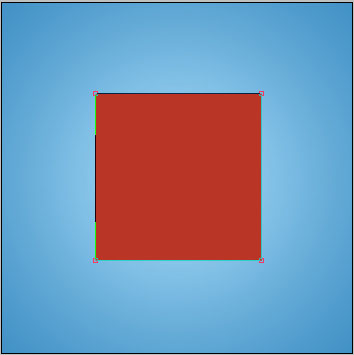
Create a new file (File>New), having 350×350 px and 72 dpi and select the Rectangle Tool (U) to represent the background of the next picture we want to create.
The layer’s parameters:
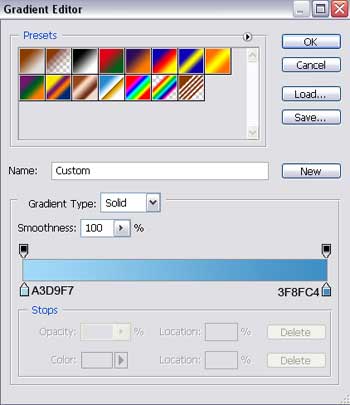
Blending Options>Gradient Overlay
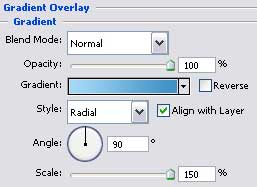

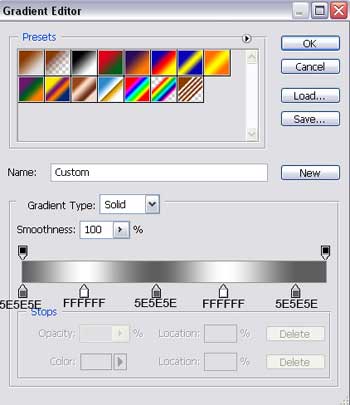
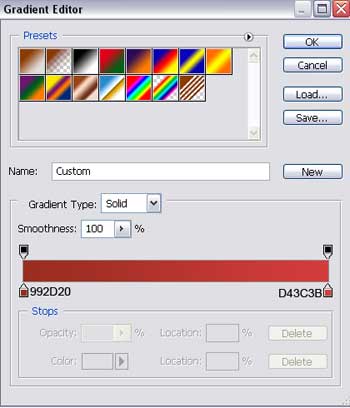
Gradient’s parameters:

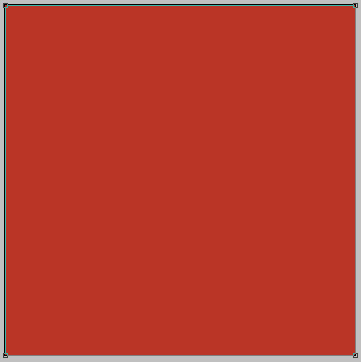
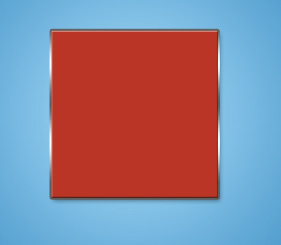
We have to select one more time the previous tool to represent the primary layer of the icon, colored in #BA3526.
The layer’s parameters:
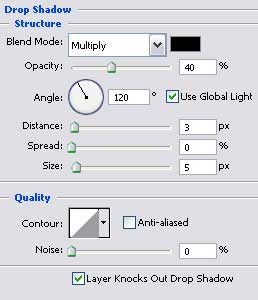
Blending Options>Drop Shadow
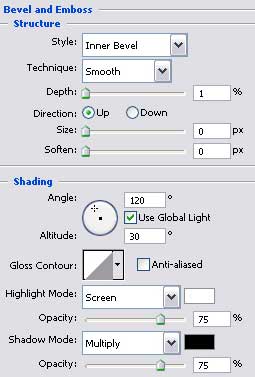
Blending Options>Bevel and Emboss
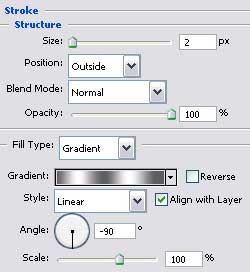
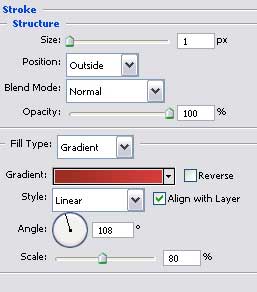
 Blending Options>Stroke
Gradient’s parameters:
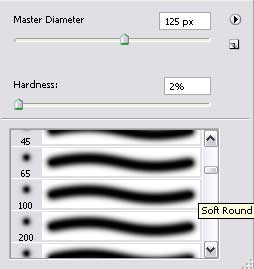
Create a new layer and then take a brush of white color, Brush Tool (B) and picture out several flares on the icon’s surface.
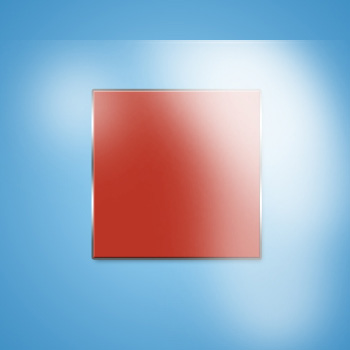
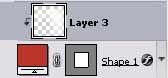
Press on the Alt button and make a mouse’s click between the flare’s layers and the icon’s one for the flare to be applied in the limits of the icon.
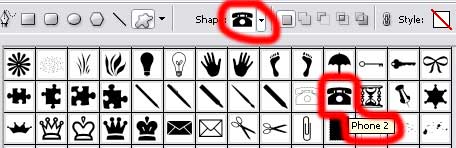
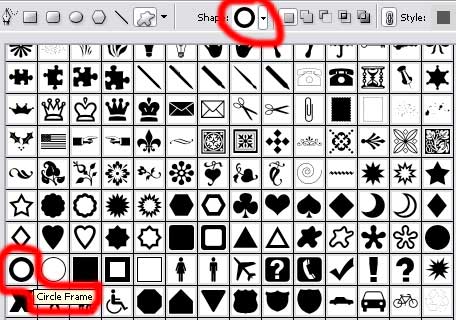
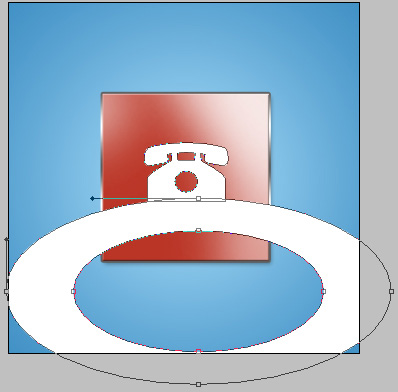
 Select after that the Custom Shape Tool (U) to represent the symbol of the icon and then press on the Shift button to fix a circle on the lowest part of the symbol. Its color should be white.
The layer’s parameters:
Blending Options>Stroke
Gradient’s parameters:

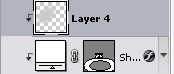
Press on the Alt button and make a mouse’s click between the layers.


Create a new layer and select the previously used brush to represent a shadow, colored in #C8C9C9.

Press on the Alt button, make a mouse’s click between the layers.

The layer’s parameters:
Blending Mode-Darken
The final result!
Comments