
Designing King Icon
In this tutorial we will learn how to create nice icon.
Final Image Preview

Create a new file (File>New) with 450×468 px and 300 dpi and take then the Paint Bucket Tool (G) to paint the file in black.

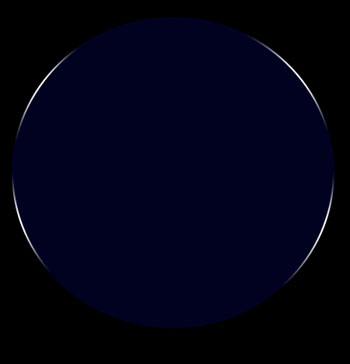
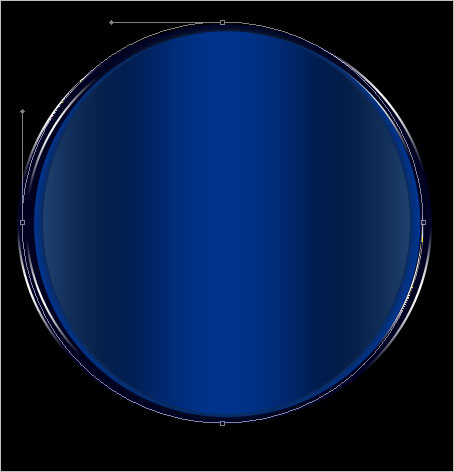
Next we’ll just select the Ellipse tool (U) and represent the primary layer, reserved for the icon we want to represent next:
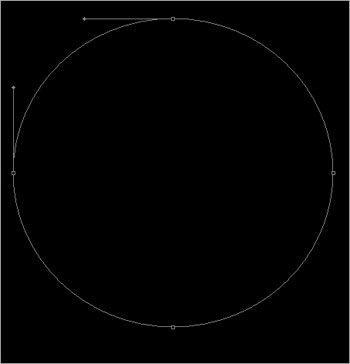

The layer’s parameters:
Fill 0% on the layers:
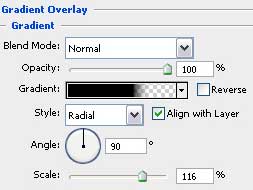
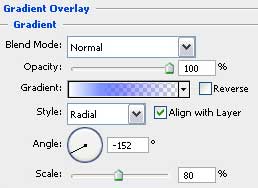
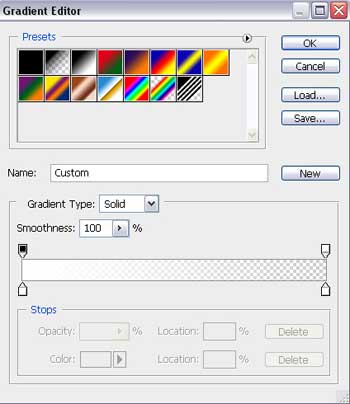
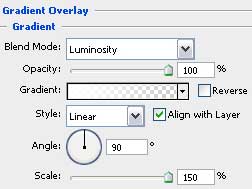
Blending Options>Gradient Overlay
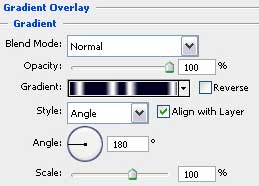
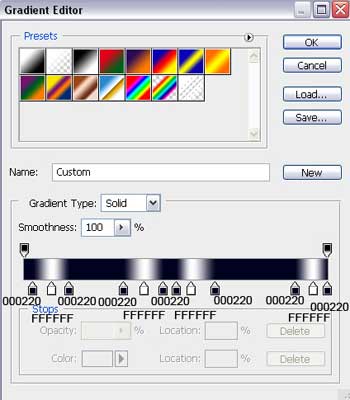
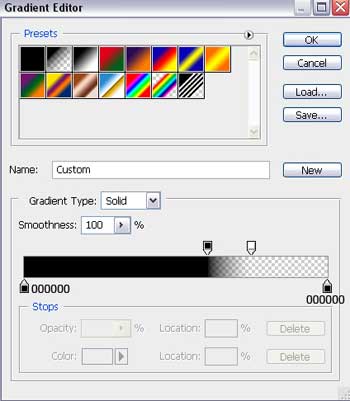
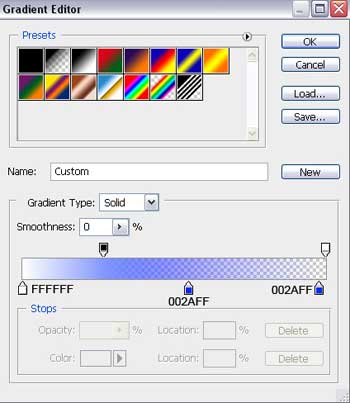
Gradient’s parameters:
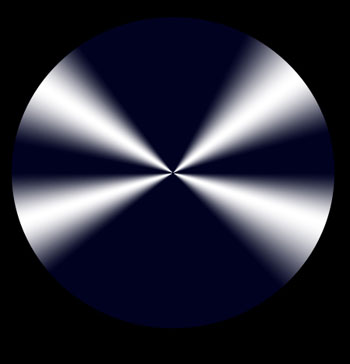
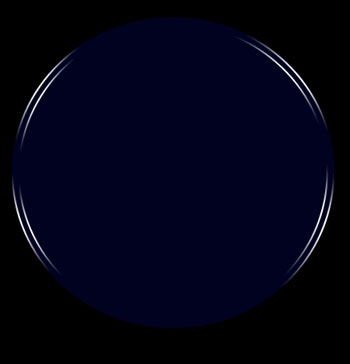
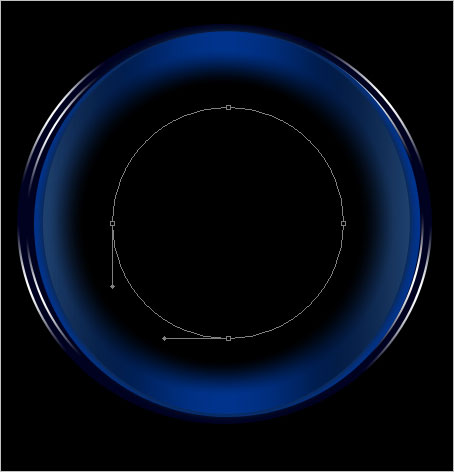
Make a copy of the recently made layer and take the Free Transform option to make the copy smaller and fix this color for the copy: #000220.
Combine in a group both recently made layers and press on Ctrl button to mark out the necessary layers, but keep pressed the left mouse’s button when taking them down on Create a new group option. Make a copy of the last made group and select the Free Transform option to make the copy smaller, placing it the same way it is demonstrated next picture.
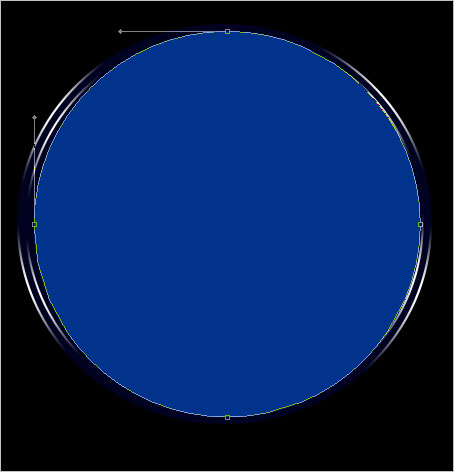
 Using the Ellipse Tool (U), it’s possible to draw one more layer designed for the icon, colored with #00338C.
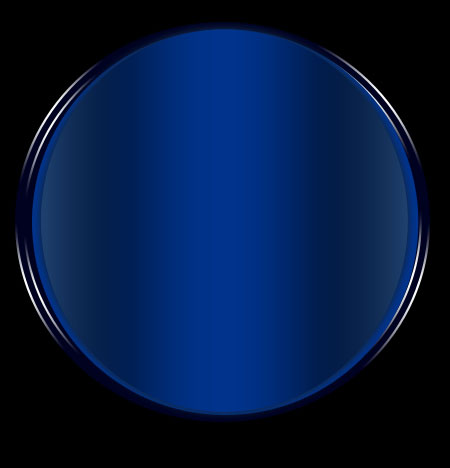
Make a copy of the last made layer and choose Free Transform option to narrow out the copy horizontally, setting next parameters for the copy:
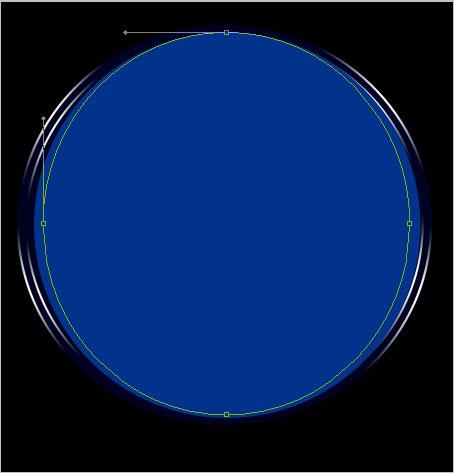
The layer’s parameters:
Blending Options>Outer Glow
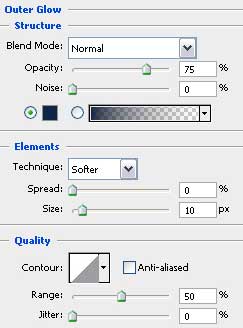
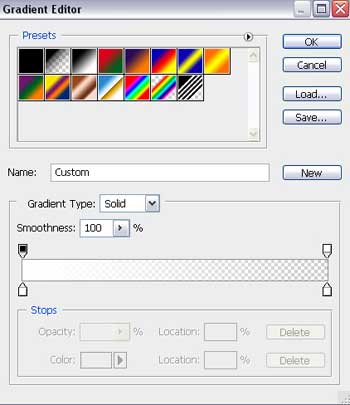
Blending Options>Gradient Overlay
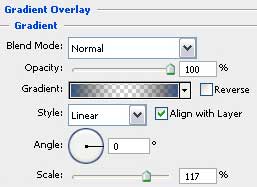
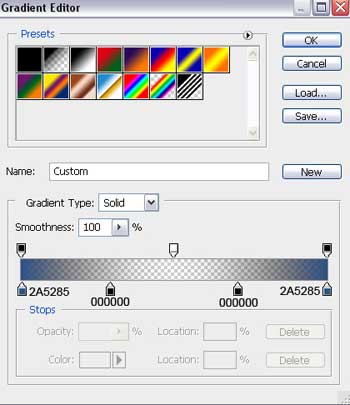
Gradient’s parameters:
Choosing the same Ellipse Tool (U), try to make the next layer reserved for the icon.
 The layer’s parameters:
Fill 0% on the layers.
Blending Options>Gradient Overlay
Gradient’s parameters:

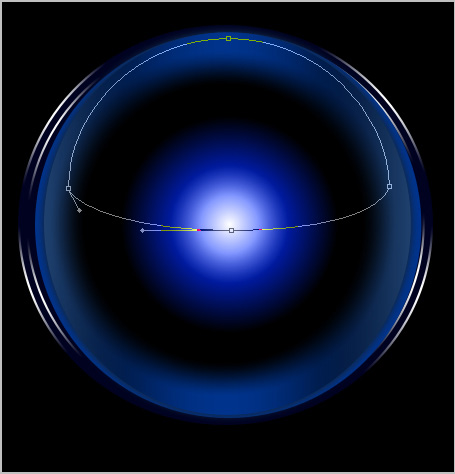
Take the Ellipse Tool (U) to represent that luminescence on the central icon’s part.
The layer’s parameters:
Fill 0% on the layers.
Blending Options>Gradient Overlay
Gradient’s parameters:
 Using the Ellipse Tool (U), try to make a flare on the top part of the icon. Change its shape by lifting the lowest to with the Convert Point Tool.
The layer’s parameters:
The Opacity should be set on 70%
Fill 0% on the layers.
Blending Options>Gradient Overlay
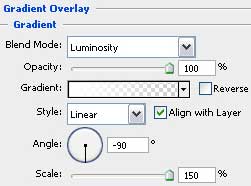
Gradient’s parameters:

Make a copy of the last made layer and select the Free Transform option to turn over the flare’s copy, changing its parameters too.

The layer’s parameters:
The Opacity should be set on 20%.
Fill 0% on the layers.
Blending Options>Gradient Overlay
Gradient’s parameters:

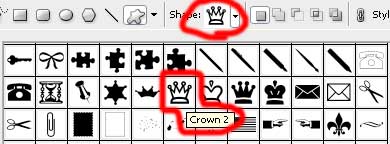
Next step includes representing a crown’s silhouette on the icon’s surface, applying the Custom Shape Tool (U) and the black color.

The layer’s parameters:
Fill 45% on the layers.
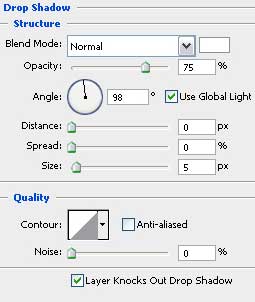
Blending Options>Drop Shadow
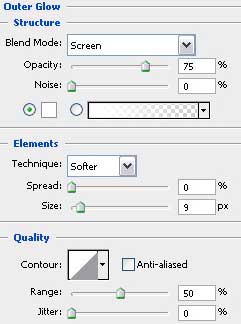
Blending Options>Outer Glow
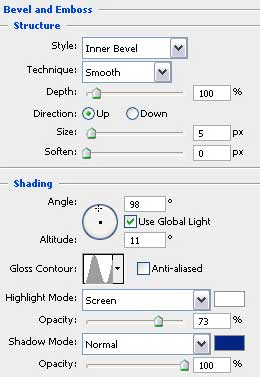
Blending Options>Bevel and Emboss
Representing the icon is finished!
Comments