
Design Studio Layout
Learn how to create an effective and contemporary web layout for your design studio.
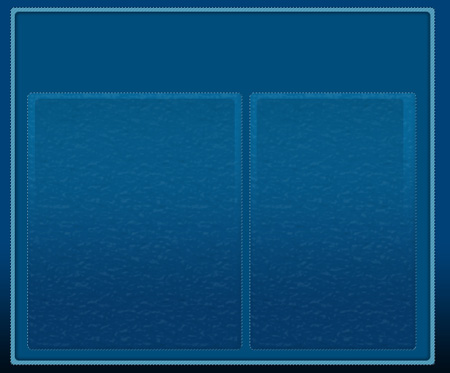
Final Image Preview

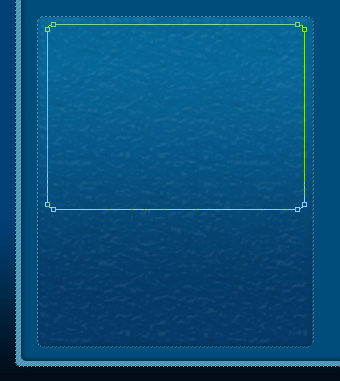
Start by creating the background of the site we want to represent next (File>New), having 800×600 px and 72 dpi. Select the Rectangle Tool (U) for this operation.
The layer’s parameters:
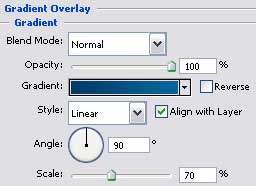
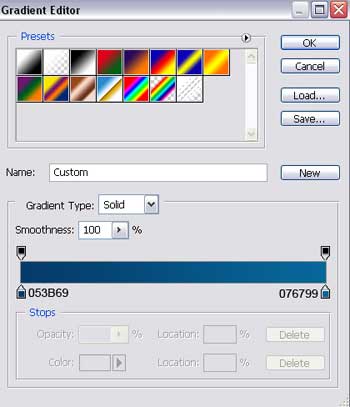
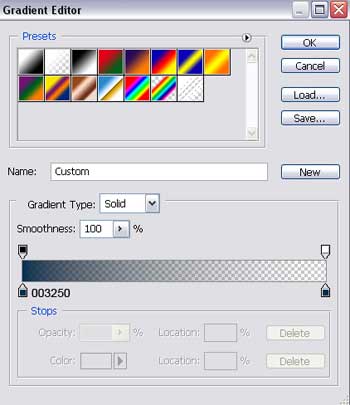
Blending Options>Gradient Overlay
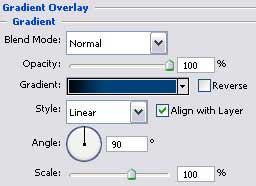

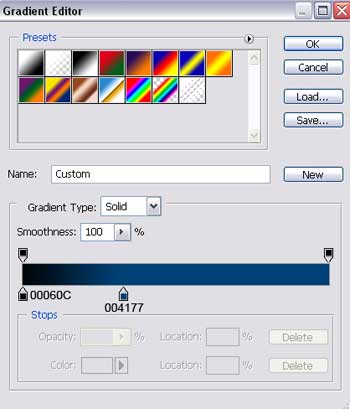
Gradient’s parameters:

Create a new layer that would have 4×4 px and 72 dpi and try to represent a pattern. We need to choose in this case the Pencil Tool (B) with the color # 59AAC8.

Save it!
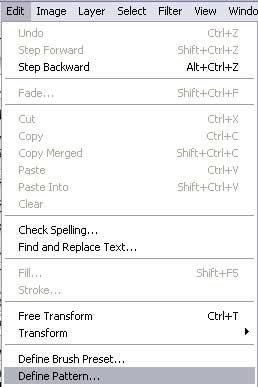
Take the same instrument applied before and represent one more Pattern, but firstly we need to create a new layer of 4×4 px and 72 dpi. The background’s color is #002848, but the pattern’s color is the same with the previous one.
 Save it too!
Create a new layer again and take this time the Rounded Rectangle Tool (U) to represent the primary layer reserved for the site’s sections, colored in # 4F95B3


The layer’s parameters:
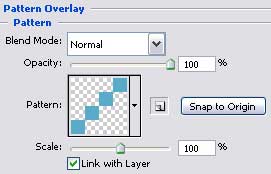
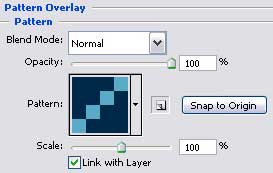
Blending Options>Pattern Overlay
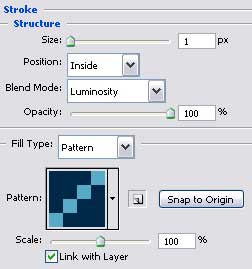
Blending Options>Stroke

Make a copy of the last made layer and select the Free Transform option to make it smaller a little, changing the parameters too. The layer’s color should be #004D7B
The layer’s parameters:
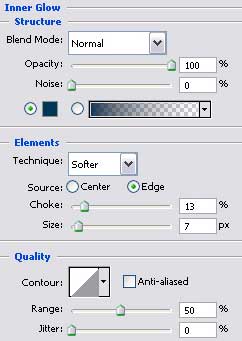
Blending Options>Inner Glow

Create one more layer on which we’ll represent the next Pattern, using the same Pencil Tool (B). The layer’s size is 4×4 px and 72 dpi. The background’s color is #104668; the texture’s color is #588EB0.

Save this one too!

Selecting the Rounded Rectangle Tool (U), it’s possible to draw next the site’s section.

The layer’s parameters:
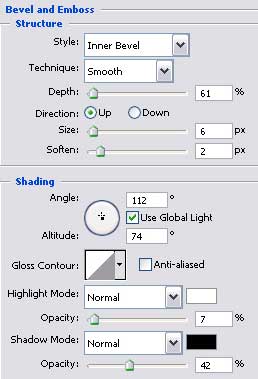
Blending Options>Bevel and Emboss
Blending Options>Bevel and Emboss>Texture
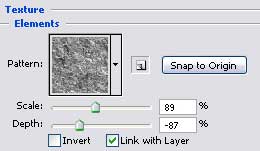
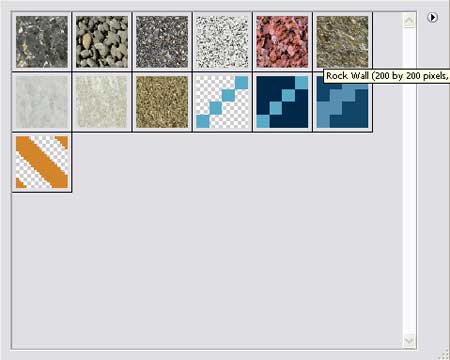
(Rock Patterns Set)
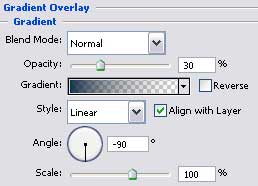
Blending Options>Gradient Overlay
Gradient’s parameters:
Blending Options>Stroke


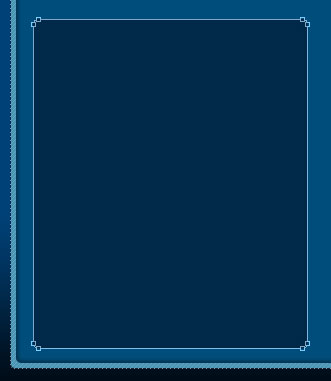
Make a copy of the new made layer and choose again Free Transform option to make the copy smaller like it is shown on the next picture, changing the parameters too.
The layer’s parameters:
Fill 0% on the layers.
Blending Options>Gradient Overlay
 Gradient’s parameters:

For a better result, we need to combine in a group all the layers composing the left section (press on Ctrl button to mark the necessary layers and hold on the left mouse’s button to take the layers down on Create a new group option). Make a copy of this group and apply the Free Transform option to narrow the copy horizontally, placing it the way it is demonstrated below.
Applying the Rounded Rectangle Tool (U), create now a layer on the site’s header colored in # 003250


Draw next a thin stripe colored in #002848, situated lower than the new made layer. It’s possible to apply the Rectangle Tool (U) for this operation.

The layer’s parameters:
The Opacity should be of 50%
Blending Options>Pattern Overlay

Page: 1 2
Comments