
Sci-Fi Fantasy Art
Sci-Fi Fantasy Art Learn in this tutorial how to design awesome sci-fi fantasy art.
Final Image Preview

Create a new file (File>New), having 1024×819 px and 72 dpi.
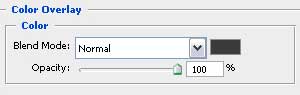
The layer’s parameters: Blending Options>Color Overlay


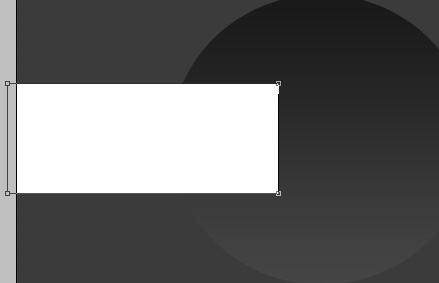
Next we’ll use the Ellipse Tool (U) to represent the primary layer of the abstraction we want to create.

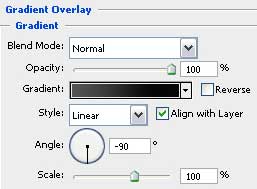
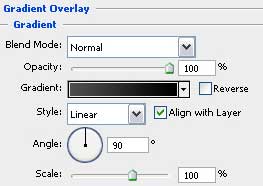
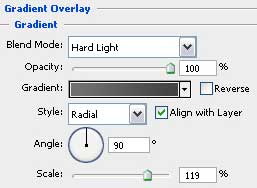
The layer’s parameters: Blending Options>Gradient Overlay
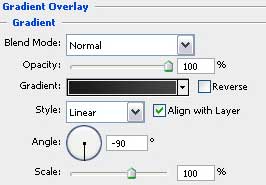
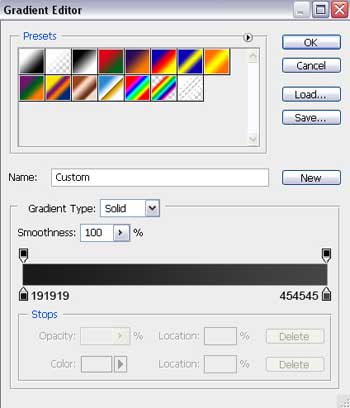
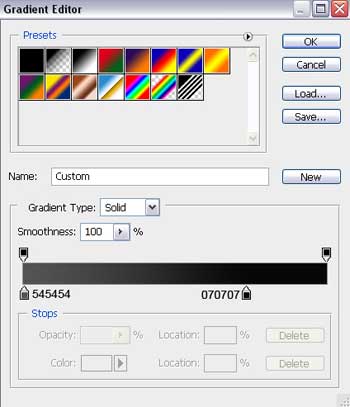
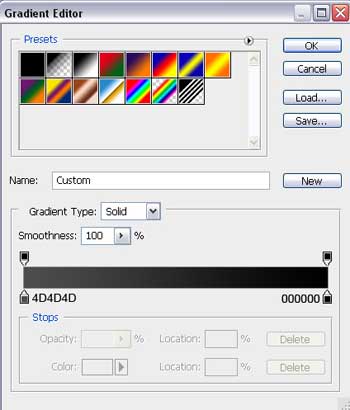
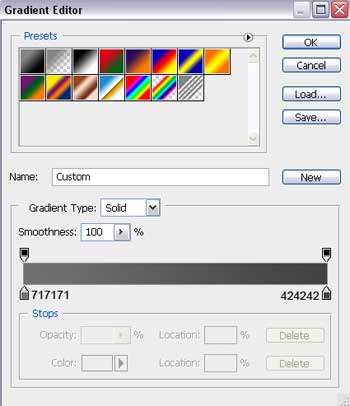
Gradient’s parameters:

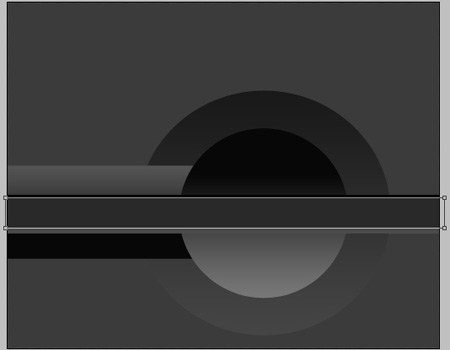
Take now the Rectangle Tool (U) to picture the next layer of the abstraction.
The layer’s parameters: Blending Options>Gradient Overlay
Gradient’s parameters:

Using the same Ellipse Tool (U), it’s possible to represent one more layer of our composition.
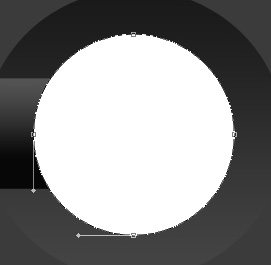
The layer’s parameters: Blending Options>Gradient Overlay

Gradient’s parameters:


Apply the already used Rectangle Tool (U) to represent one more layer reserved for our composition.
The layer’s parameters: Blending Options>Gradient Overlay
Gradient’s parameters:

Applying the Rectangle Tool (U), we’ll try to represent a thin stripe, colored in #292929
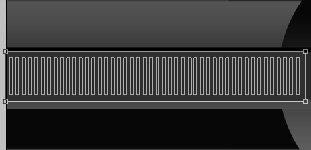
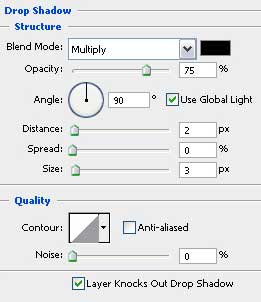
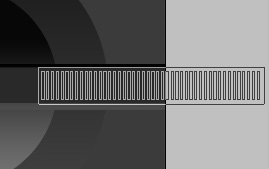
 Next we’ll represent another stripe, containing several orifices. Firstly apply the Rectangle Tool (U) to represent a thin stripe, colored in #303030 and then press on Alt button to cut out in the same time an opening, using the same instrument. Choose after this operation the Direct Selection Tool (A) and press on Alt button to make a copy of the opening by simply transferring it.

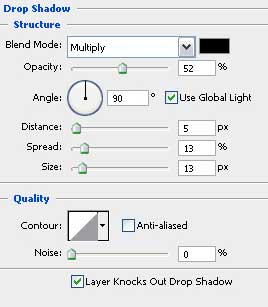
The layer’s parameters: Blending Options>Drop Shadow

Make a copy of the last made layer and select the Free Transform option to place the copy the way it is shown on the picture below.

Select now again the Ellipse Tool (U) and try to represent the next layer, reserved for the abstraction, having the color #868485.

The layer’s parameters: Blending Options>Drop Shadow
Blending Options>Bevel and Emboss

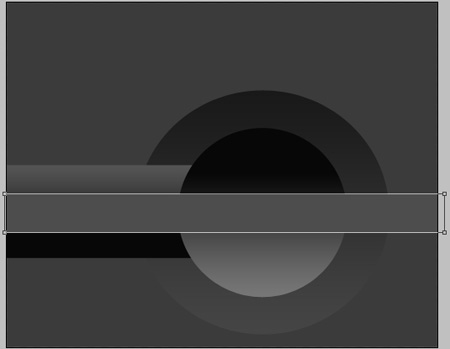
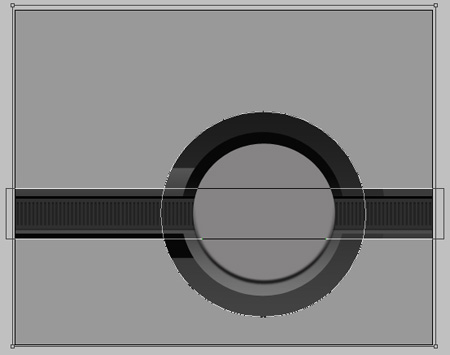
 Now we have to select two instruments for representing two more layers for the composition. Use firstly the Rectangle Tool (U) to represent a common layer and then press on Alt button, but apply the same tool to cut out a horizontal stripe. Keeping pressed the Alt button, select the Ellipse Tool (U) to cut out an orifice.
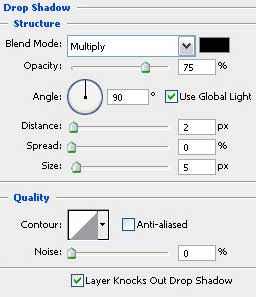
The layer’s parameters: Blending Options>Drop Shadow
Blending Options>Gradient Overlay
Gradient’s parameters:

Comments