
Fort Knox Safe
This tutorial will show you how to create a futuristic interface called “Fort Knox Safe”.
Final Image Preview

For the beginning we’ll create a new file (File>New) with 1600×1200 px. Continue by representing the background, containing the texture. Select firstly the Paint Bucket Tool (G) and paint out the file with #1D2E28

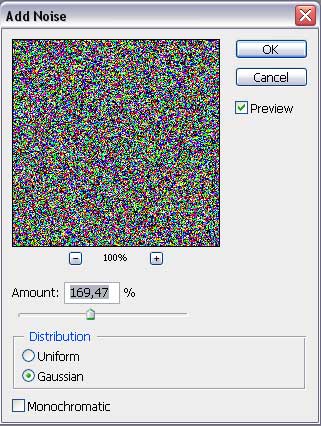
Make a copy of our painted layer. Apply the here shown option on the already copied layer: Filter>Noise>Add noise…
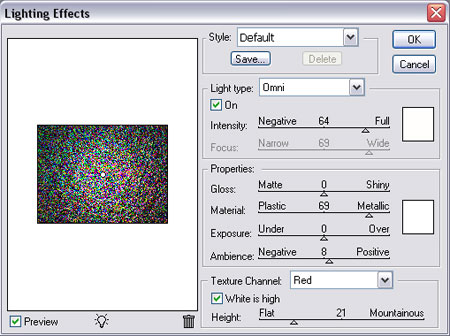
Select next Filter>Render>Lighting effects…

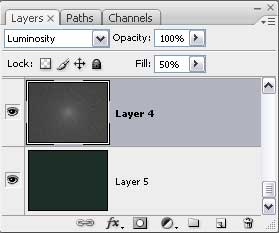
Now we have to press on CTRL+SHIFT+U buttons to decolorize this way the picture.

Apply the here shown adjustments for this layer:
As a result of combining these two layers, we must get the next picture.

Now select the Rectangle Tool (U) to represent a small stripe, colored with #1D2E28
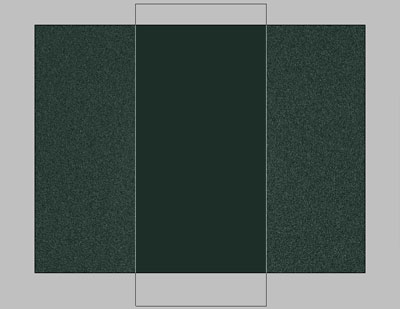
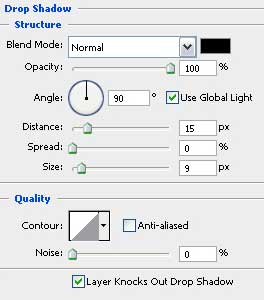
Apply the here shown parameters for the stripe we made earlier.
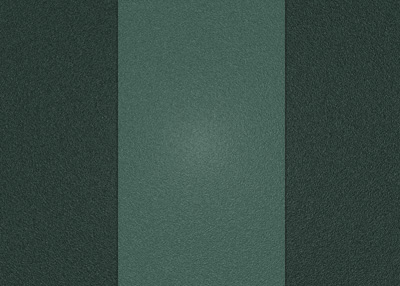
This is what we should get:
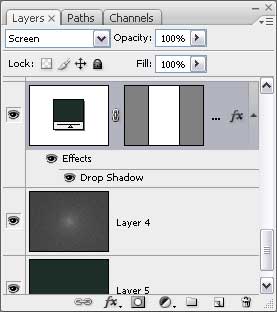
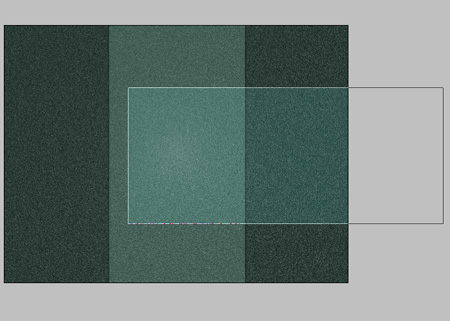
Next we’ll make a copy of the stripe. Then we’ll just select the Free Transform option by clicking the right mouse’s button on the object, turn it around on 90 degrees and enlarge the copy a little. The copy’s parameters should be identical with those from the original stripe, but the color is different – #0C2122
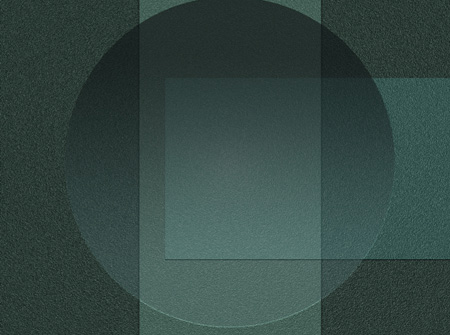
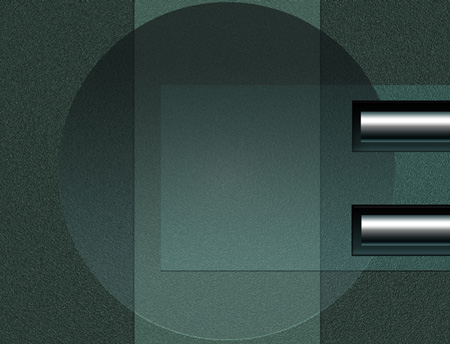
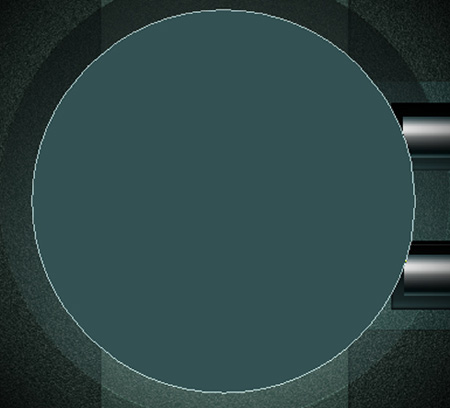
We have finished representing the background and now we’ll continue by drawing the safe itself. Select firstly the Ellipse Tool (U) and represent a circle like that one from below.
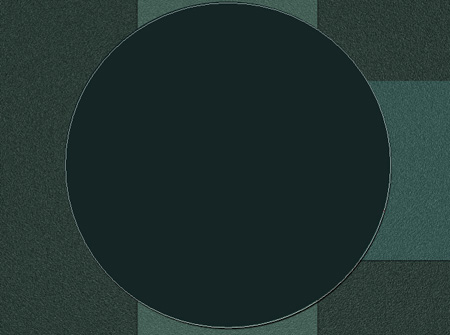
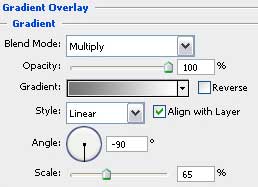
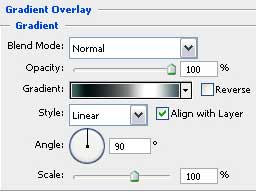
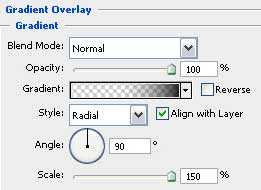
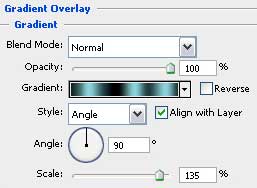
Make it look transparent and represent the light’s flare’s contour on it. Choose Blending Options>Gradient Overlay
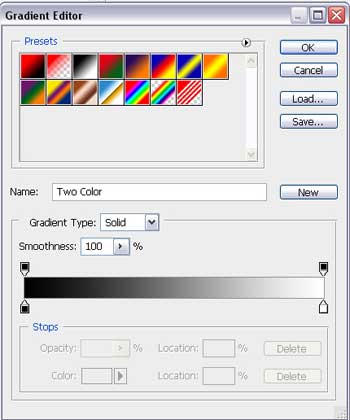
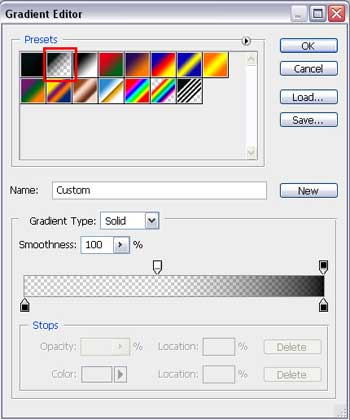
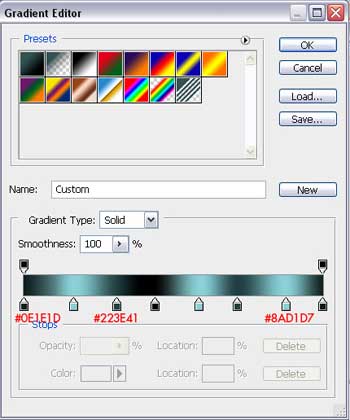
Blending Options>Gradient Editor:
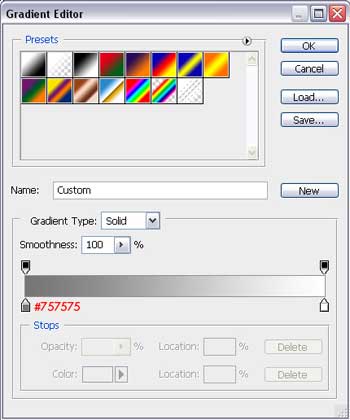
Applying the parameters from below, we’ll get a flare on the lowest part of the circle. Blending Options>Stroke
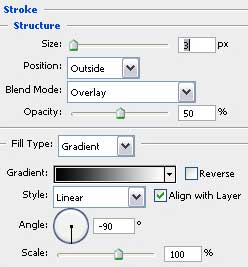
Blending Options>Gradient Editor
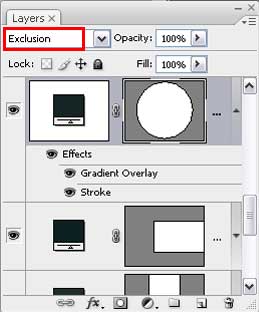
 Don’t forget to change the layer’s parameters.
Let’s see what did we get:
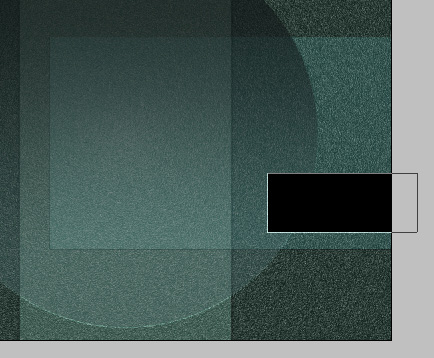
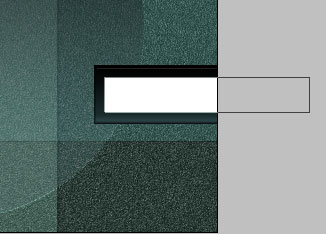
Now we have to represent the orifices, reserved for supporting the safe’s door. Choose the Rectangle Tool (U) and draw a thin stripe on that place reserved for the supporting.
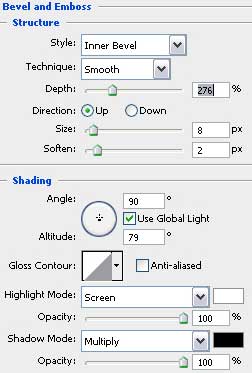
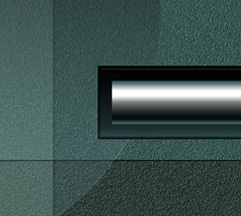
Apply the here shown Blending Options>Bevel and Emboss
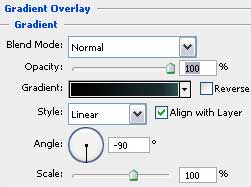
And then Blending Options>Gradient Overlay
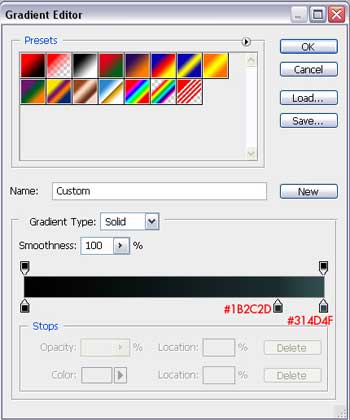
Blending Options>Gradient Editor
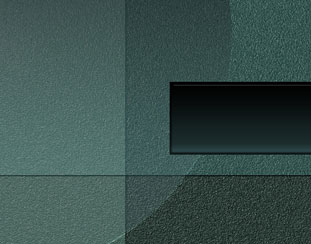
We must get:
Choose one more time the Rectangle Tool (U) and draw a stripe, reserved for the metal supporting.
Blending Options>Gradient Overlay
Blending Options>Gradient Editor:

We should get a picture like the next one:
Make copies of both objects and place them upper than they are.
Next we have to represent a muffle shadow on the entire picture. We’ll use for this operation the Rectangle Tool (U) that must be applied on the entire picture, using also Blending Options>Gradient Overlay
Blending Options>Gradient Editor
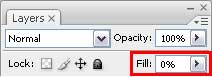
Fill 0% for this layer.
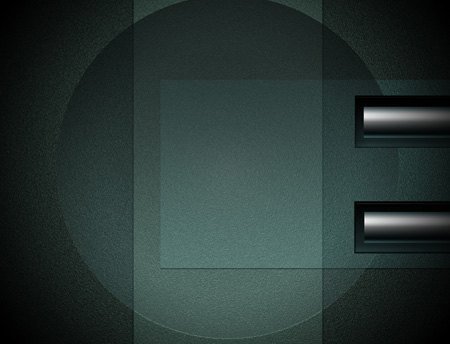
And we’ll get:
 Next step includes representing the door itself. Choose the Ellipse Tool (U) and represent a circle colored with #335152.
. Make one more circle and make some corrections on it by transforming its sizes into smaller ones.

Apply Blending Options>Gradient Overlay
Blending Options>Gradient Editor:
Page: 1 2
Comments