
Love Wallpaper for the desktop
In this tutorial you will learn how to create a high quality love desktop wallpaper.
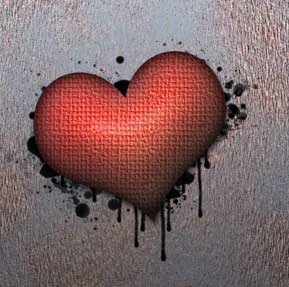
Final Image Preview

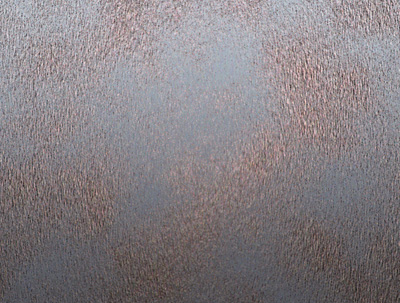
For the beginning we have to create a new file (File>New), having 1024×768 px and 72 dpi. Choose after that the Gradient Tool (G) to paint the file, applying the color’s parameters shown below:

the color’s codes are #А8B7BC and #4F5C64.


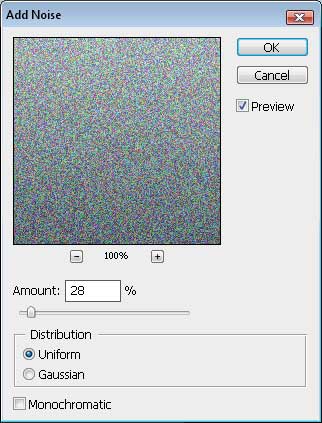
Select now Filter>Noise> Add noise…
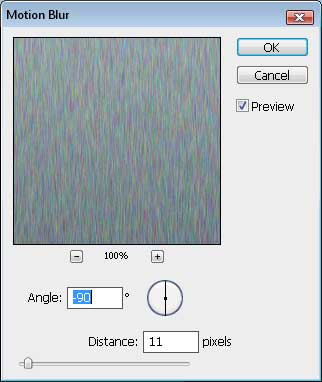
Next we’ll select Filter>Blur>Motion blur…
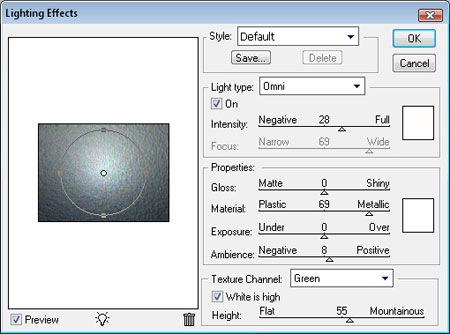
Make a copy of this layer and choose the filter’s parameters, situated in Filter>Render>Lighting Effects…
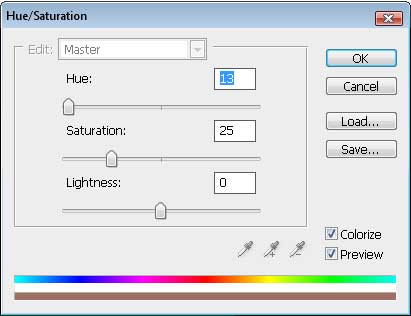
Apply also for this layer the next option – Hue/Saturation, an option that may be chosen by pressing simultaneously Ctrl+U. This way we’ll change the layer’s color.
You may see the result that we have got at this moment:

Next step includes applying the mask for the upper layer. The mask may be selected from the layers’ palette.
 Click on the mask and select Filter>Render>Clouds, but don’t forget to apply the same parameters demonstrated below:

This is the new result:
Next we’ll select the Custom Shape Tool (U) with the shape Heart Card.
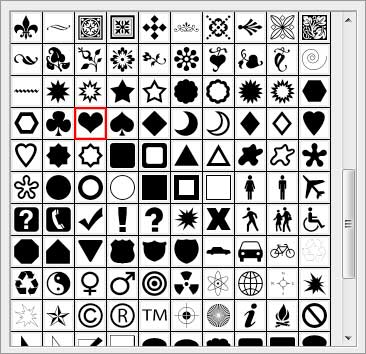
Place the heart exactly the same way it is demonstrated next image:

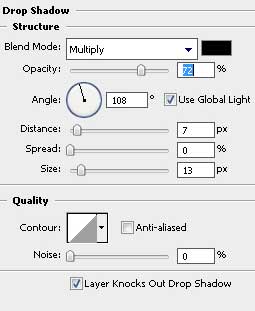
Apply the Blending Options>Drop Shadow, inserted in the table below:
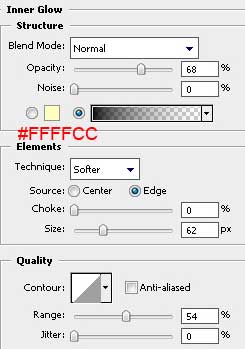
Blending Options>Inner Glow
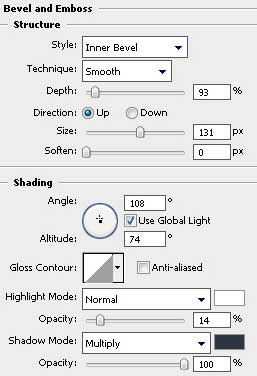
Blending Options>Bevel and Emboss
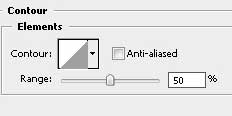
Blending Options>Bevel and Emboss>Contour
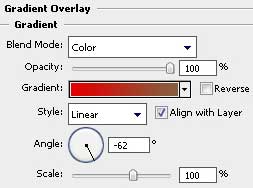
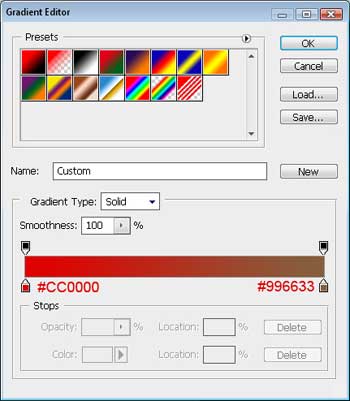
 Blending Options>Gradient Overlay
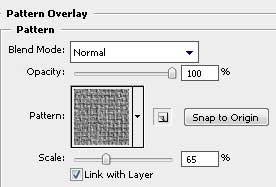
Blending Options>Pattern Overlay. The texture set Artist surfaces. The texture’s name is Dark coarse weave.
You must get the same result as the next one:

Create a new layer under the heart’s one and represent on it black drops and sparks, using the usual Brush Tool (B). The brushes may be found in the Internet and they have the next titles: Evil_Blood_Splat and Blood_Splatter_Brushes_By_Vexing_Art.
Create immediately one more new layer and use a brush from those earlier applied that has the name Blood_Splatter2, and represent a blot of black color on the heart.

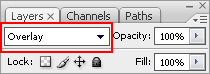
It should become of blood’s color, which is why we’ll set the parameters on the layers’ palette as it is shown in the next table:
We should represent on this heart several more patches, using the brush finger prints brushes by hawksmont that may be downloaded in Internet too.
 Set the parameters for the layers’ palette as it is indicated below:

Page: 1 2
Comments