
Designing Canon Digital Camera
In this detailed tutorial we will learn how to design Canon digital camera.
Final Image Preview
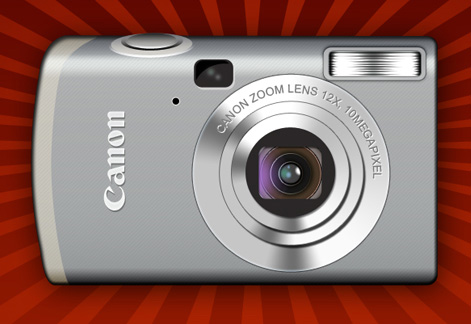
Let’s begin. Open Photoshop and create a new file (File>New) with 1024×768 px and 72 dpi. Select after that the Rectangle Tool (U) and represent a rectangle of the color you want.

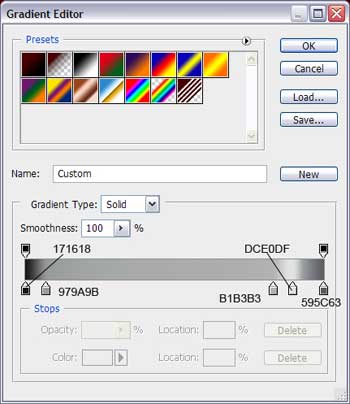
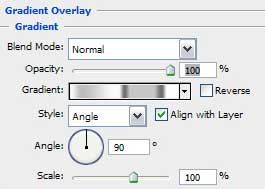
Select the Blending Option parameter and select here the parameter Gradient Overlay.
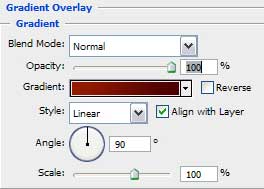

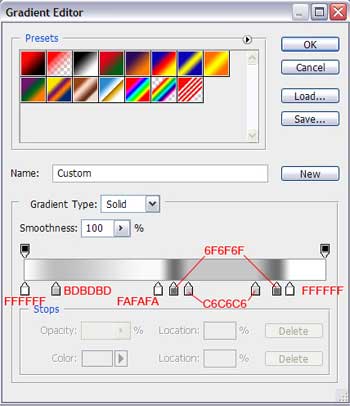
Select the gradient’s parameters, using the codes indicated below:
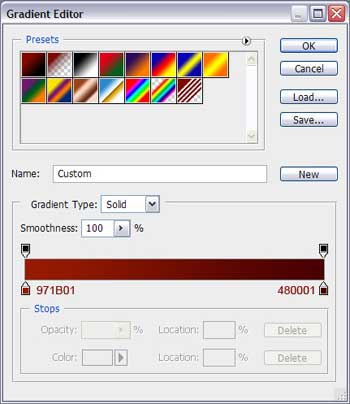
As a result, we’ll get a nice background as the next one:

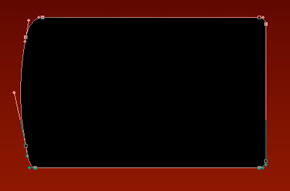
Start representing the photo camera itself. It’s necessary to select in this case the Rounded Rectangle Tool (U) and picture a rectangle with rounded corners.

The Convert Point Tool will change several points as those from below (press Ctrl button to shift the points)
Select after that Blending Options > Gradient Overlay
Select the Screen option instead Normal option on the Blending mode option, setting the colors depending on the codes indicated below.
This is the picture we should get on this stage:

Select next option Blending Options>Bevel and Emboss and set the next parameters:

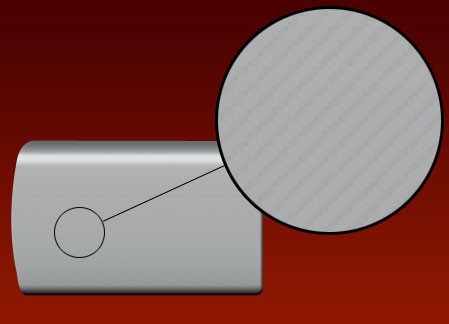
Create a new file of 4×4 px and choose the Pencil Tool (B) to insert along the diagonal four pixels.
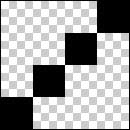
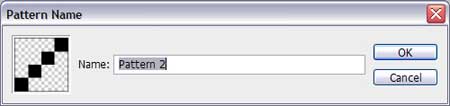
Edit>Define Pattern
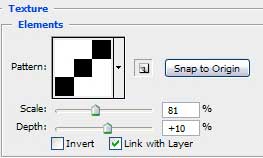
Select now Blending Options>Bevel and Emboss> Texture and choose our pattern, setting the parameters from below:
 We should get the next pattern:
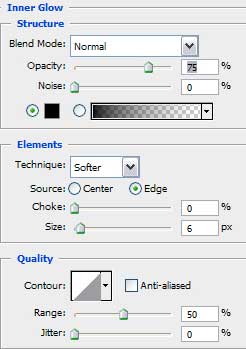
Enter now the Blending Options>Inner Glow and select the next parameters:

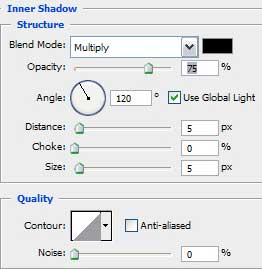
Apply the next options: Blending Options>Inner Shadow

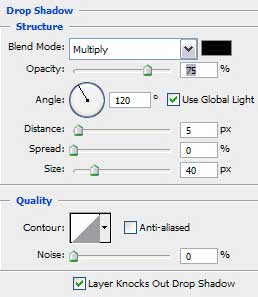
Enter Blending Options>Drop Shadow to set the parameters indicated next table:

Using the Pen Tool (P), try to picture an element as the one from the picture, having the color’s code #C4A565
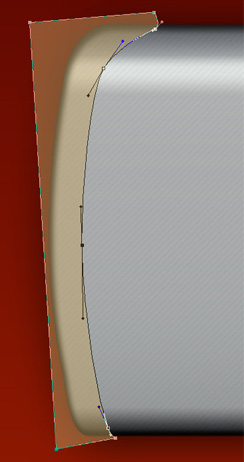
Fill 47% on the layer.
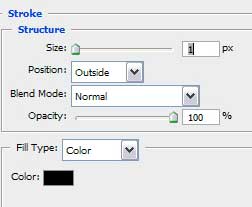
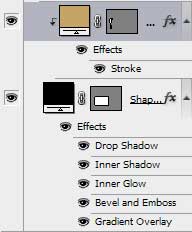
Select Blending Options>Stroke to set the next parameters::
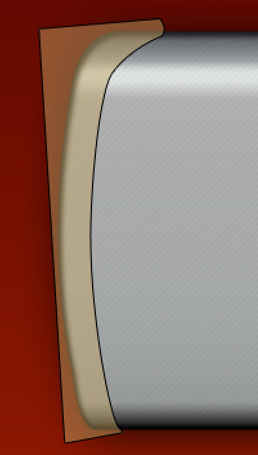
Press the Alt button and make simultaneously a left mouse’s click between the marked layer and the layer containing the camera’s corps
It’s the result we must get:
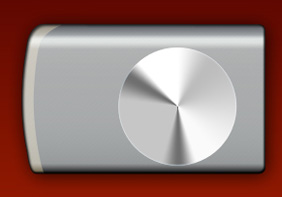
 Working with the corps, is finished! Start working with the camera’s object glass and try to represent roundness with the Ellipse Tool (U).

Blending Options>Gradient Overlay:
That is what we should get:
Enter Blending Options>Inner Glow to set the parameters indicated next table:
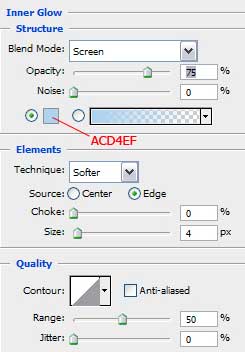
The color’s code is #ACD4EF
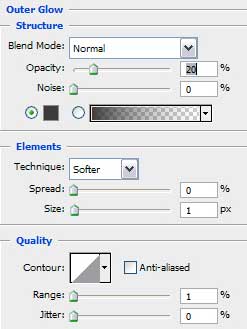
Blending Options>Outer Glow:
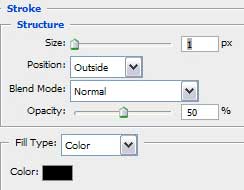
Blending Options>Stroke:
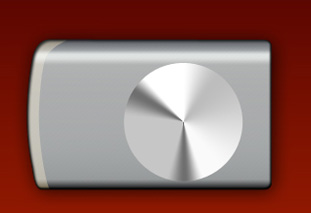
That is what we have now:

Make a copy of the layer and make it smaller with the Free Transform option. Cancel for now the Blending Options>Outer Glow, Inner Glow and add Drop Shadow:

Change the placement of the gradient’s colors, as the next picture indicates it:

Comments