
Photographer Page Layout
October 2, 2007 | 0 comments
In this tutorial you’ll learn how to make a very elegant professional-looking portfolio template.
Begin by creating a new file (File>New) with 1024×768 px and 72 dpi. Applying the Rectangle Tool (U), we’ll represent the background of the picture to be.

The layer’s parameters: Blending Options>Gradient Overlay 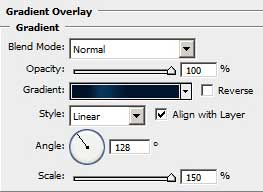
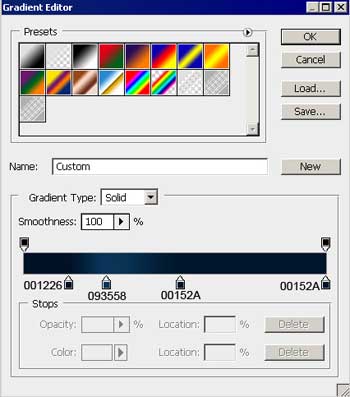
Gradient’s parameters:


Next we’ll select the Brush Tool (B) with blurred edges of white color and a big size for picturing a flare on the background.

Apply the next shown parameters for the layer, containing the flare. Blending mode-Soft Light

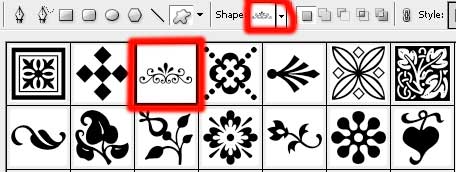
Choose now the Custom Shape Tool (U) to represent a shape on the background. The shape’s color is #416183

Apply the here shown parameters for the last made layer: Fill 30% on the layer.

Comments