
Audio Receiver Illustration
The new lesson we’ll try to represent a style illustration, dedicate to a certain topic, in this case, to the musicals.
Final Image Preview
Let’s begin! Create for the beginning a new file (File>New) that would have 782×614 px and 72 dpi. Select now the Rectangle Tool (U) and stretch out the rectangle on the whole page.
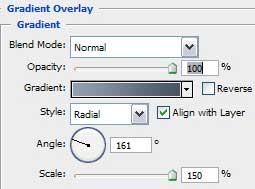
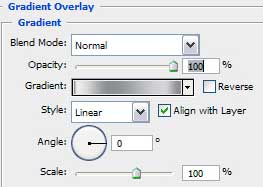
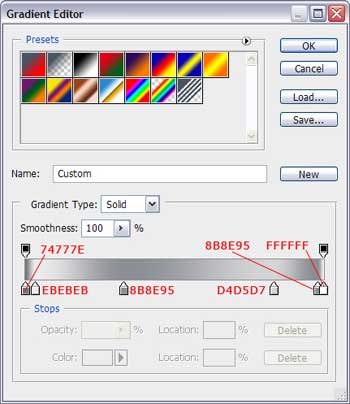
Select after that Blending Options>Gradient Overlay:

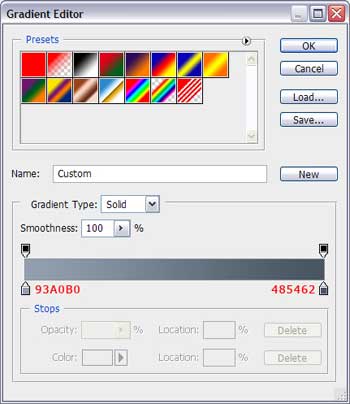
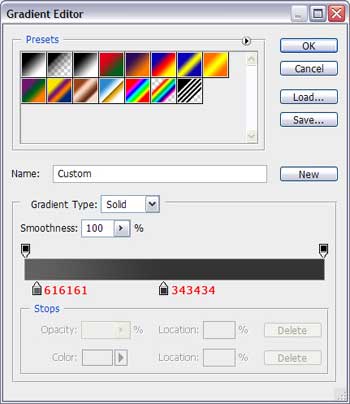
Set the gradient’s color, keeping the colors’ codes indicated below:

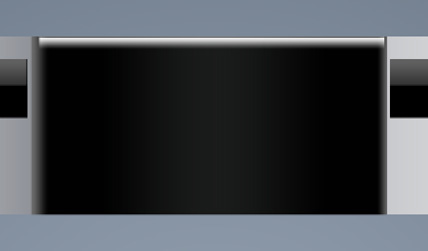
The background is finished, so we can start representing the player itself. Firstly take the Rectangle Tool (U) with 5 px radius and represent the corps of the player to be.

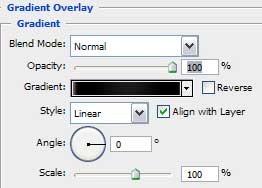
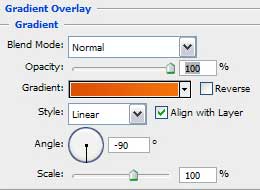
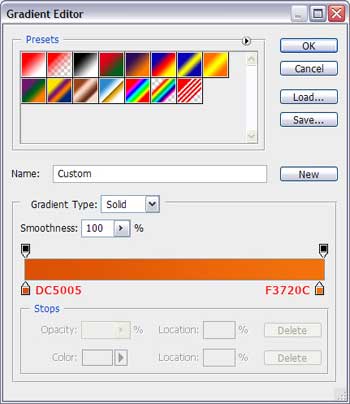
Blending Options>Gradient Overlay:

Next select the same instrument used before with 30 px radius this time and black color to represent an element, like this one from next picture.

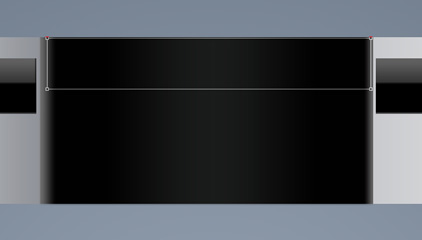
Take the same Rectangle Tool (U) and press Alt button to stretch out the rectangle the way it is shown below:
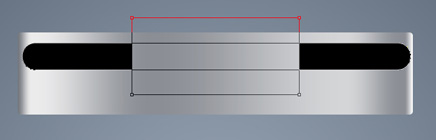
Make a copy of the last layer and select the colors here mentioned – #70777F and try to make the same representation, by dividing the rectangles, using the Alt button, the way it is shown below.

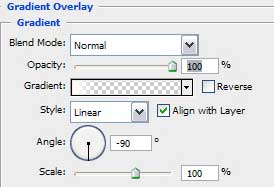
Blending Options>Gradient Overlay:
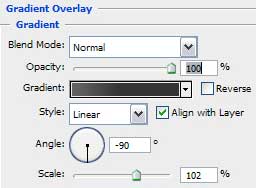

Continue representing now the front panel, choosing for the beginning the Rectangle Tool (U) and represent a rectangle the way indicated below.

Blending Options>Gradient Overlay:


Create one more rectangle the same way indicated below, setting the Fill option on 0%.
Blending Options>Gradient Overlay:
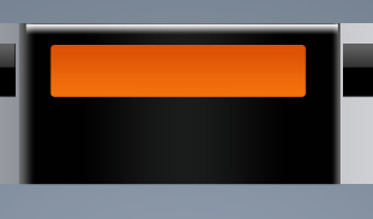
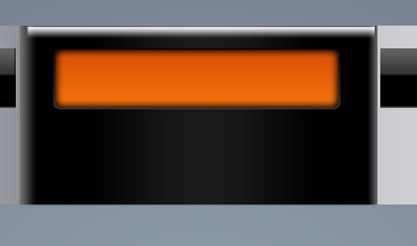
Next we’ll represent the screen by selecting the Rounded Rectangle Tool (U) and placing the result the way shown next picture.

Blending Options>Gradient Overlay:
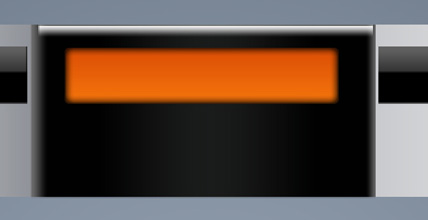
Blending Options>Inner Glow:

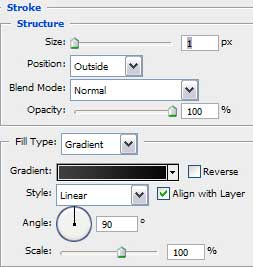
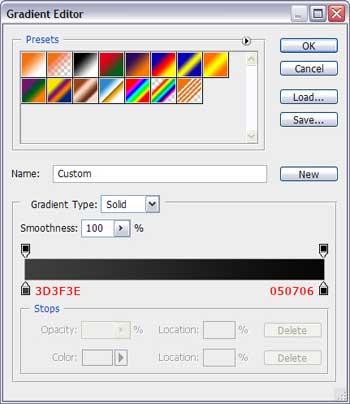
Blending Options>Stroke:
Comments