
Online Photo Portfolio
This tutorial will show you how to create a clean looking layout for your portfolio.
Create a new file (File>New) with 766×699 px and 72 dpi.

Choose after that the Rectangle Tool (U) to represent the background of the site’s page to be next:

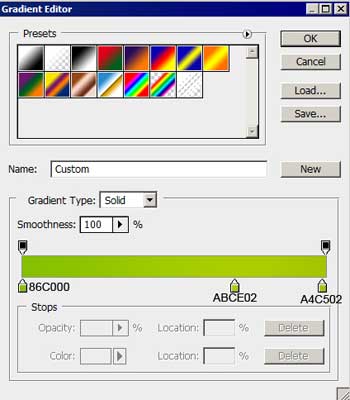
Apply the next layer’s parameters by making a mouse’s click on the corresponding layer on the layers’ panel. Blending Options>Gradient Overlay

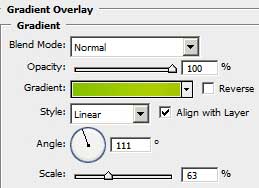
Gradient’s parameters:

Create a new layer of 4×4 px and 72 dpi. Select then the Pencil Tool (B) to represent a pattern of white color.

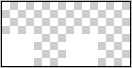
Edit>Define Pattern
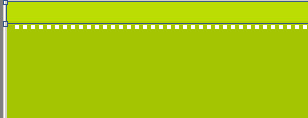
It’s time to represent on the upper part of the background a thin stripe, applying the same Rectangle Tool (U).

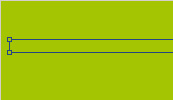
The layer’s parameters: Fill 0%
Blending Options>Pattern Overlay 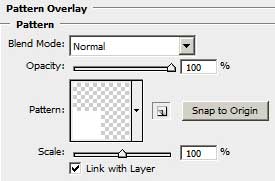


Using the same instrument above the made stripe, try to make another one, colored with #BBDD03
Comments