
Halloween Pumpkin Wallpaper
In this tutorial, you’ll learn how to create Jack-o’-lantern using simple tools and techniques like Ellipse Tool, Gradient Tool, Layer Styles, etc. in Adobe Photoshop. Layered PSD file included. Let’s get started!
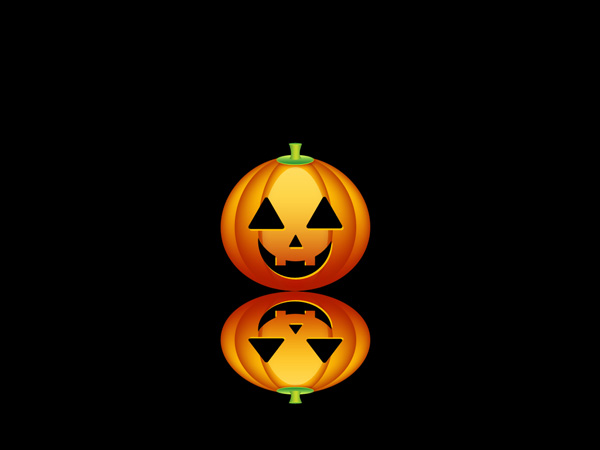
Final Image Preview

Start working by creating a new document (Ctrl+N) in Adobe Photoshop with the size 1024px by 768px (RGB color mode) at a resolution of 72 pixels/inch. Use the Paint Bucket Tool (G) to fill with black color the new background layer.

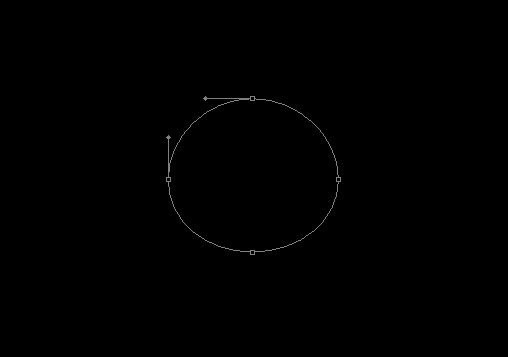
Select now the Ellipse Tool (U) and drag to draw a small ellipse as shown.

Set Fill to 0% for this layer and click on Add a layer style icon from bottom part of the Layers panel and select Inner Glow.
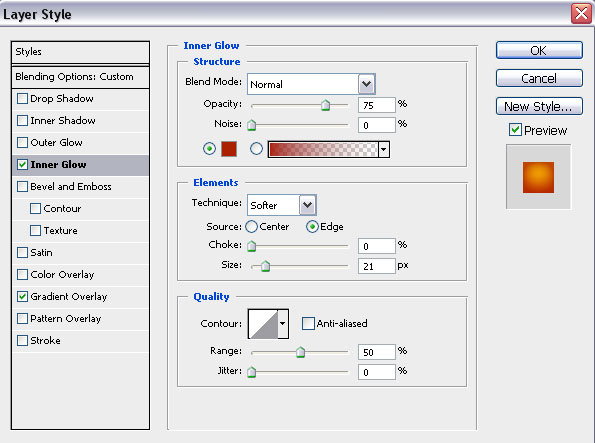
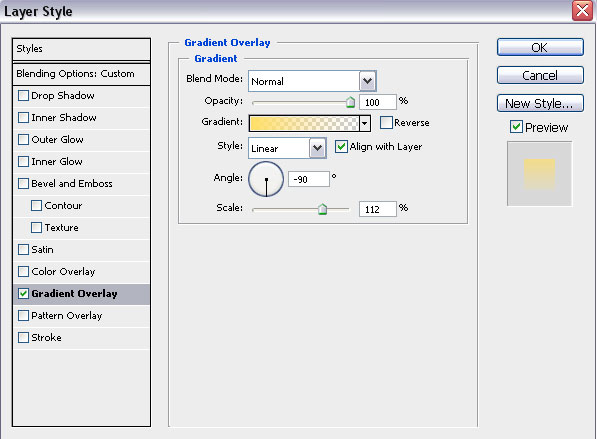
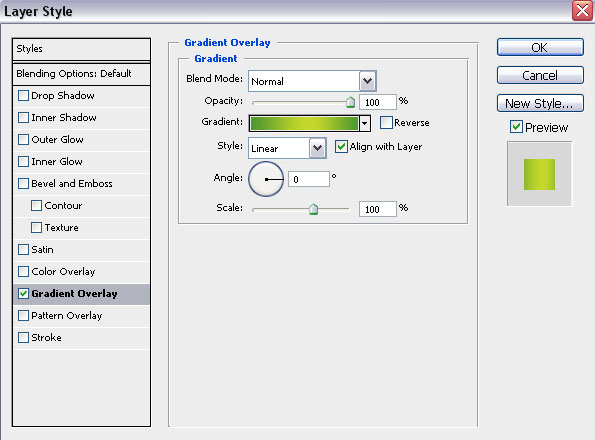
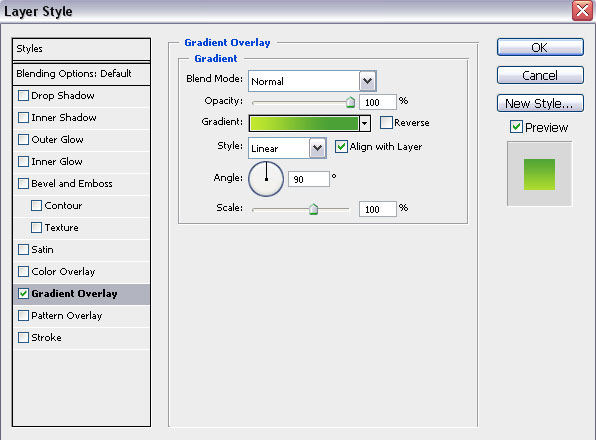
Add Gradient Overlay:

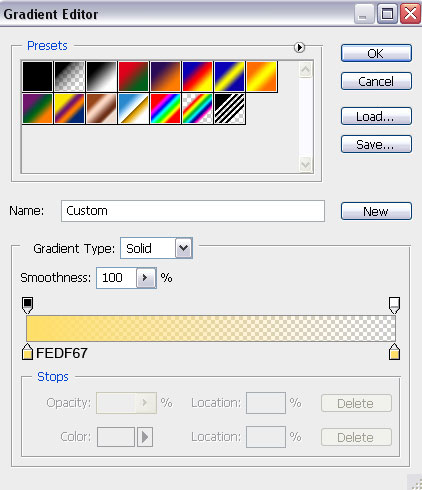
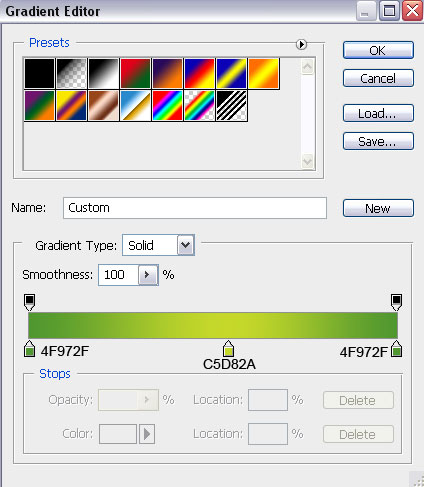
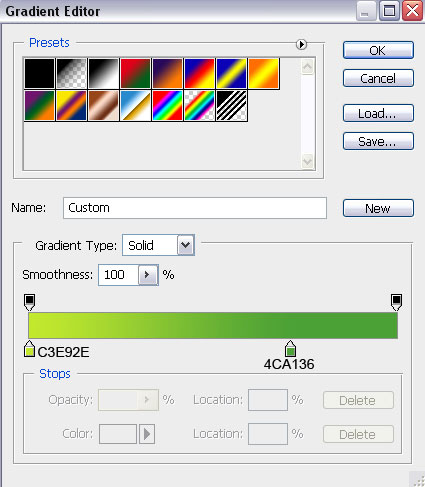
Click in the color bar to open the Gradient Editor and set the color stops as shown. Click OK to close the Gradient Editor dialog box.
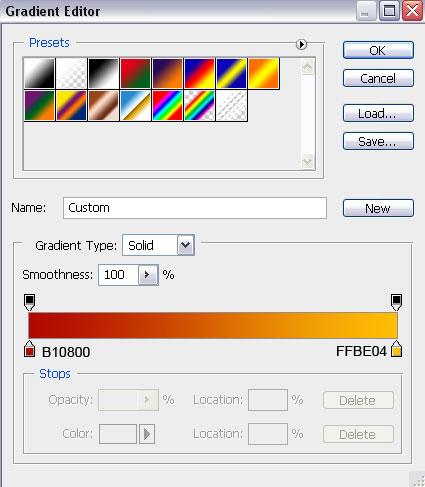
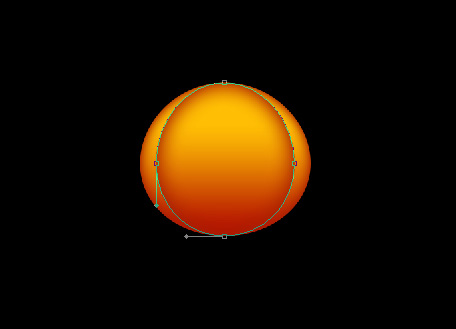
We’ve got the next result:

Make a copy (Duplicate layer) of the ellipse’s layer and select the Free Transform (Ctrl+T) command to distort the copy, placing it the way it is shown below.
Make another copy of the layer and choose again the Free Transform (Ctrl+T) command to distort the copy too.
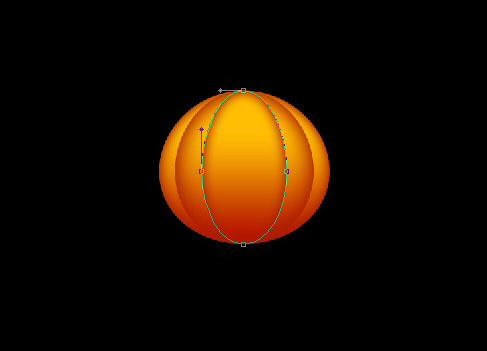
Using the same instrument, Ellipse Tool (U), it’s possible to create on the middle part of the pumpkin a highlight.
Set Fill to 0% for this layer and click on Add a layer style icon from bottom part of the Layers panel and select Gradient Overlay.
Click in the color bar to open the Gradient Editor and set the color stops as shown. Click OK to close the Gradient Editor dialog box.
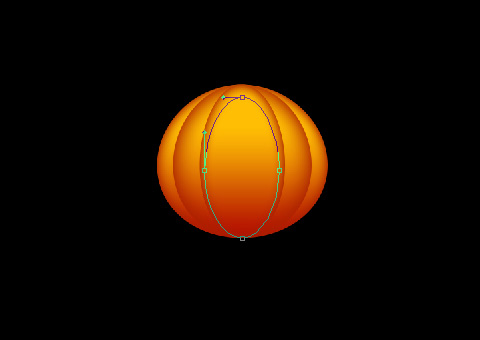
We’ve got the next pumpkin:

Select the Custom Shape Tool (U) in the Tools bar, in the Options bar click the Shape to open the selection menu. Find Sign 3 shape at the bottom of the menu, and then double-click a shape thumbnail to select it.
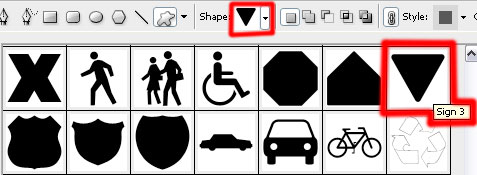
Click and drag to draw the pumpkin eyes of black color, represent the first one and then press SHIFT button to make another one.

Click on Add a layer style icon from bottom part of the Layers panel and select Drop Shadow.
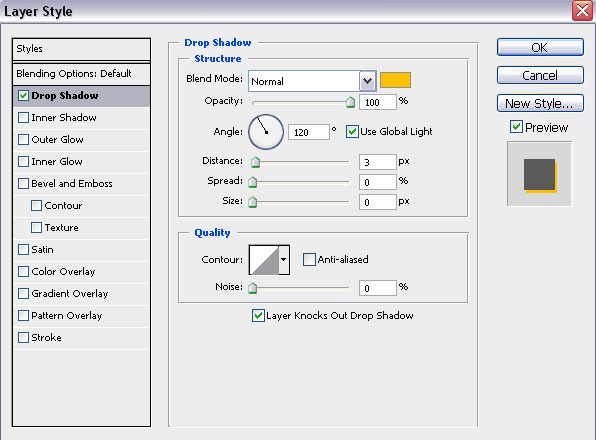
We’ve got the next result:

Use the same method, the same instrument and the same Layer Style to represent next the pumpkin’s nose.

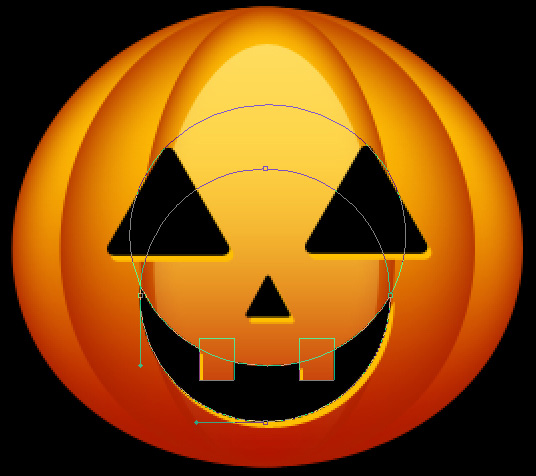
It’s time to represent now the pumpkin’s mouth and its teeth. Use firstly the Ellipse Tool (U) to make an ellipse of black color and then hold Alt button while using the same Ellipse Tool (U) to Subtract from shape the top part. Hold one more time Alt button and use the Rectangle Tool (U) to Subtract from shape the elements reserved for teeth. Apply the same Layer Style (Drop Shadow) used when representing the eyes and the nose.
Select now the Ellipse Tool (U) to represent several parts belonging to the pumpkin’s stalk.

Click on Add a layer style icon from bottom part of the Layers panel and select Drop Shadow.
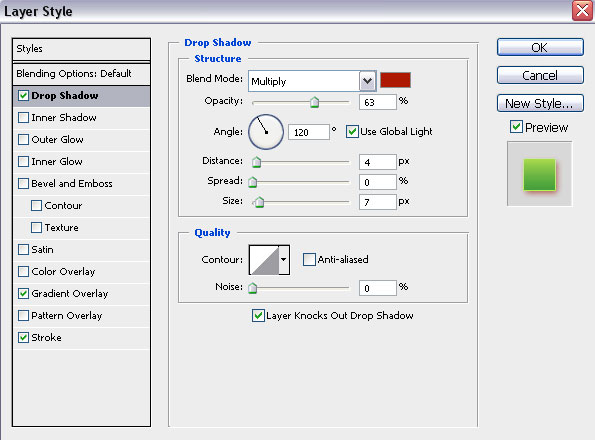
Add Gradient Overlay.
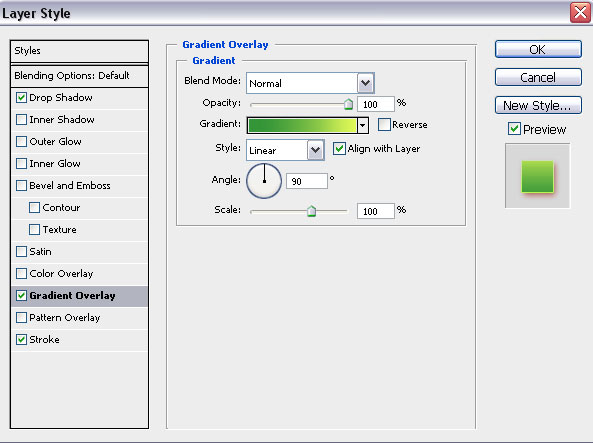
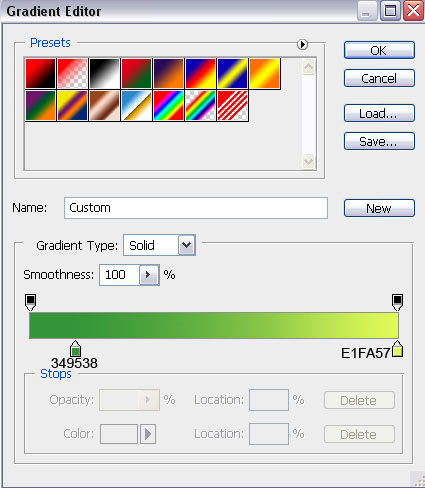
Click in the color bar to open the Gradient Editor and set the color stops as shown. Click OK to close the Gradient Editor dialog box.
Set Stroke.

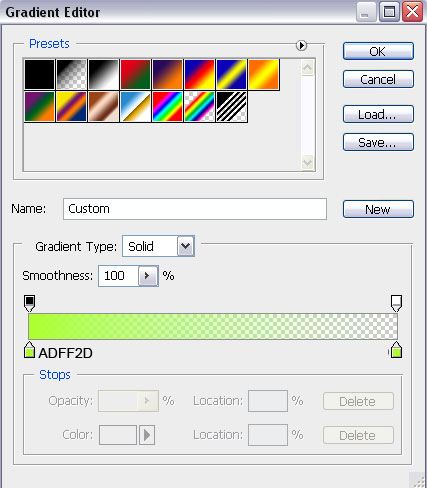
Click in the color bar to open the Gradient Editor and set the color stops as shown. Click OK to close the Gradient Editor dialog box.
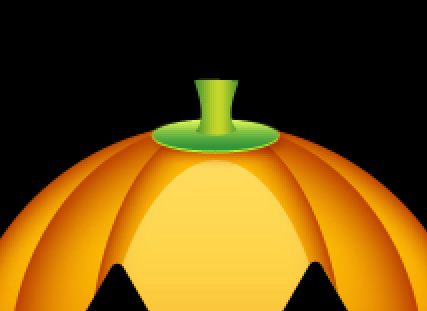
We’ve got the next result:

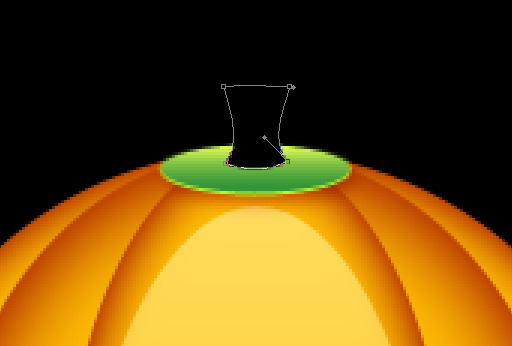
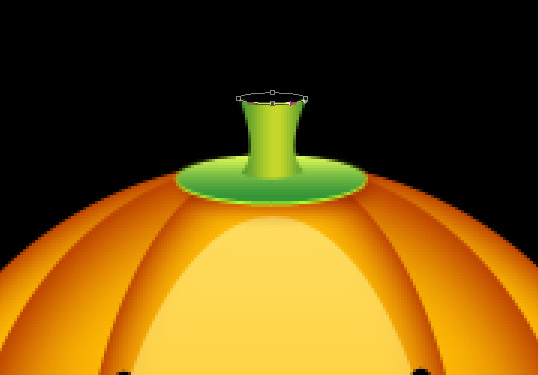
Next choose the Pen Tool (P), set the drawing mode on Shape Layers in Options bar and draw the next shape as shown to represent the next part of the stalk.
Click on Add a layer style icon from bottom part of the Layers panel and select Gradient Overlay.
Click in the color bar to open the Gradient Editor and set the color stops as shown. Click OK to close the Gradient Editor dialog box.
We’ve got the next result:
Choose once again the Ellipse Tool (U) to represent the upper part of the pumpkin’s stalk.
Click on Add a layer style icon from bottom part of the Layers panel and select Gradient Overlay.
Click in the color bar to open the Gradient Editor and set the color stops as shown. Click OK to close the Gradient Editor dialog box.
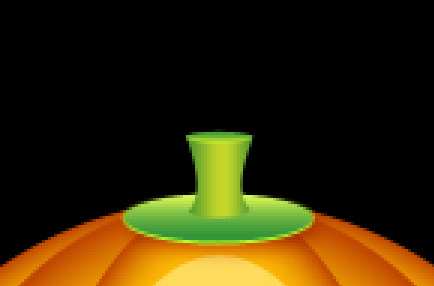
We’ve got the next result:

Now we have to Combine in a group all the layers composing the pumpkin (hold CTRL button and select the necessary layers on the Layers panel. Then hold on the left mouse’s button while draging the selected layers on Create a new group icon from bottom part of the Layers panel. Make a copy of the group and press CTRL+E to Merge Down all layers from the group in one layer. Choose the Free Transform (Ctrl+T) command to turn over, placing it the way it is shown below:
Insert the mask on the layer by choosing Add layer mask on the bottom part of the Layers panel and choose the Soft Round brush of black color .
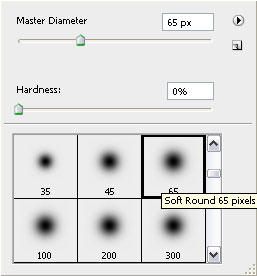
Use this brush to paint in the mask to hide the bottom part of the Jack-o’-lantern’s reflection.
The final result!
View full size here.
Download free Layered PSD file.
Comments