
Night Sky
Learn how to create nice wallpaper with night effects.
Inspired from Nightly Journey by gucken and taenaron
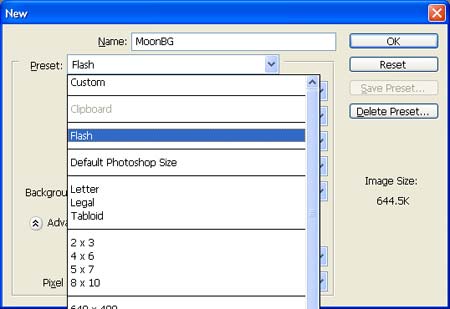
Create a new file (File>New) that must have 1024×768 px and 72 dpi.


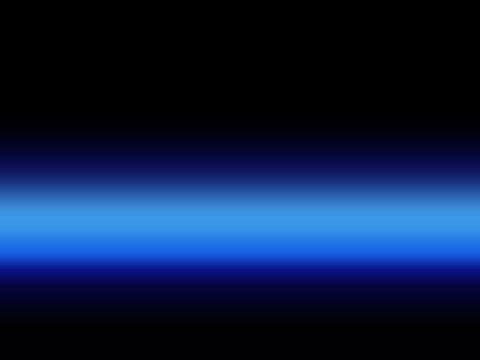
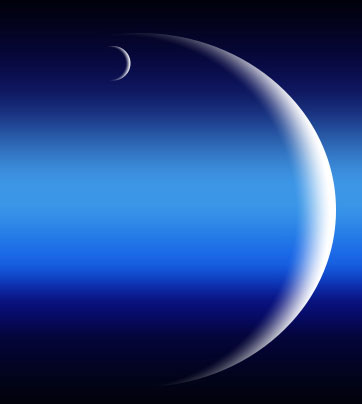
Using the Rectangle Tool (U), try to represent the first background’s layer of the picture to be next.
Make a mouse click on the layer on the layers’ panel, applying the following parameters:
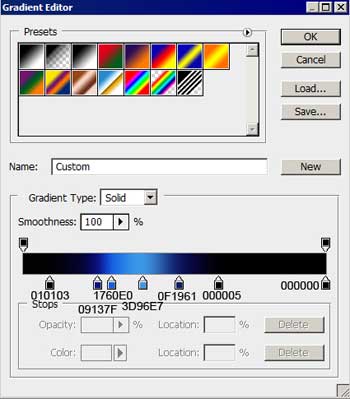
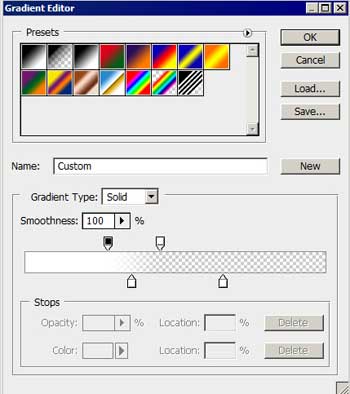
Blending Options>Gradient Overlay
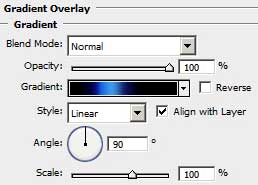
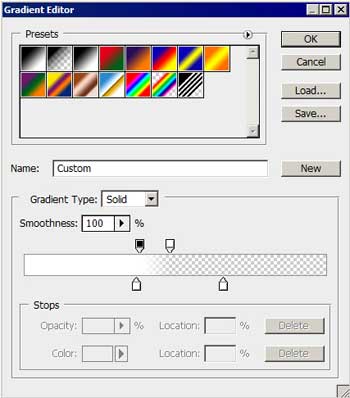
Gradient’s parameters:
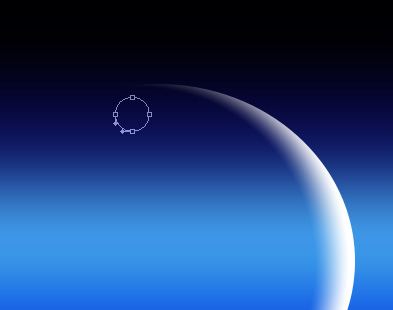
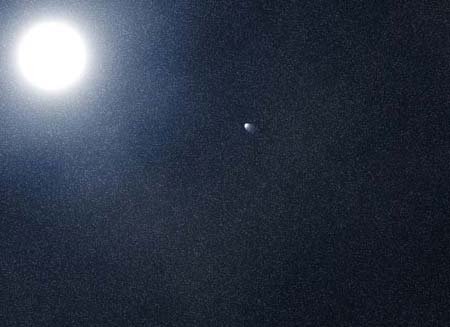
Select now another instrument – the Ellipse Tool (U) to picture a planet.
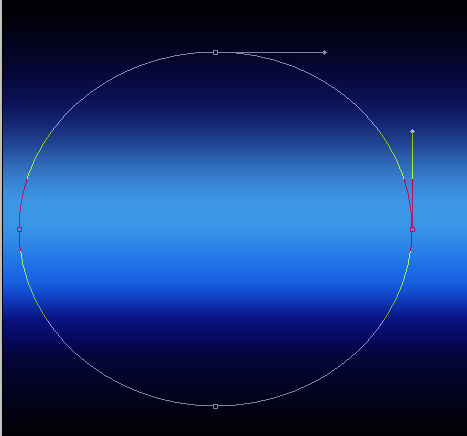
The layer’s parameters: Fill 0%
Blending Options>Gradient Overlay
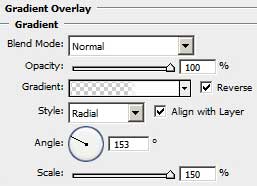
Gradient’s parameters:
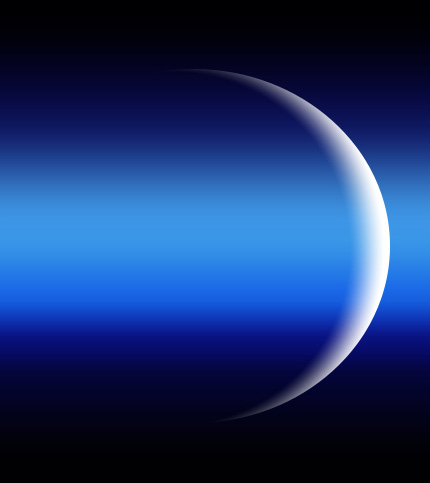
Applying the same method, it’s possible to represent one smaller planet on our picture.
Apply the same parameters: Blending Options>Gradient Overlay
Gradient’s parameters:

Comments