
Learning Planet Effects
Lighting effects wallpaper with powerful reflection effect.
Inspired from The Lake by taenaron
Begin by creating a new file (File>New) with 1024×768 px and 72 dpi.

Take after that the Rectangle Tool (U) and represent the primary layer, reserved for the background of the picture to be.

Make a double click on the layer on the layers’ panel and set the next demonstrated parameters:
Blending Options>Gradient Overlay 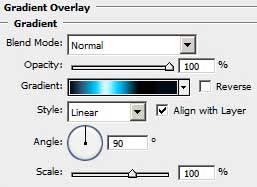
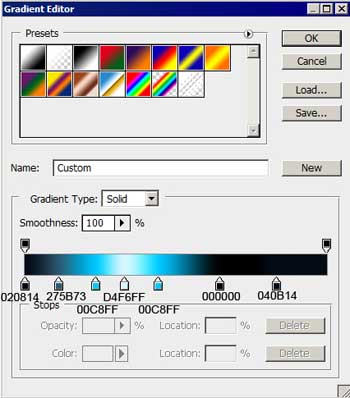
Gradient’s parameters:

Now we have to picture a starry sky. In this case it’s necessary to create a new layer firstly (Create new layer) and select the Paint Bucket Tool (G) to paint the layer in black. Apply for it also the next filter’s option: Filter>Noise>Add noise 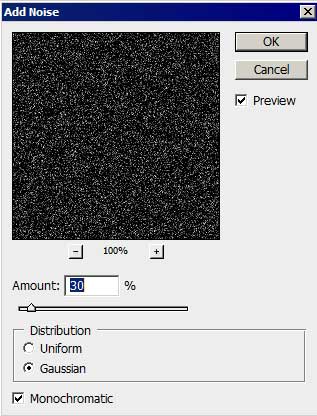
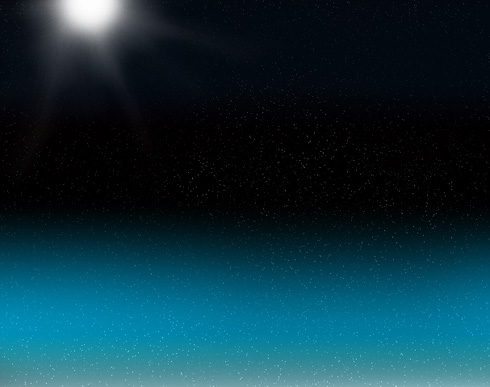
Make a click on the same layer on Add a Mask option, situated on the layers’ panel. Choose a standard brush, Opacity of 20%, black color and 200 in diameter to clean out a little the starry sky, as it is demonstrated below.

Create a new layer and select for it a standard brush of white color with blurred edges to represent a white patch. It may be processed with the Smudge Tool (R) to get after all a bright star. The instrument’s direction should be from the patch’s middle to outside, as you may see on the next picture.
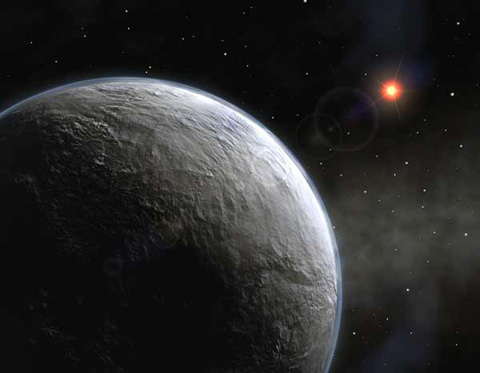
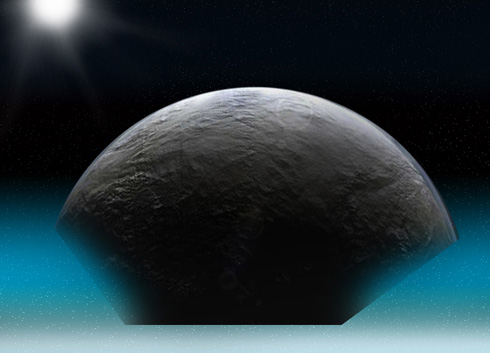
Find in Internet a picture, having represented on it a planet.
Cut out the planet and erase its lowest corner. Insert it after that on our picture. The planet’s placement may be corrected with the Free Transform option.
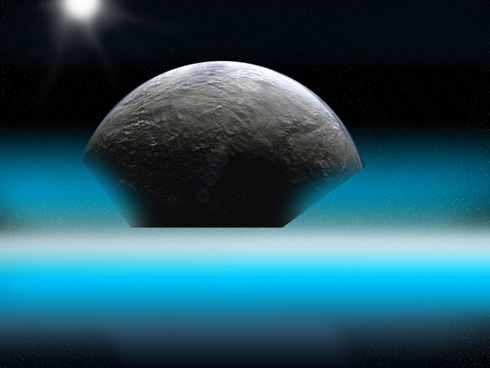
Create one more new layer (Create new layer) and choose once again the Brush Tool (B) of black color, Opacity of 10% to dark out the planet.
Comments