
Merry Christmas Card
Design a Merry Christmas card using Photoshop techniques and trick.
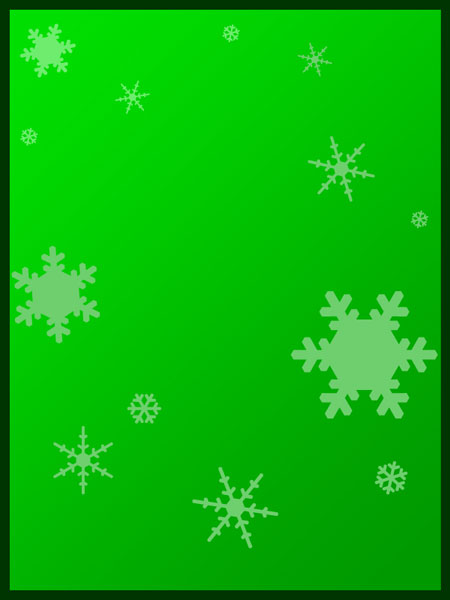
Final Image Preview

Let’s start by creating a new file (File>New) with 600x800px and 100 dpi.
Apply on the layer the Rectangle Tool (U) to represent the background of the postcard picture to be next:

The layer’s parameters (making a mouse’s click on the layer on the layers’ panel): Blending Options>Gradient Overlay
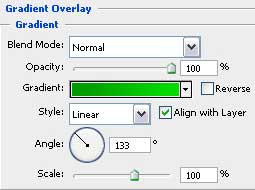

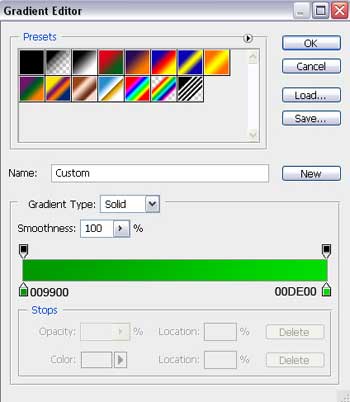
Gradient’s parameters:
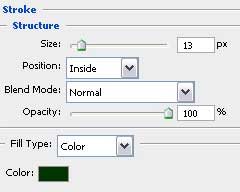
Blending Options>Stroke

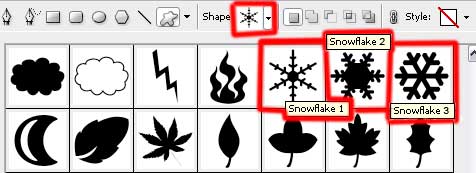
Next we have to take the Custom Shape Tool (U) and represent the snowflakes of different sizes. Choose the next color for the snowflakes: #6ECF6E
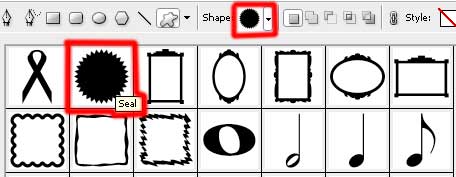
Next select the Custom Shape Tool (U) that is helpful when representing the primary layer reserved for the Christmas garland which color is white too.
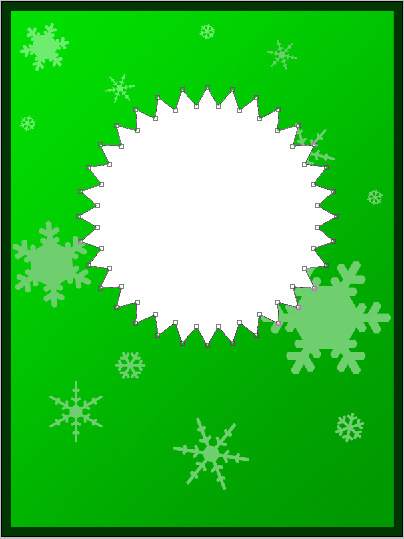
Choose after that the Convert Point Tool and keep pressed the SHIFT button while using the mentioned tool to mark out the upper tops of the pattern. Using Free Transform selection and keeping pressed the SHIFT button, try to draw down the tops.

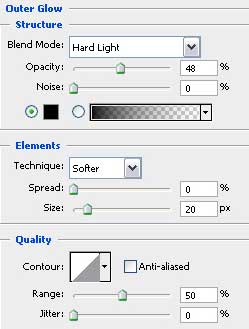
 Apply for this layer the next parameters: Blending Options>Outer Glow
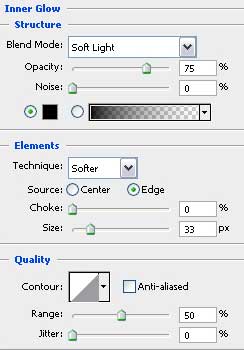
Blending Options>Inner Glow
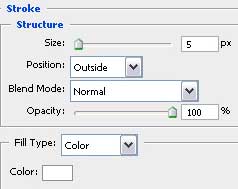
Blending Options>Stroke

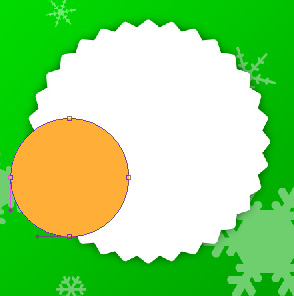
Now we have to use the Ellipse Tool (U) to represent a circle colored with #FFAF38
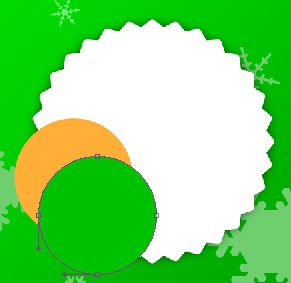
Make a copy of the last made layer and choose again the Free Transform option to place the copy as it is represented below, selecting also the color #00C100
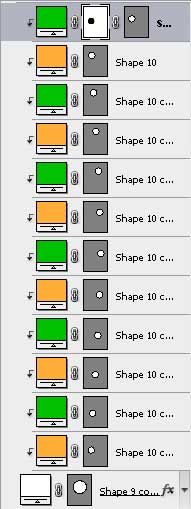
Make four copies of the circle, having the color #FFAF38 and the same number of copies of the green color circle, alternating the circles’ copies as it is shown next picture:

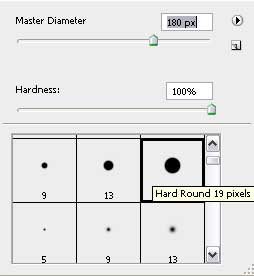
For the last green circle we’ll select Add a Mask option, by making a mouse click on the layers’ panel. Select now a standard brush of black color and paint out that part where the green circle borders with the first made circle:

Press Alt button and make a mouse click between the layer reserved for the Christmas garland and the layers containing the circles’ copies for the circles to be applied in the limits of the garland’s edges.

Make a copy of the primary garland’s layer and choose Free Transform option to make the copy smaller, selecting the color #00C700.

Page: 1 2
Comments