
Dancing Santa Claus and Christmas Tree
In this tutorial we will create picture with Santa Claus and Christmas Tree.
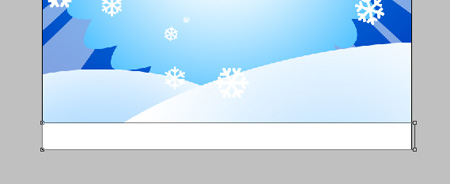
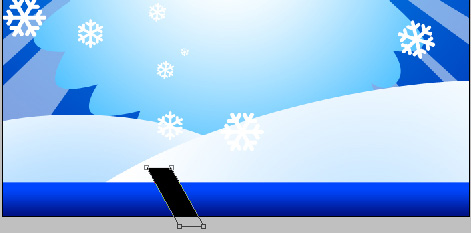
Final Image Preview

Start working by creating a new file (File>New) that must have 700×1024 px and 200 dpi.
Take the Rectangle Tool (U) and start making the background of the picture we want to represent next:

Set the next parameters for the layer by making a mouse click on the same layer on the layers’ panel: Fill 0%
Blending Options>Gradient Overlay
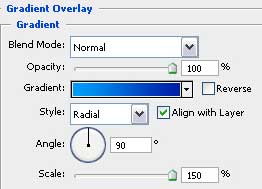
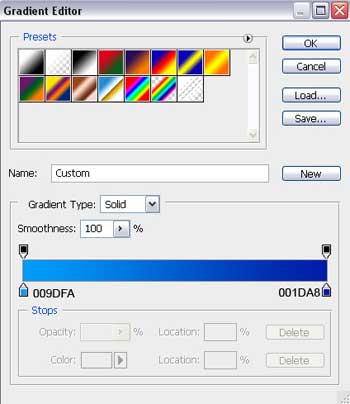
Gradient’s parameters:


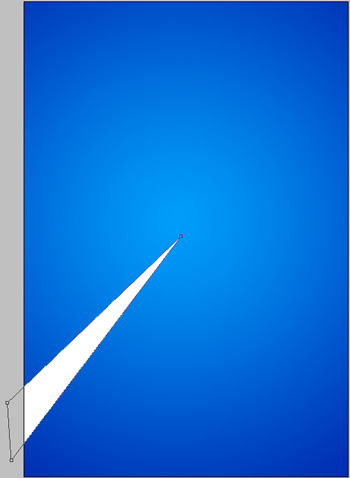
Select next the Pen Tool (P) and represent a ray of white color which shape may be corrected with the Convert Point Tool.
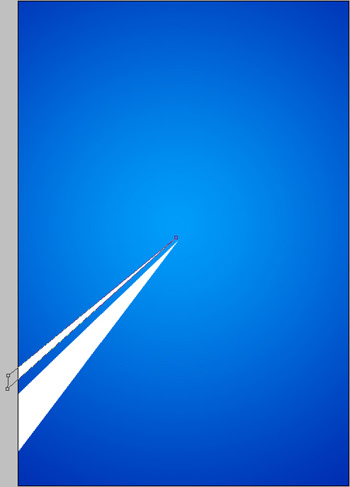
Represent now one more ray, applying the same tool and the same method and select white color for it.
Using the same Pen Tool (P), try making several more rays of white color, placing them the way shown below:

Getting better result it’s possible when combining in a group all the layers containing the white rays (as usually we have to press Ctrl button for marking out the corresponding layers and then hold on the left mouse’s button for moving the marked layers on Create a new group option). Apply next parameters for the group: Opacity 50%

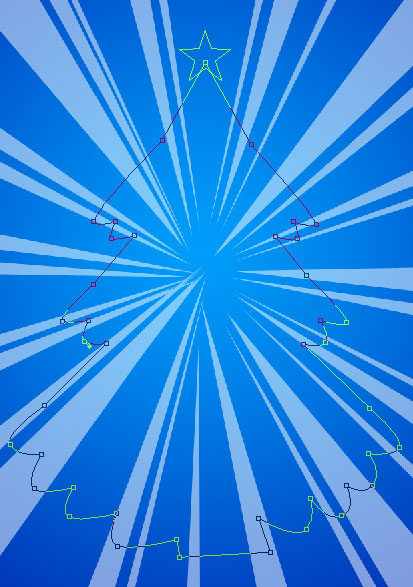
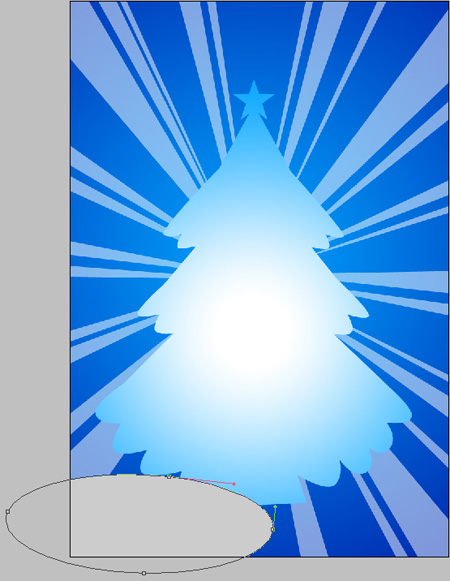
Now we have to draw the silhouette of a fir tree and the star on its top – everything on the same layer. It’s necessary to choose in this case the Pen Tool (P) to represent the tree’s silhouette which shape may be corrected with the Convert Point Tool. Next press SHIFT button and choose the Custom Shape Tool (U) to add the star on the fir tree’s top.
Set next parameters for the layer: Fill 0%
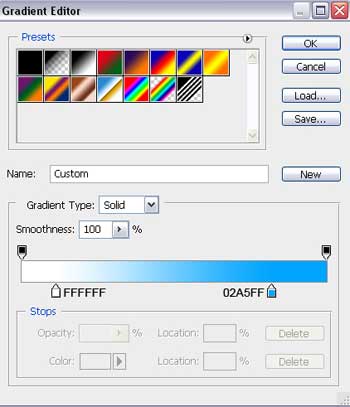
Blending Options>Gradient Overlay
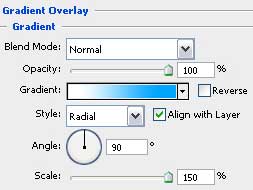
Gradient’s parameters:

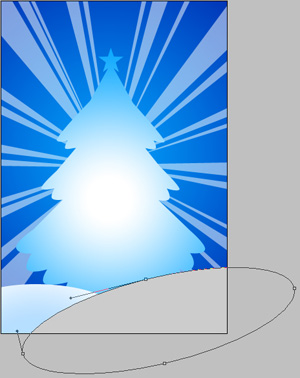
Select on this stage the Ellipse Tool (U) to draw a snow hillock on the left bottom part of the picture.
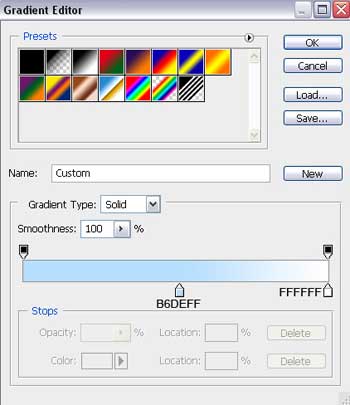
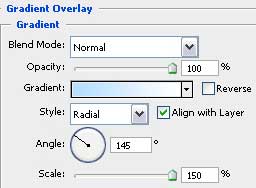
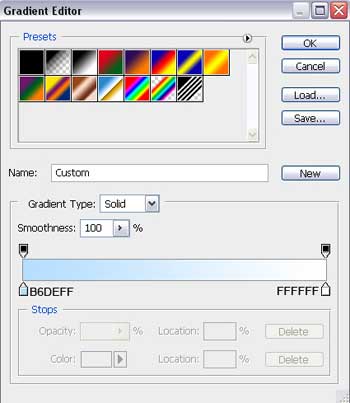
The layer’s parameters: Blending Options>Gradient Overlay

Gradient’s parameters:

Using the last instrument, try to make another snow hillock on the right bottom part of the picture.
The layer’s parameters: Blending Options>Gradient Overlay
Gradient’s parameters:

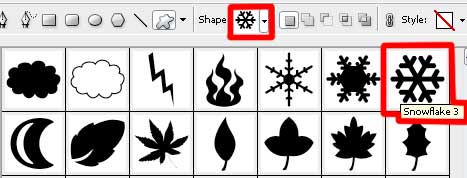
Using the Custom Shape Tool (U), we have to make now the snowflakes of white color and different sizes on our picture.

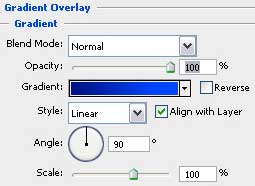
Using the Rectangle Tool (U), try to make a horizontal line that will be a part of the pattern on the bottom part of the picture.
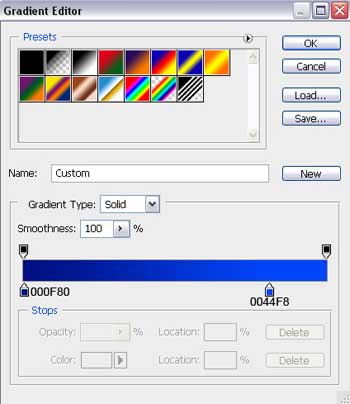
The layer’s parameters: Blending Options>Gradient Overlay
 Gradient’s parameters:

Make a copy of the last made layer, but we must change on the copy the layer’s parameters with those indicated next: Blending mode-Lighter Color
Blending Options>Gradient Overlay

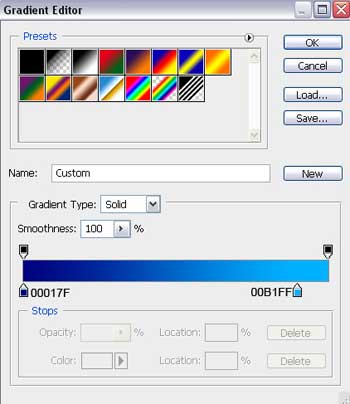
Using the same instrument we’ll represent an inclined line, correcting its shape with the Convert Point Tool.
The layer’s parameters: Blending Options>Gradient Overlay

Gradient’s parameters:
Comments