
The Santa Claus Wallpaper
Learn how to create nice wallpaper with Santa Claus.
Final Image Preview

Let’s begin by creating a new file (File>New), having 800×600 px and 72 dpi.
Next step includes applying the Rectangle Tool (U) for representing the background of the picture we want to have finally.
The layer’s parameters may be set out by clicking on the layer we work with, on the layers’ panel:
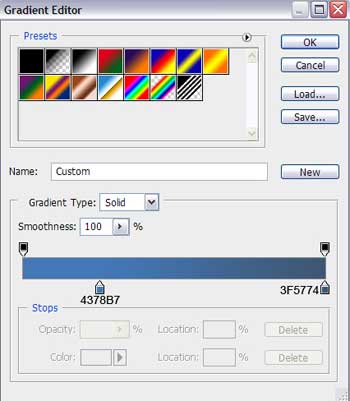
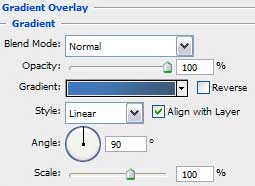
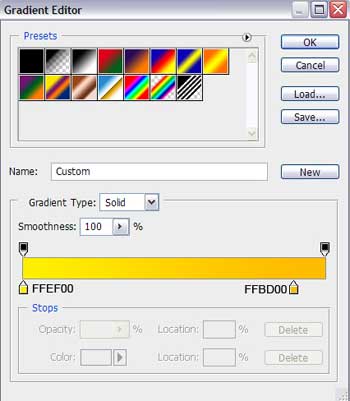
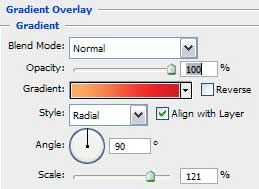
Blending Options>Gradient Overlay
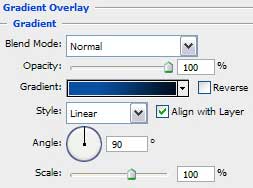

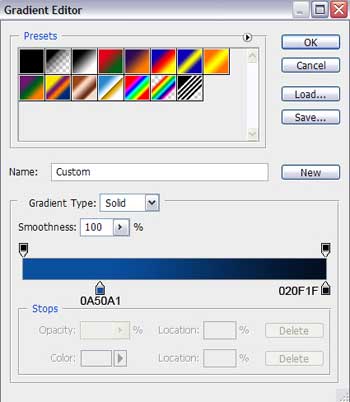
Gradient’s parameters:

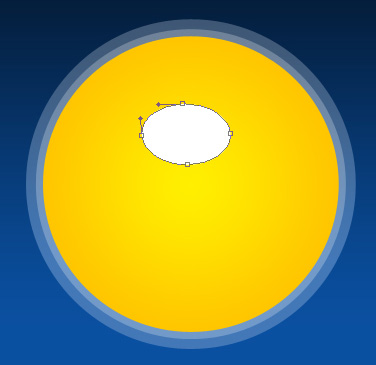
Using the Ellipse Tool (U), it’s possible to represent the primary layer, reserved for the Santa’s portrait’s frame.

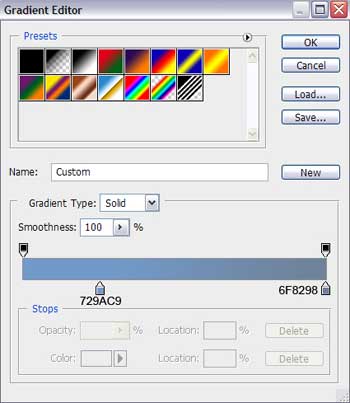
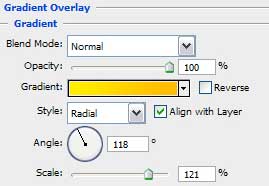
The layer’s parameters: Blending Options>Gradient Overlay
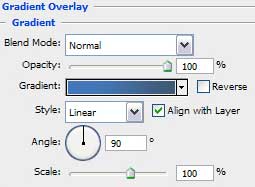
Gradient’s parameters:

Make a copy of the last made layer and select Free Transform option to make the copy smaller, applying for it the next demonstrated parameters: Blending Options>Gradient Overlay
Gradient’s parameters:

Make another copy of the same layer and choose the Free Transform option to make the copy smaller again applying for its layer the next parameters: Blending Options>Gradient Overlay
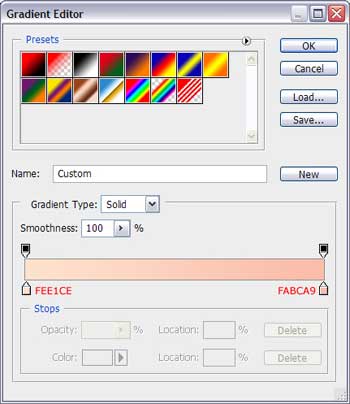
 Gradient’s parameters:

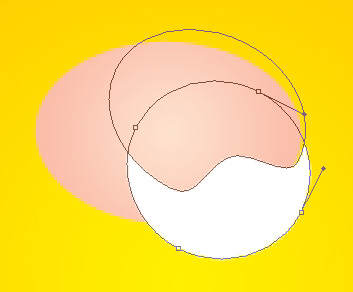
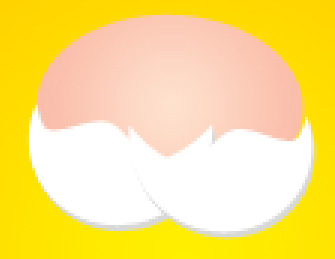
Next we’ll try to draw the Santa’s head. For the beginning we have to represent his face, choosing the Ellipse Tool (U).
Blending Options>Gradient Overlay

Gradient’s parameters:

Next step we’ll try to draw Santa’s moustache, selecting previously the Ellipse Tool (U) which is helpful when representing the first elements and then press Alt button to move off the unnecessary parts. Insert one more point on the already made picture with the Add Anchor Point Tool. The Convert Point Tool is helpful when making the necessary corrections on the element’s shape.
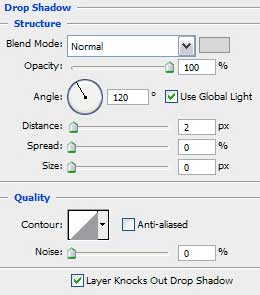
Blending Options>Drop Shadow

Make a copy of the last made layer and select again Free Transform option to turn over the copy, making it look exactly like below. Place the copy’s layer lower than the previous one (on the layers’ panel).
Next try to draw Santa’s eyes, taking the Ellipse Tool (U) for this operation and making for the beginning the eye’s basis of black color. Press Alt button when applying the same instrument to erase the unnecessary elements of the eyes.
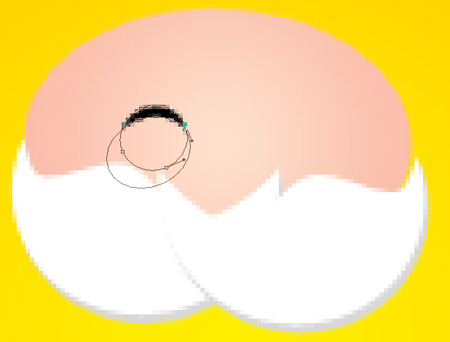
Make a copy of the last made layer and place the copy as it is done on the next image:

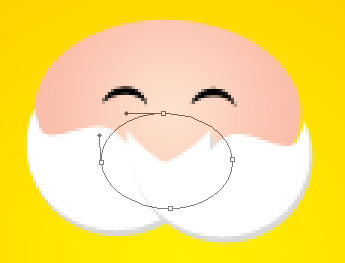
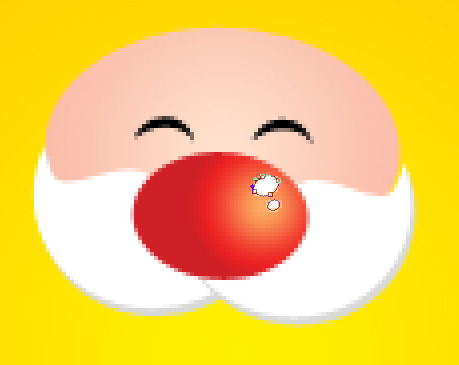
Using the same Ellipse Tool (U), it’s possible to draw on this stage the character’s nose:
 The layer’s parameters: Fill 0%
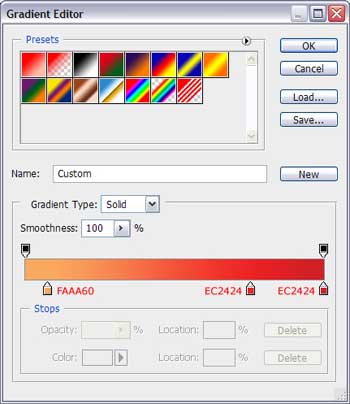
Blending Options>Gradient Overlay
Gradient’s parameters:

Next try to make several highlights of white color on the character’s nose, applying the Ellipse Tool (U) too.
Using the previous applied instrument, pass to representing Santa’s eyebrow of white color too, as the moustache is.

Make a copy of the last made layer and select after that the Free Transform option to turn over the copy and place it the way indicated on the next picture:

Both layers containing the eyebrows have the same layer’s parameters: Blending Options>Drop Shadow


It’s time to insert on the picture Santa’s hat, applying in this case the Pen Tool (P) and the color #E92225. The Convert Point Tool will be helpful in making appropriate corrections on the element’s shape. Place this layer lower than Santa’s face (on the layers’ panel).

Page: 1 2
Comments