
Christmas Balls Wallpaper
In this tutorial we will learn how to design red Christmas balls wallpaper.
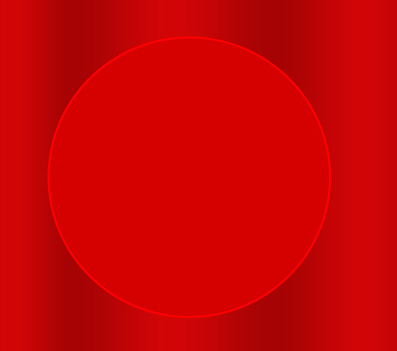
Final Image Preview

Create a new file (File>New), having 1024×768 px and 72 dpi.
Next select the Rectangle Tool (U) for representing the background of the picture to be.

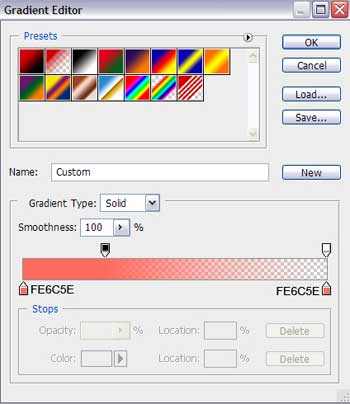
Apply for the made layer the next indicated parameters by making a mouse click on the layer we work with on the layers’ panel: Blending Options>Gradient Overlay
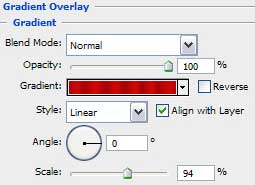

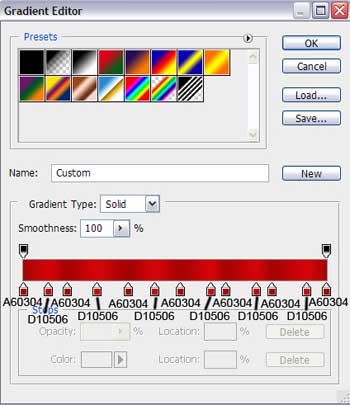
Gradient’s parameters:

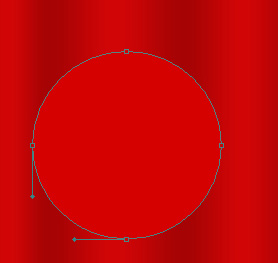
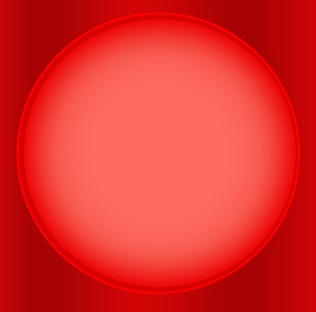
Now we shall try to make a Christmas toy decoration for the Christmas tree, using the Ellipse Tool (U). We’ll begin by representing the primary layer of the decoration, having the color #D50100
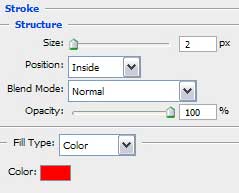
The layer’s parameters: Blending Options>Stroke
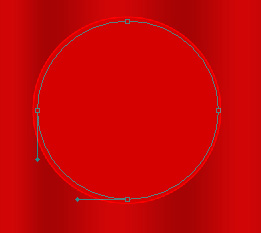
Applying the same tool, it’s possible to draw the next layer belonging to the same decoration.
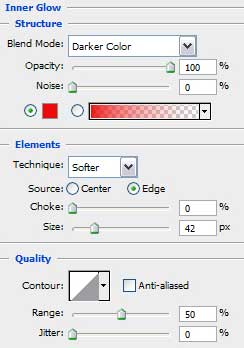
The layer’s parameters: Fill 0%
Blending Options>Inner Glow
Blending Options>Gradient Overlay
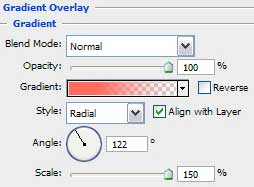 Gradient’s parameters:
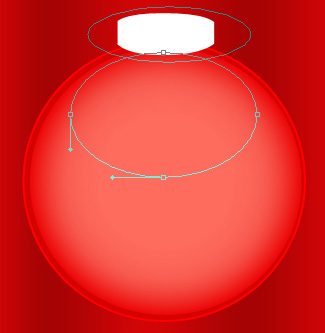
Next we shall draw the top part of the toy decoration, selecting the Ellipse Tool (U) for this operation. Then pressing the Alt button and using the Rectangle Tool (U) on the toy’s right and left sides, we’ll make the toy with the corresponding shape.

On the next level we’ll represent the highlight on the toy decoration, choosing the same Ellipse Tool (U) for drawing the highlight’s surface. After that we’ll press Alt button, while using the same tool to move off the unnecessary elements on the upper part of the highlight.
Page: 1 2
Comments