
Star Explosion
Learn how to create a star explosion using textures, glows, and blurs.
Inspired from The Outburst by taenaron.
Let’s begin! Create a new file (File>New) that must have 1024x488px and 72 dpi. The file should be painted in black color.

Next we must make a copy of the black file and select the here demonstrated option: Filter> Noise> Add noise. Set the same parameters shown next picture:
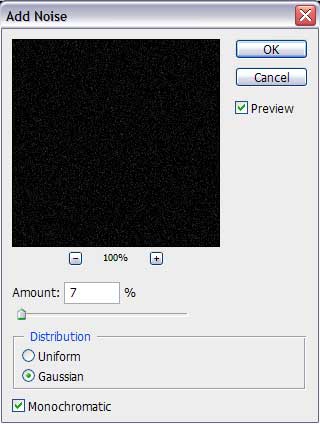

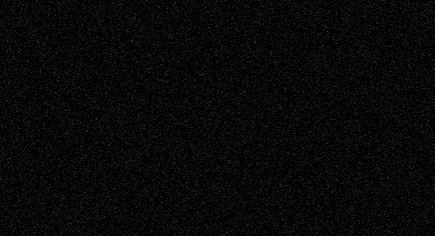
We have got something remembering the starry sky.
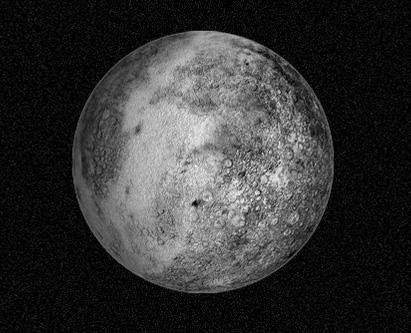
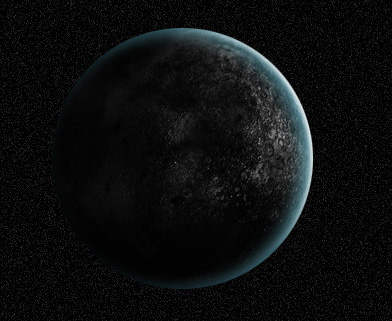
Try to find by searching system a picture representing a planet:
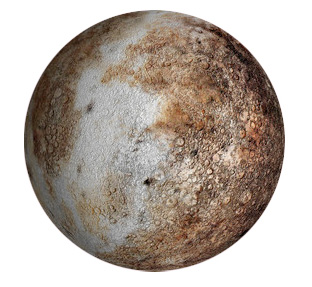
Cut it out and place it on our file with the starry sky.
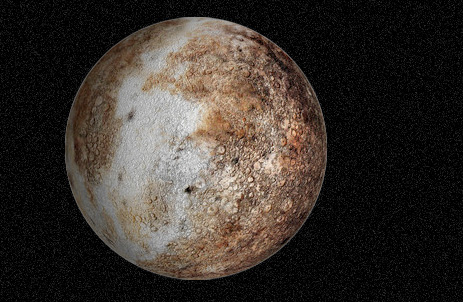
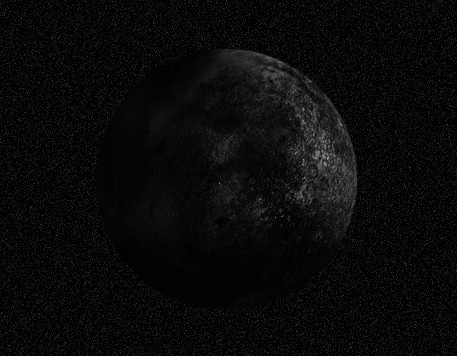
Press on the next combination of buttons: Shift+Ctrl+U to make the planet look black and white.
It’s necessary now to select the Burn Tool (O) to set the Range: Midtones and Exposure: 40%
The brush’s Hardness is set on 0% that makes possible darkening out the planet as it is indicated on the next image:
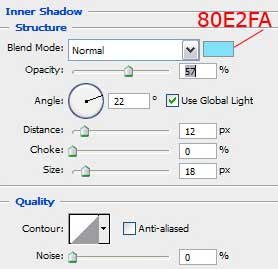
Select now the Blending Options and choose the Inner Shadow option:
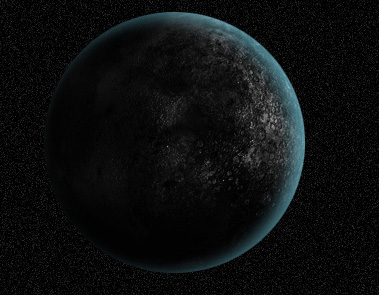
Blending Options>Bevel and Emboss: 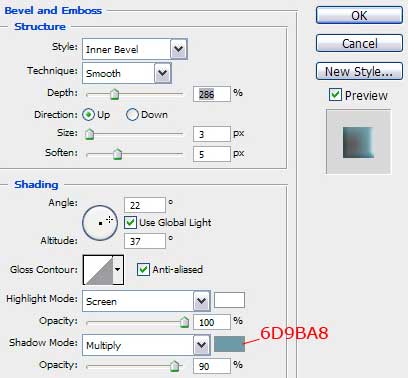
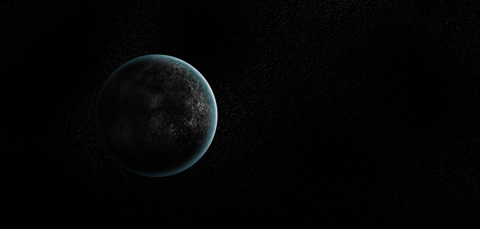
Next step includes choosing the stars’ layer and the Eraser Tool (E) with Opacity set on 20% to erase some areas on the sky for the stars not to look so monotonous.
Page: 1 2
Comments