
Mac OS X
Learn in this tutorial how to design an awesome wallpaper with Mac OS X logo.
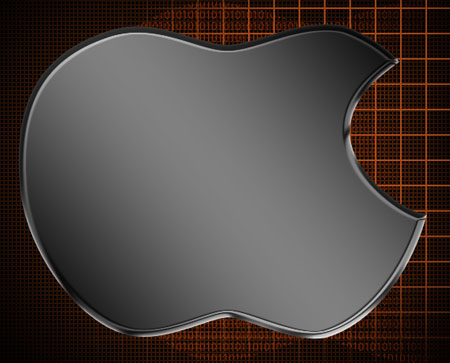
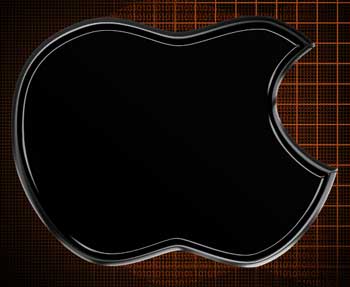
Final Image Preview

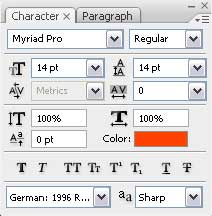
Begin by representing a new file (File>New) that would have 1024×768 px and 72 dpi. Select next the Paint Bucket Tool (G) to paint the layer in black color.

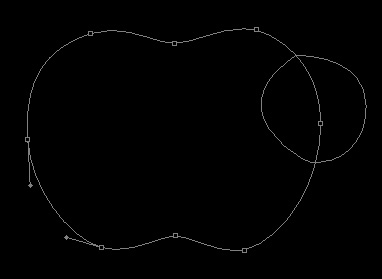
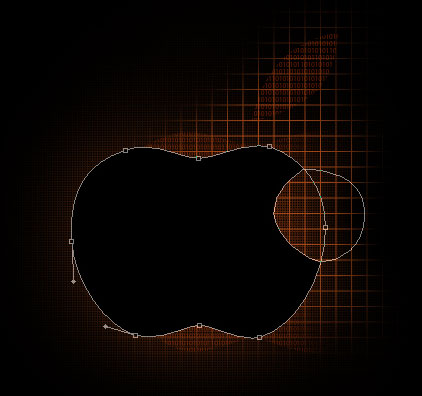
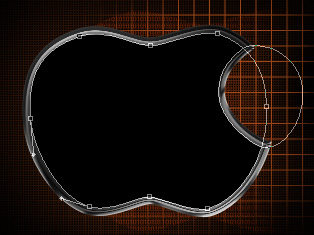
Next we’ll try to picture an apple’s silhouette with the Pen Tool (P). Its contour should be of black color. Next press Alt button and select the Ellipse Tool (U) to cut out a part of the fruit, as it is demonstrated below: The shape may be corrected with the Convert Point Tool.

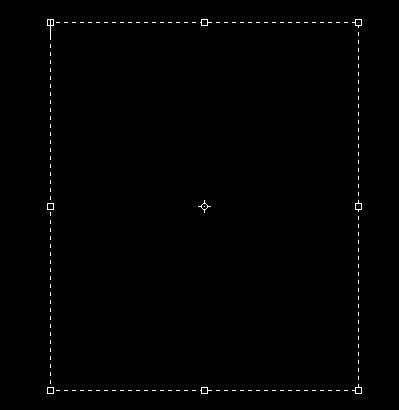
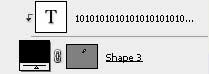
Try to represent above the apple’s silhouette a layer reserved for the figures, marking out the zone previously as it shown next picture.
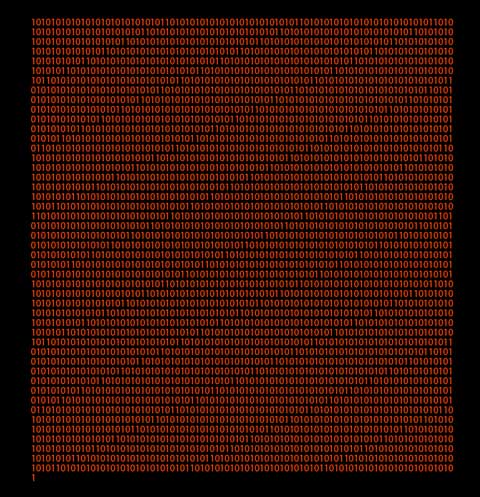
Keep pressed Alt button and make a mouse’s click between the text’s layer and the apple’s one (on the layers’ panel). The text’s layer will be applied in the apple’s limits.
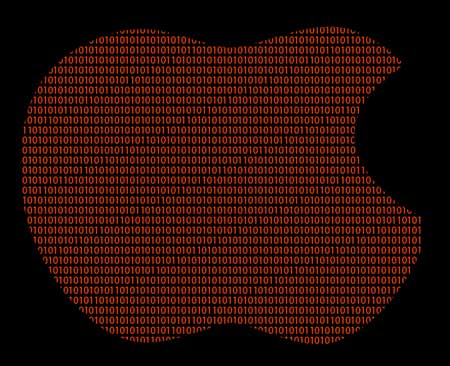
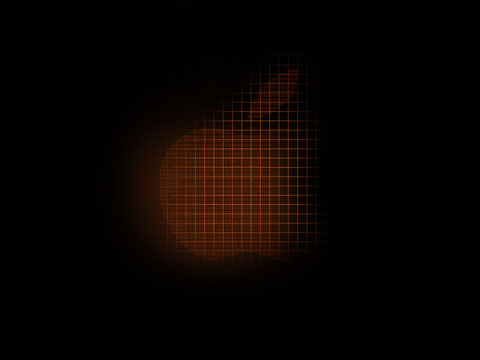
Mark out the earlier made layer, containing the apple’s silhouette and make a click on Add a Mask option on the lowest part of the layers’ panel. Select after that the Brush Tool (B) to erase the apple’s right side as it is demonstrated next picture:
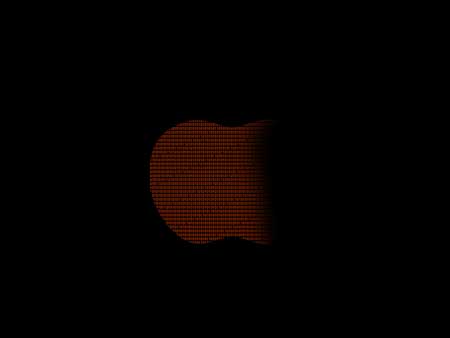
Create new layer and select the Pen Tool (P) to represent a silhouette of the leaf above the apple that is of black color too. The corrections on its shape may be done with the Convert Point Tool.
Make a copy of the earlier made text’s layer and place it above the layer with the leaf (on the layers’ panel). Apply also the same operation we did earlier with the apple’s silhouette. It means we have to press once again the Alt button and make a click between the layers.

Getting better result is possible when combining all the previous layers, except black background, in a group (press Ctrl button to mark out the necessary layers and keep pressed the left mouse’s button when taking the marked layers on Create a new group option). Apply the next shown parameters for the new group: Opacity 38%

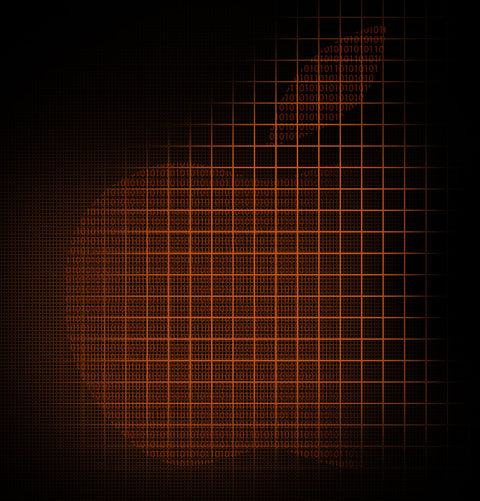
Create a new file (File>New) with 5×5 px and 72 dpi. Select now the Pencil Tool (B) to represent the pattern, colored with #C3561E

 Save the next option: Edit>Define Pattern
Create new layer now and continue by choosing the next option to apply the pattern: Edit>Fill

Make a mouse’s click on Add a Mask option on the lowest part of the layers’ panel and select the Brush Tool (B) with blurred edges and black color. Erase everything around, except the zone containing the apple and the leaf.
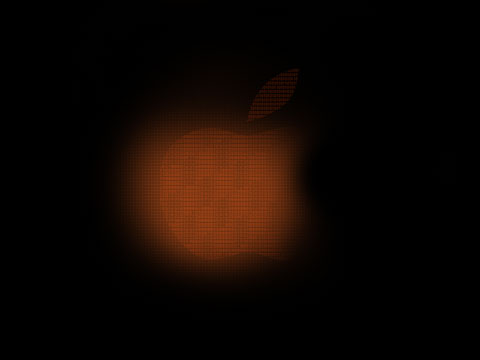
Apply for this layer the next parameters: Fill 40%
Create a new file (File>New) again with 31×31 px and 72 dpi and choose next the Pencil Tool (B) of the same size and color, used earlier to represent another pattern.
Save again: Edit>Define Pattern
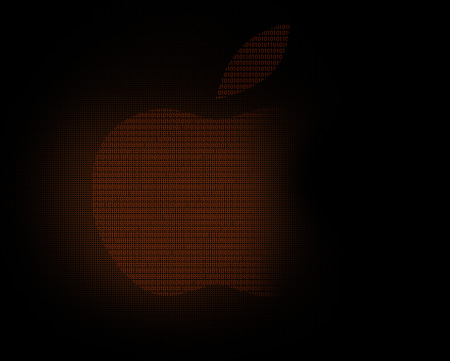
Create new layer and press on the next option: Edit>Fill for the pattern to be applied:
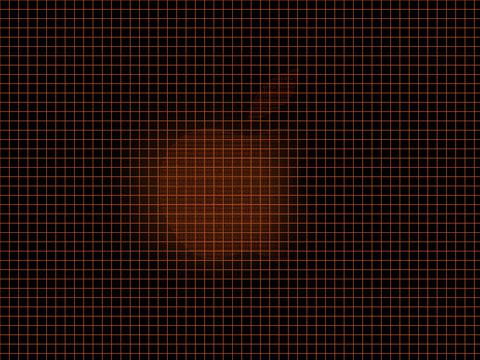
Make a click on the same layer on Add a Mask option as we did earlier. Select after that the Brush Tool (B) with blurred edges and black color. Erase everything, except the apple’s zone and the leaf.
Apply the next parameters for the layer: Fill 80%
Try to make the same operation now the way we did when representing the apple’s silhouette. Apply the same instruments and the same methods.
Apply the next layer’s parameters (by making a click on the layer on the layers’ panel).
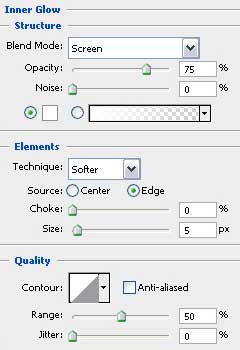
Blending Options>Inner Glow
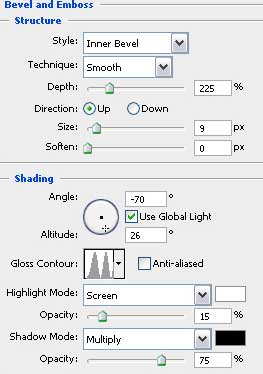
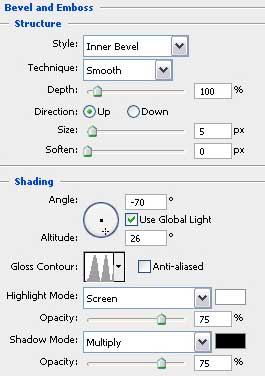
Blending Options>Bevel and Emboss
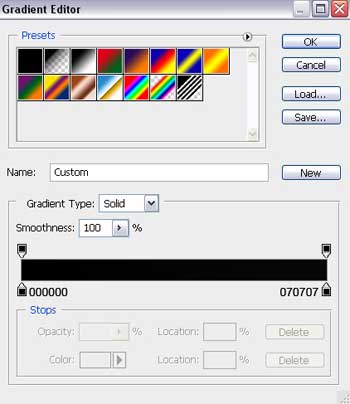
Blending Options>Gradient Overlay
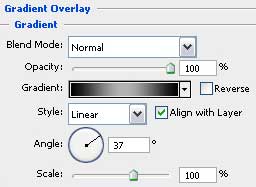
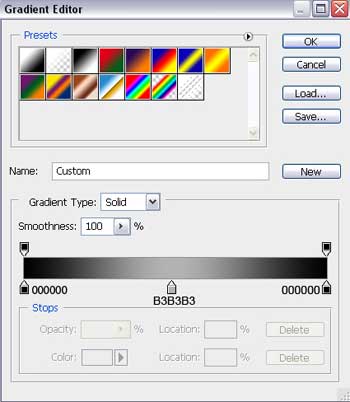
Gradient’s parameters:
 Make a copy of the last layer and select Free Transform option to make the copy smaller as we may see on the next picture:
The layer’s parameters: Blending Options>Bevel and Emboss
Blending Options>Gradient Overlay
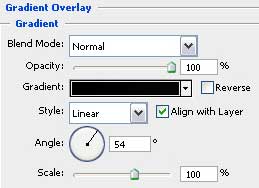
Gradient’s parameters:
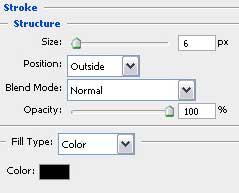
Blending Options>Stroke
Comments