
Rose for Saint Valentine’s Day
Learn in this tutorial how to create your own Saint Valentine’s Day wallpaper.
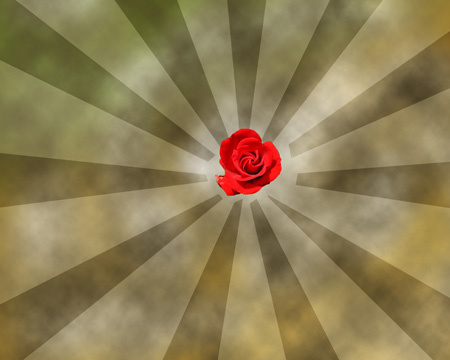
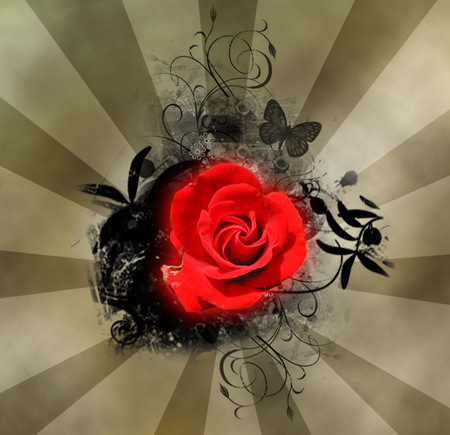
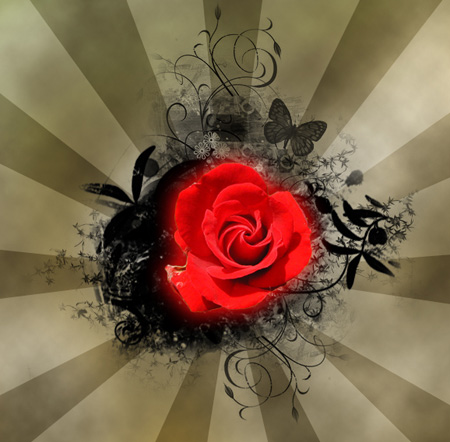
Final Image Preview

Begin by creating a new file (File>New), having 1024×768 px and 72 dpi.
Apply on this layer the Gradient Tool (G) with the next basic color: #CBA946. The gradient’s direction comes from the upper left corner to the right lowest one.

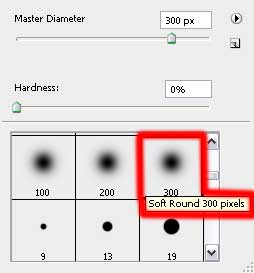
Next we have to select a standard brush of white color and the Opacity of 30% to represent several patches as it is demonstrated next picture.


The layer’s parameters: Blending mode-Hard Mix

Create a new layer and choose for it the Paint Bucket Tool (G) to picture the layer with the next presented color: #6A5E3E

Make a mouse click on the same layer on Add a Mask option on the lowest part of the layers’ panel and apply the next selection on it: Filter>Render>Clouds

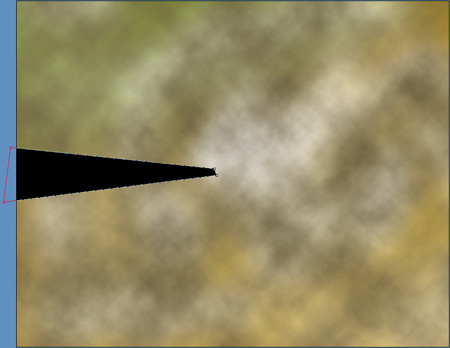
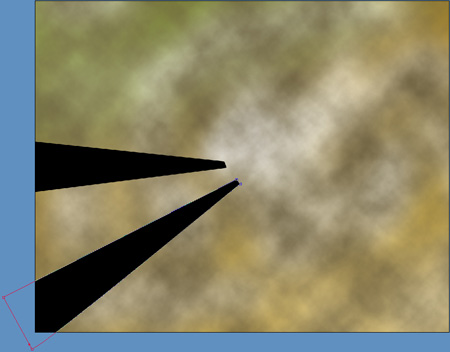
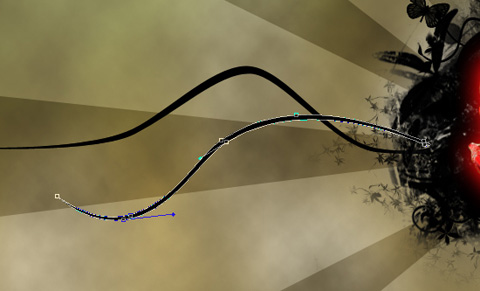
Using the Pen Tool (P), we may represent several rays of black color which shapes may be corrected with the Convert Point Tool.
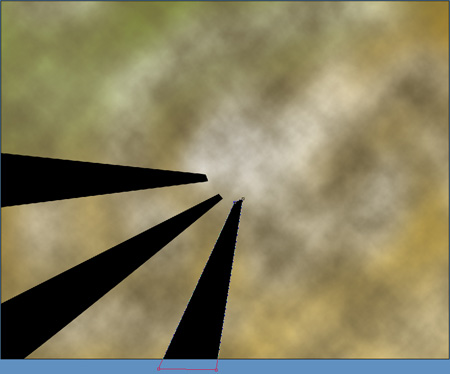

Combine in a group all the layers composing the black rays (press Ctrl button when marking the corresponding layers and hold on the left mouse’s button when taking down the marked layers on Create a new group option). Apply for the new group the next shown parameters: Opacity 60%
Blending mode-Soft Light

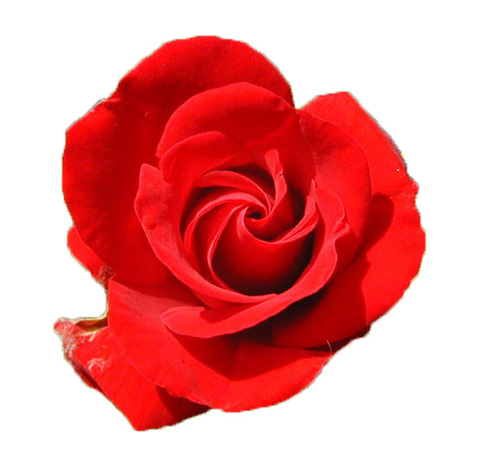
Find in Internet a picture of the rose flower:
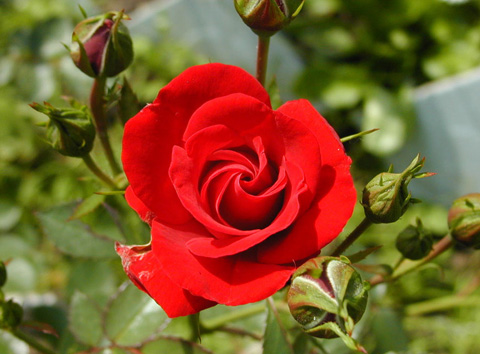 Cut out the flower:
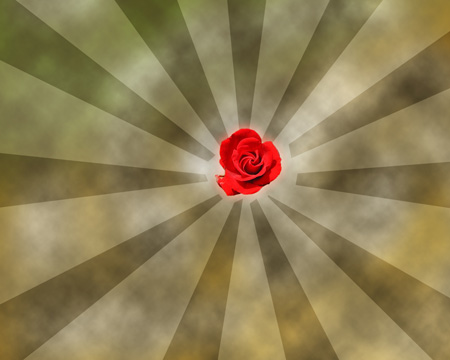
Insert the flower on the picture and don’t forget to select the Free Transform option to make the corrections on its size and on the flower’s placement:
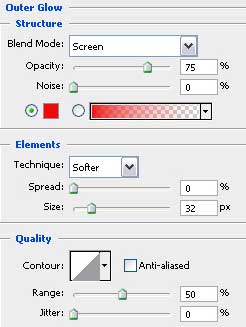
Apply for the flower’s layer the next parameters (make a mouse’s click on the layer on the layers’ panel).
Blending Options>Outer Glow
Download out of Internet a set of ready to use brushes for Adobe Photoshop: Flowery by ca_pris.
Create a new layer and select by turn the downloaded brushes Flowery by ca_pris. The color in this case is black and each brush should be used three times, not moving the mouse (for getting a darker nuance). Place the layer containing the brushes lower than the layer containing the rose flower (on the layers’ panel).


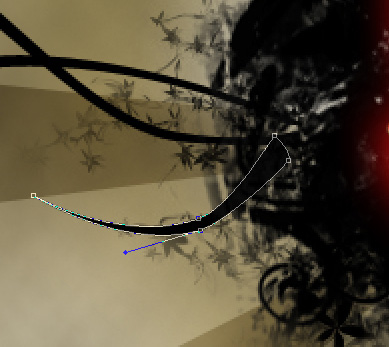
Choose now the Pen Tool (P) to represent an element of black color. Make the corrections on the element’s shape, using the Convert Point Tool. Place the ornament’s layer lower than the layer containing the rose flower (on the layers’ panel).

 Using the Ellipse Tool (U), try to picture several small circles of different sizes that must be situated on the same layer (keeping pressed the SHIFT button). The elements’ color is black.


Combine in a group all the layers composing the lines of the black pattern, situated on the flower’s left side and the small circles (press Ctrl button to mark out the necessary layers and hold on the left mouse’s button while taking the marked layers on Create a new group option). Apply the next parameters for the new group: Opacity 60%.
Blending mode-Darken

The new layer should be painted with the next demonstrated color: #D0B568, using the Paint Bucket Tool (G).

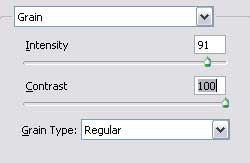
Apply on the new layer the next option: Filter>Filter Gallery>Grain

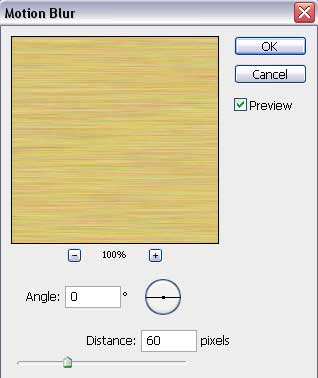
On the same layer we’ll apply one more selection: Filter>Blur>Motion Blur

Using the Free Transform option, it’s possible to turn around the layer on 90 degrees, applying the next parameters too: Fill 40%
Blending mode-Color Burn

Create a new layer and select for it a standard brush of blue color and Opacity of 10% to dark out the picture.
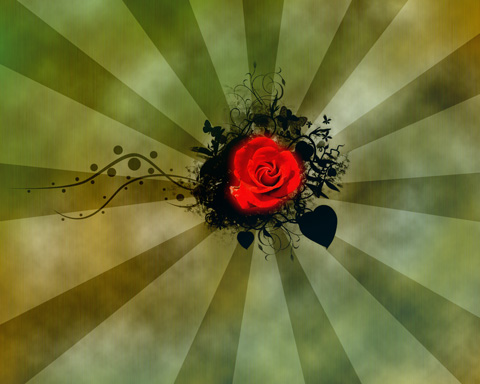
The picture is finished!
View full size here.
Comments