
Happy Valentine’s Day Text
In this tutorial we will create text “Happy Valentine’s Day” from a lot of hearts.
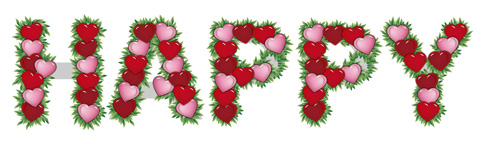
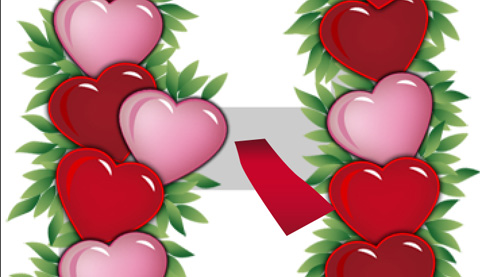
Final Image Preview

Begin your work by creating a new file that would have 1280×800 px and 72 dpi.
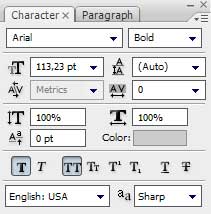
Next step we have to write the holiday congratulation text, keeping the same parameters from the table below:


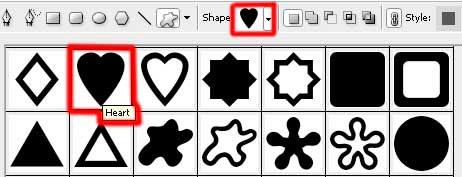
Using the Custom Shape Tool (U), it’s possible to introduce several small hearts on the made picture, selected out of the next table and positioned above the written text.
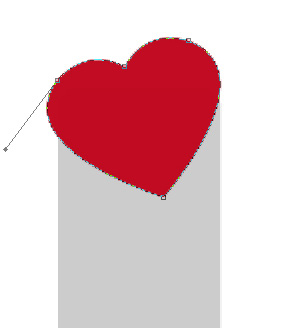
The first heart’s layer has the color #C00B21
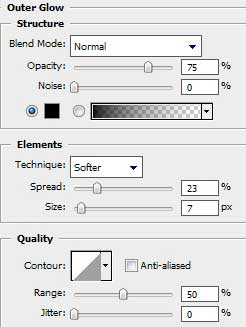
Select the next demonstrated parameters by making a mouse click on the layer we work with on the layers’ panel. Blending Options>Outer Glow
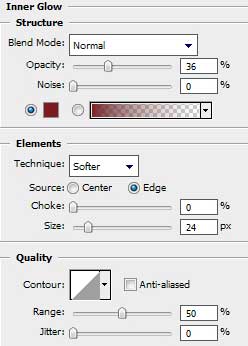
Blending Options>Inner Glow
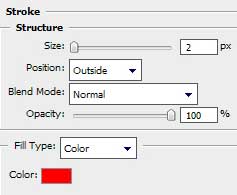
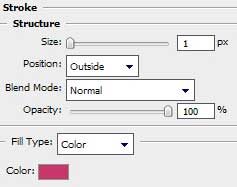
Blending Options>Stroke


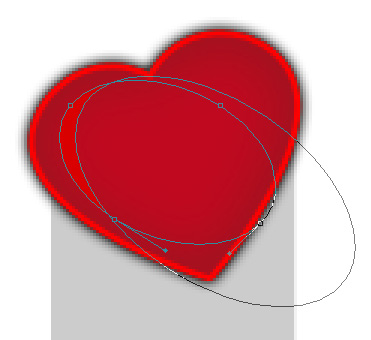
The next heart’s layer will contain a small highlight made with the color #D90000. The element is possible to draw applying the Ellipse Tool (U). Firstly we’ll have to make the basis for the new element and then press Alt button to cut out the unnecessary zones, selecting the same tool.
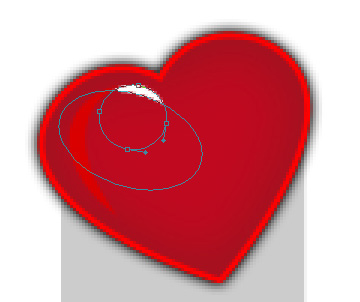
Select the same technology and the same instrument to represent a white highlight this time.
 Make a copy of the last layer containing the white highlight and choose later Free Transform selection to situate the copy the same way shown below:

Combine in a group all the layers composing the heart (Press Ctrl button to mark out the corresponding layers and then hold on the left mouse’s button to take the marked layers on Create a new group option). Make two copies of this new made group, but change the parameters for the copies’ layers and use also the Free Transform option to position them the way from next picture.
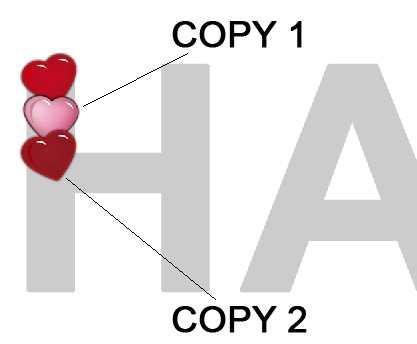
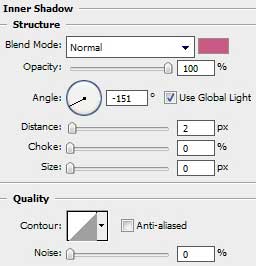
The parameters for the heart “COPY 1” The first layer: Blending Options>Inner Shadow
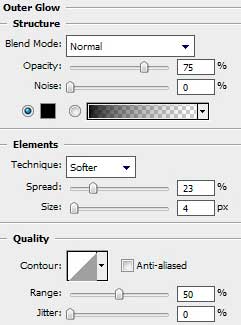
Blending Options>Outer Glow
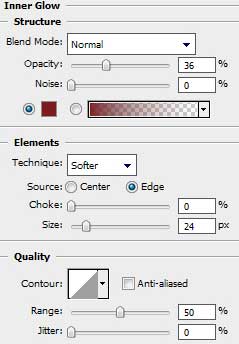
Blending Options>Inner Glow
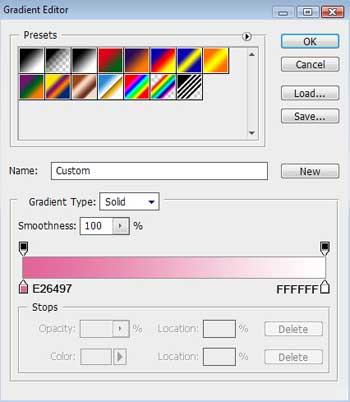
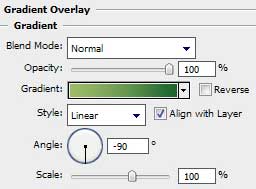
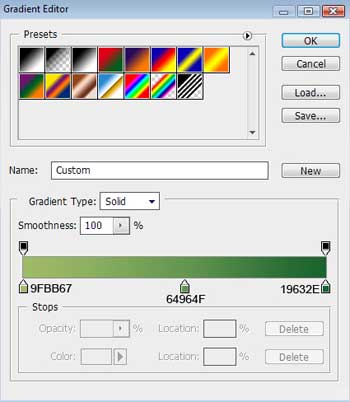
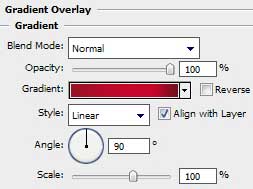
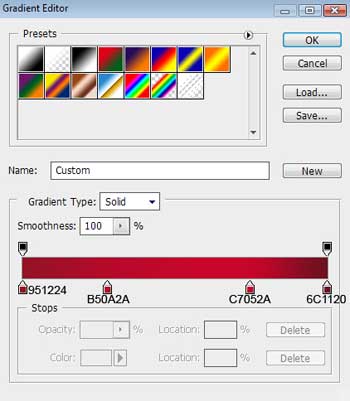
Blending Options>Gradient Overlay
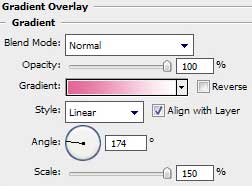
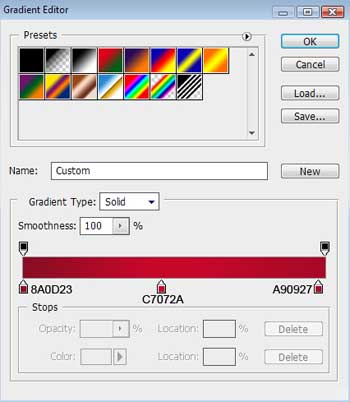
Gradient’s parameters:
Blending Options>Stroke
The highlight’s color is #D47FA0.
The parameters for the heart “COPY 2”. The first layer has the color #961A24.
The highlight’s color is #A00004.
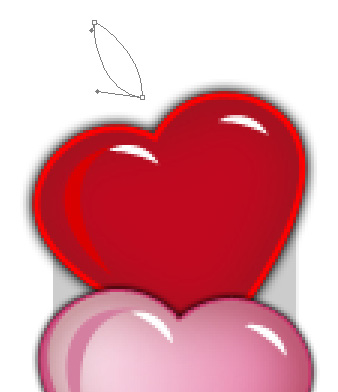
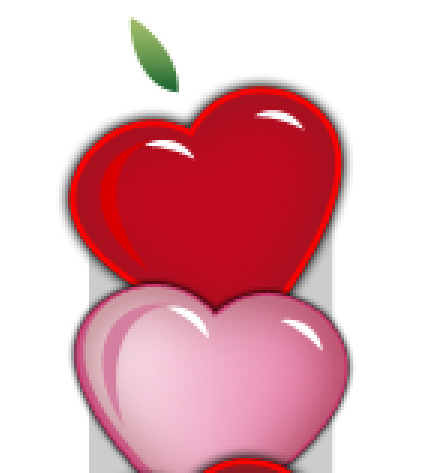
Merge Down the layers of each group for getting finally the same layer that is possible to see next image (CTRL+E). Make many copies of the made hearts and place the copies the way from below, applying for this operation Free Transform option, as usually.

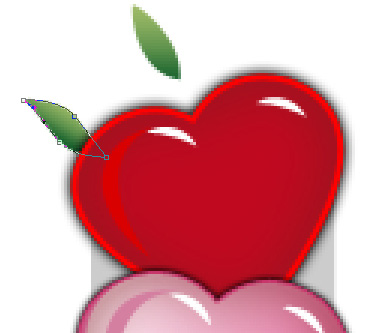
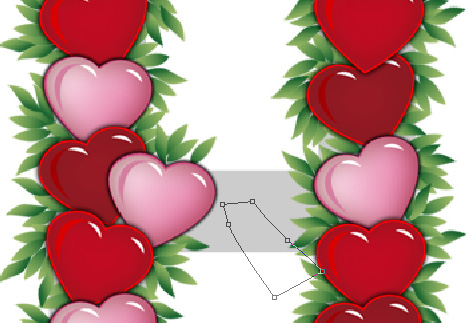
Choose next step the Pen Tool (P) to represent a small leaf, which shape is possible to change, applying the Convert Point Tool.
The layer’s parameters: Blending Options>Gradient Overlay
Gradient’s parameters:
Try to make one more type of leaf. This time make a copy of the earlier made leaf and select Add Anchior Point Tool to insert two tops. Their shape is possible to correct with the Convert Point Tool. The new layer’s parameters are the same with the previous layer. Place this layer on the layers’ panel under the layer containing the heart.
Using the same method we did with the hearts’ layers, try to Merge Down this time the layers belonging to those two leaves, getting new ones (CTRL+E). Make many copies of the hearts’ layers, placing the copies above the text’s letters. The leaves’ layers should be placed under the hearts. The same letters should be copied out by marking out the letters’ layers when pressing Ctrl button and then press CTRL+E. Make a copy of the last layer.
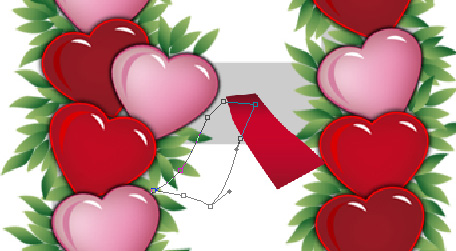
The blanks may be filled with a bow. The tool that we have to choose in this case is the Pen Tool (P) and Convert Point Tool will serve as a method of making the necessary corrections.
The layer’s parameters: Fill 0%
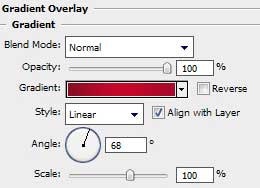
Blending Options>Gradient Overlay
Gradient’s parameters:
The layer’s parameters: Fill 0%
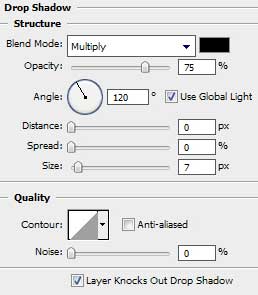
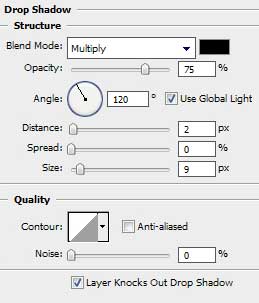
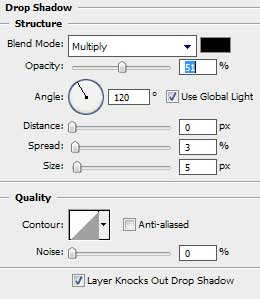
Blending Options>Drop Shadow
Blending Options>Gradient Overlay is the same with the previous layer:

 The layer’s parameters: Fill 0%
Blending Options>Gradient Overlay
Gradient’s parameters:

Make a copy of the last made layer and select Free Transform option to turn the copy over and then insert the parameter indicated next: Blending Options>Drop Shadow

Now we have to make a copy of the both bow’s halves on the left side, using again Free Transform (Flip Horizontal) selection.

The Pen Tool (P) will be helpful again in representing the last bow’s layer:

The layer’s parameters: Fill 0%
Blending Options>Drop Shadow
The parameter Blending Options>Gradient Overlay is the same with the previous bow’s layers:

Merge Down on this stage all the bow’s layers into a single one (CTRL+E). Make as many copies of the last layer as the number of the blanks in the letters is. Free Transform option should be used for changing the sizes of the bow’s copies if necessary. Place them the same way indicated below. We may hide or even move off the layer containing the text we have written at the beginning of our work and above we have made the entire composition.
The final result!
View full size here.
Comments