
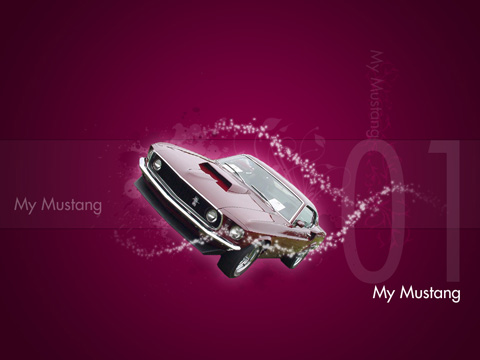
My Classic Mustang
In this free tutorial we will show you how to quickly and easily create this picture that could be used as a wallpaper, web banner, flyer etc using Adobe Photoshop.
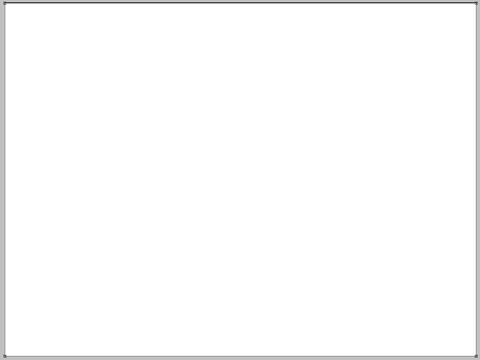
Begin by creating a new file (File>New) that would have 1024×768 px and 72 dpi.
Next we should select the Rectangle Tool (U) to represent the background of our picture we want to get finally.
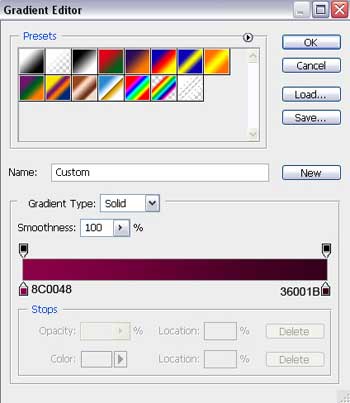
Select for the made layer the next parameters by making a mouse click on the necessary layer on the layers’ panel. Blending Options>Gradient Overlay

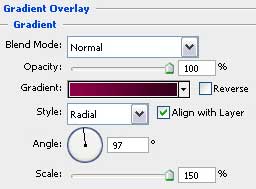
Gradient’s parameters:

Use the last applied tool to represent a horizontal stripe of white color, situated in the middle of the picture.
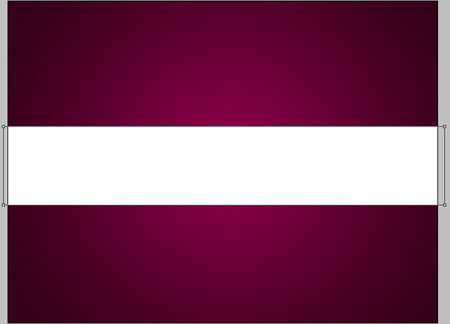
The layer’s parameters: Fill 3%
Blending Options>Stroke


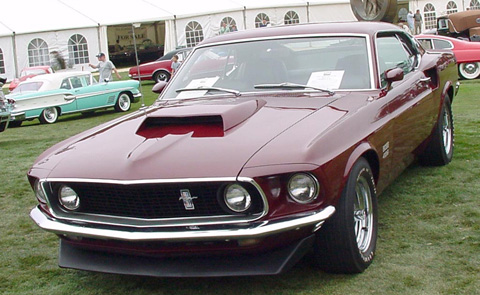
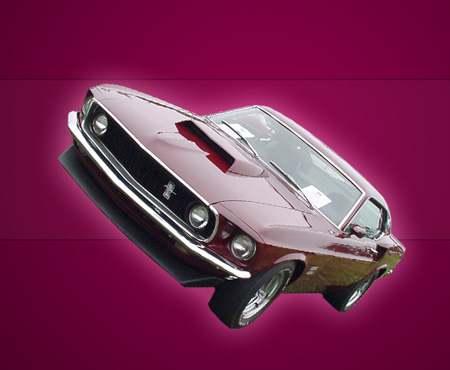
Find in Internet a photo, having pictured on it a Mustang car.
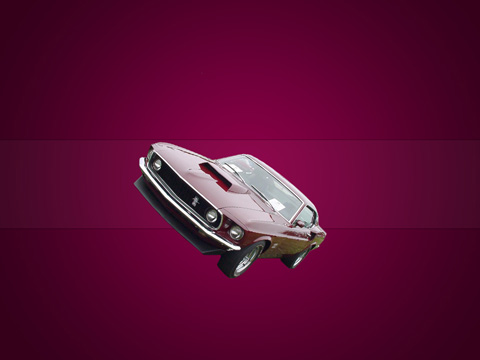
Cut out the car and insert it in the middle of our picture. Select the Free Transform option to incline a little the cut picture as it is demonstrated below:
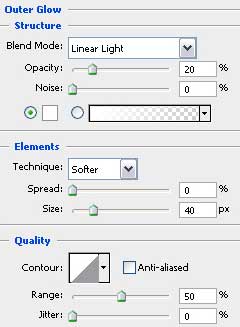
Apply for the photo’s layer the next parameters: Blending Options>Outer Glow
Comments