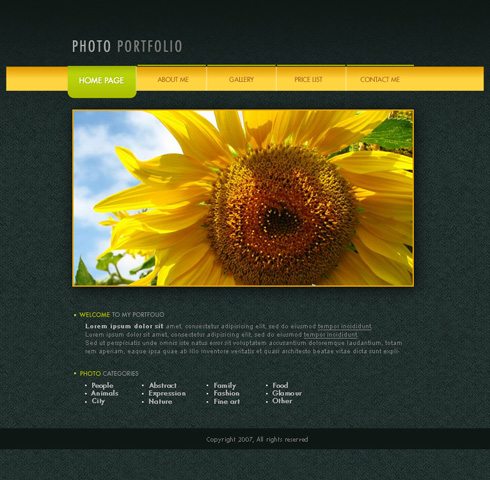
Photo Portfolio Web Page Layout
February 13th, 2008 by ART-D Posted in Adobe Photoshop, Web Layout
This tutorial will show you how to create a clean looking web layout for your portfolio.
Create a new file (File>New) with 766×750 px and 72 dpi. Next use the Paint Bucket Tool (G) to paint the new layer with this shown color – #0F1715
Find in Internet a kind of pattern, like this one:
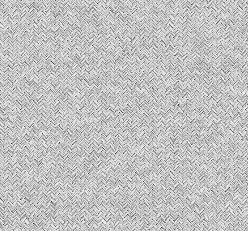
Edit>Define Pattern. Create a new layer and select this option Edit>Fill, to insert the pattern on our main picture.
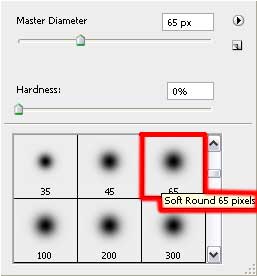
Make a mouse click on the same layer on Add a Mask option that may be found on the lowest part of the layers’ panel. Next choose the Brush Tool (B) and Opacity of 20% of black color to clean out the upper part of the picture.
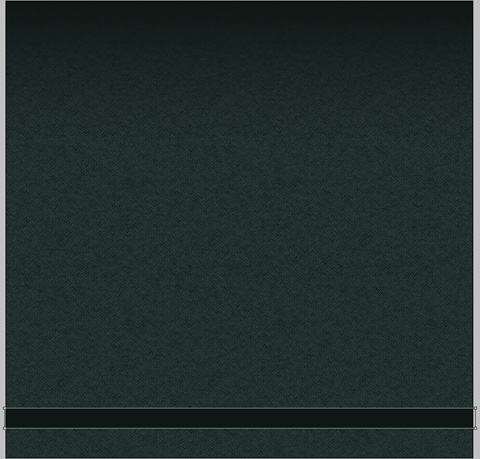
Select for this layer these parameters: Blending mode-Soft Light
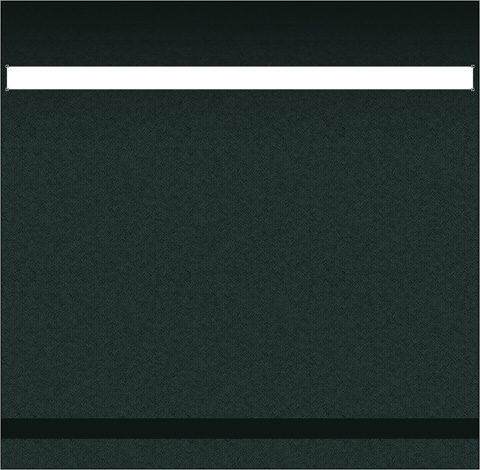
The Rectangle Tool (U) is helpful in drawing a thin stripe on the lowest part of the picture. The element’s color is #0F1715
Using the same instrument, it’s possible to represent the menu’s panel, reserved for the site’s header.
Apply the next parameters by making a mouse click on the layer we work with on the layers’ panel.
Blending Options>Gradient Overlay
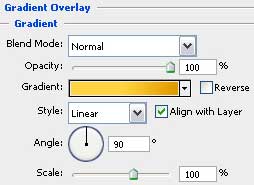
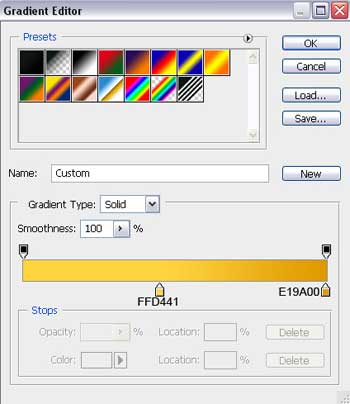
Gradient’s parameters:
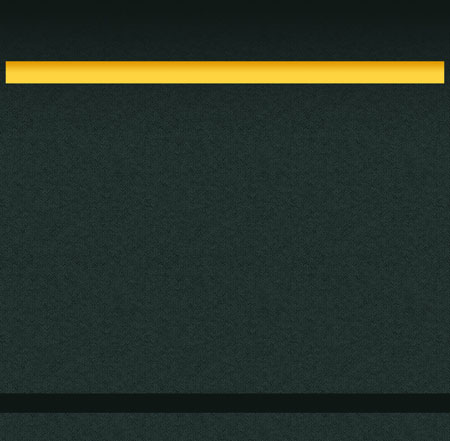
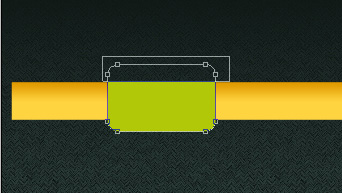
Use the Rounded Rectangle Tool (U) with a radius of 10 px to draw on the menu’s panel a button. Next stage we should hold on Alt button while using the Rectangle Tool (U) and cut out the unnecessary elements. 


Web designers
04/09/2009
Cool design with refreshing look to make someone ‘s day as sunny as sunflower.
rich
09/09/2009
nice job ,
very creative
kartit
26/10/2009
Very nice tutorial Thanks a lot , keep it up!
Club Penguin Secrets
12/11/2009
Very nice and clear tutorial. I am going to try it now with some modifications. thanks alot for the effort!
dare2go
19/12/2009
Looks very nice – BUT
absolutely not what you want for a website!!! Everything is in form of graphics, which SEARCH ENGINES cannot read. You need text on a web page in order to get spidered (and a good page rank)with any search engine. And don’t start with ‘alt text’ – it will never replace decent text. PLUS: copyright 2007 – do you really want to change/update this image every year to keep it current? Or are you planning to design a new site every year?
Web pages done by designers usually look very good, and work very badly – sorry to say so
admin
19/12/2009
@dare2go
article was posted in February 13th, 2008
Gajanand Sharma
16/01/2010
It is very nice.
Regards
Nanovor
24/01/2010
Very nice and clear tutorial. I am going to try it now with some modifications. thanks alot for the effort!
ram
22/03/2010
it is very useful for us.,.,thank u
shrijan
11/04/2010
thanks for share i am always hungry this kinda tut
Suman
08/07/2010
Great post… very much helpful for the beginners
SHISHUPAL SODHA
14/08/2010
Hi,
thnx in advance
i have viewed your tutorial that’s fantastic i like it but you have not explained that what to do after the complete design(i mean to say that how to make an HTML page)
honey
15/09/2010
….i want a step by step process on how your webpage created
peterp
26/09/2010
may i use that pattern for commercial use?
M.MAJID
21/10/2010
THIS IS A GOOD TUTORIAL ,BUT I AM A BEGINNER SO FOR ME THE MANUAL PART IS HARD TO MANAGE , HOW YOU SPLIT THE MENU BAR INTO EQUAL PARTS AND HOW DO YOU DELETE THE UPPER PART FROM THE ROUNDED RECTANGLE
PLEASE DO HELP
mehdi
27/10/2010
really tanks it was pertty good
τρακτερ
05/12/2010
It is awesone
Olajide Tobun
16/02/2011
Cool, but could you please compile the whole tutorial into a pdf file.
houman
04/05/2011
It is awesome,thanx
starker01
24/05/2011
?Nice tutorial to make good layout
rajesh
04/07/2011
hi thanks i learn somthing
ashish sanap
27/07/2011
Very nice!!!
I want to make such a beauty web site.
amrew
04/12/2011
very nice
dinesh kuamr
16/12/2011
very very nice dear
Muddaser
30/01/2012
wow i made it “same” its amazing thanks for sharing