
Girl Sense Photo Effects
Work with the colors, several possibilities of correcting the drawbacks of the model’s figure. We’ll learn to apply some of the program’s filters too.
Let’s begin working by creating a new file (File>New) with 768×1024 px and 72 dpi. Next select the Paint Bucket Tool (G) to make the new layer of black color.

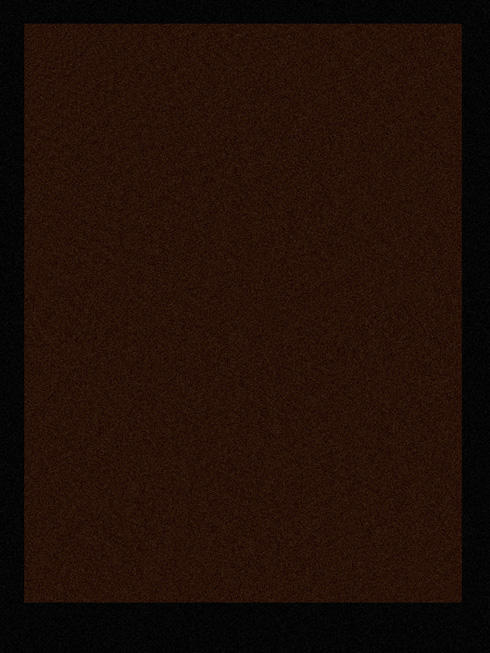
Apply for the background’s layer this option: Filter>Noise>Add Noise 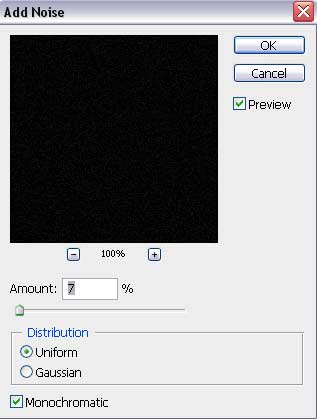

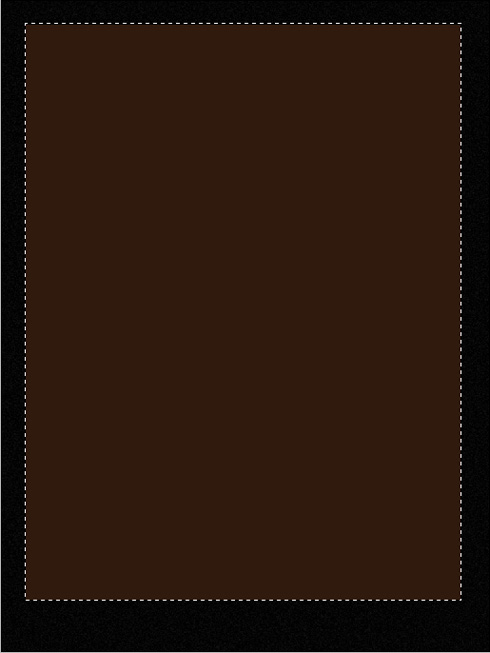
On a new layer (Create new layer) we’ll select the Rectangular Marquee Tool (M) to mark out the necessary zone on the picture, reserved for working with it. After that we’ll apply the Paint Bucket Tool (G) to paint this zone with the next color – #301A0D

Select for the last layer the same filter used on the black background, choosing the same parameters too:
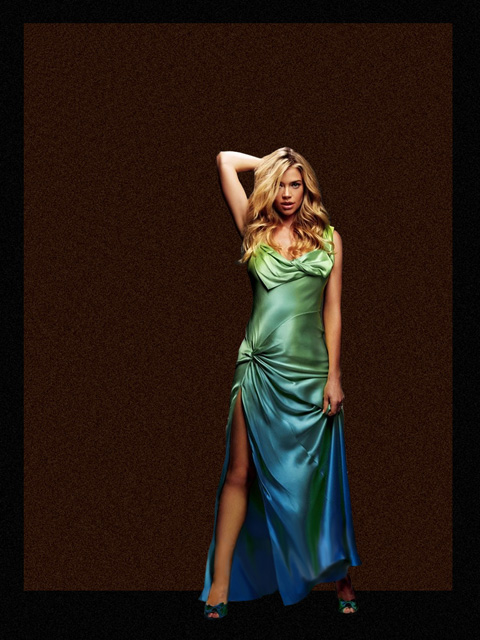
Now we have to find in Internet a photo of a girl, like the next one:
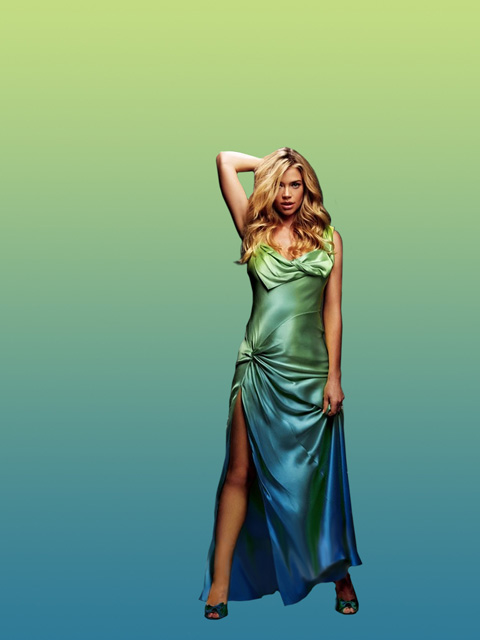
Cit it out and insert it on our picture:
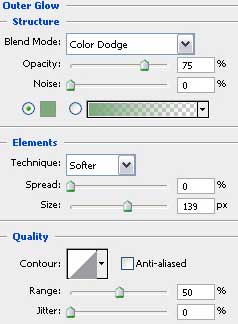
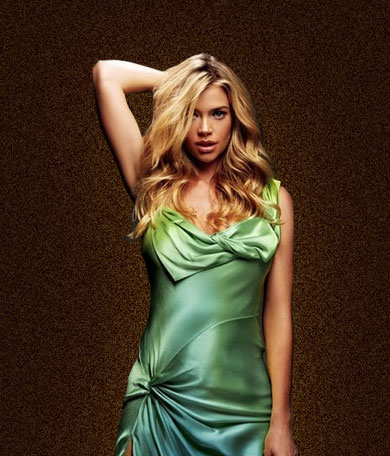
Select the next demonstrated parameters for the girl’s layer: Blending Options>Outer Glow
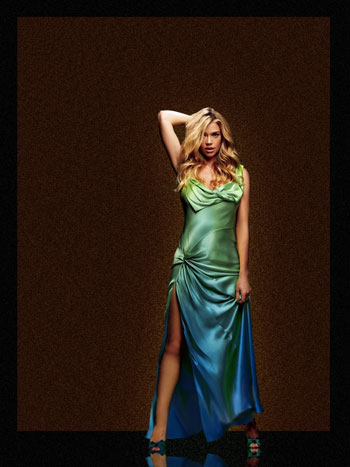
Next we’ll try to draw the girl’s shadow – reflection. This operation needs copying the girl’s layer and choosing Free Transform selection for turning around the copy, placing her reflection under her legs.
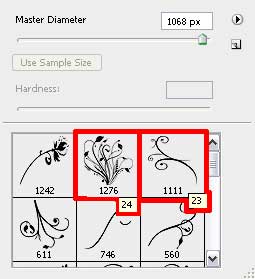
Now we have to download out of Internet a several sets of ready to use brushes in Adobe Photoshop, named Floral, BRUSHES_01_02, Brushes – curls
Attention! If you see an ornament on the picture made with the brush and it is turned over, it means that this brush is applied on a separate layer and turned over with Free Transform selection.
Next create a new layer (Create new layer) and choose the Brush Tool (B) out of the set Floral. The brush’s color is white and its layer should be placed on the layers’ panel lower than the girl’s layer.

Comments