
Brilliant Shine Background
Follow the steps of this tutorial to add a brilliant shine effect to your text.
Let’s create a new file (File>New) that would have 1024×768 px and 72 dpi. Next select the Paint Bucket Tool (G) and give the new file black color.

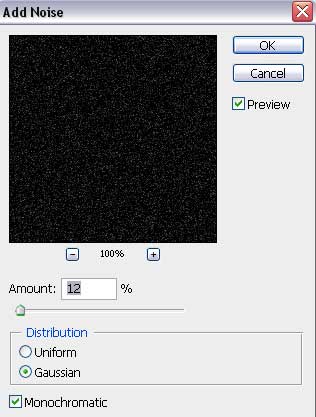
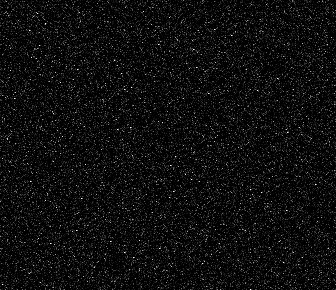
Apply on the made layer the next parameters: Filter>Noise>Add Noise


Make a copy of the last made layer, using for it these shown parameters: Blending mode-Color Dodge
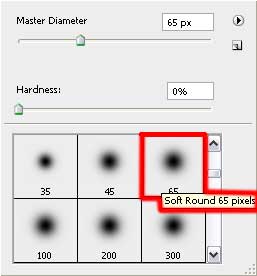
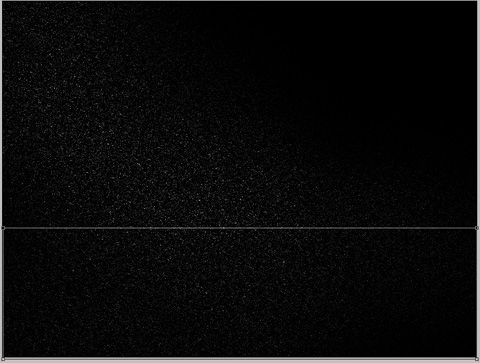
Merge Down layers by pressing the Ctrl button for marking the appropriate layers and press then CTRL+E. Make a click on the same layer on Add a Mask option that may be found on the lowest part of the layers’ panel. After that we should use the Brush Tool (B) with Opacity of 30% and black color to clean out the below demonstrated zones on the picture.

Take the Rectangle Tool (U) to give our picture a kind of surface
Use the next parameters on this layer by making a mouse click on the processed layer on the layers’ panel: Fill 0%
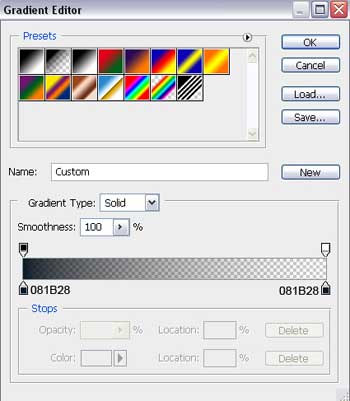
Blending Options>Gradient Overlay
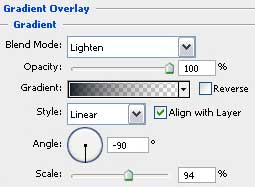
Gradient’s parameters:

Comments