Categories

Partners
  • Website Templates

  • Adobe Photoshop Tutorials

  • Bittorent and
    Google desktop programs

  • Free Stock Photos and Images

  • Adobe Photoshop Tutorials

  • Photoshop, Flash, 3dsmax tutorials
  • Search


    Advanced Search


    Subscribe

     »  Adobe Home  »  Adobe Photoshop  »  Designing  »  Happy easter postcard
    Happy easter postcard
    Published  03/19/2008 | Designing
       
    Happy easter postcard - part 1


    This tutorial will show you how to activate some of the 'Easter Eggs' in Photoshop.

    Begin your work by creating a new file (File>New), having 1280x1024 px and 72 dpi. There will be selected the Paint Bucket Tool (G) to fill the new file with the color #F8E183

    Create Happy Easter Postcard in Photoshop CS3

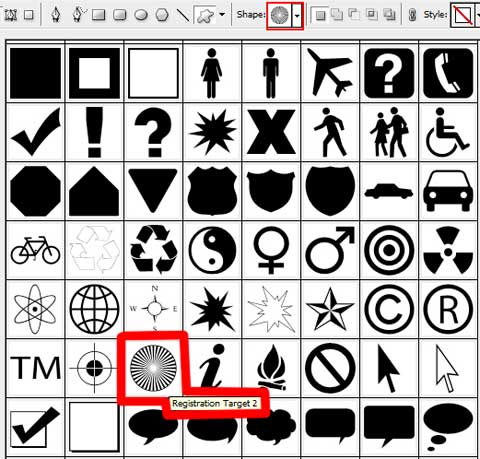
    Next step select the Custom Shape Tool (U) to represent the rays on the picture of the color #EBA341

    Create Happy Easter Postcard in Photoshop CS3 

    Create Happy Easter Postcard in Photoshop CS3 

    Create Happy Easter Postcard in Photoshop CS3

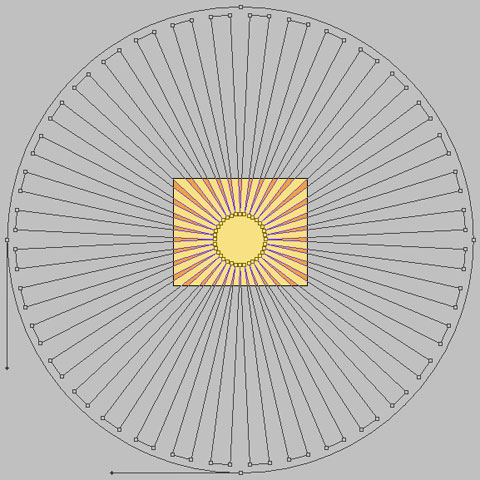
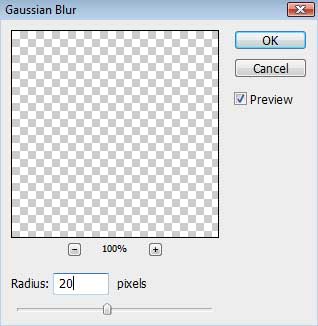
    Create a new layer, marking out the rays’ layers and the new one, holding on CTRL button (press CTRL+E) Select the next solution for the combined layer: Filter>Blur>Gaussian Blur

    Create Happy Easter Postcard in Photoshop CS3 

    Create Happy Easter Postcard in Photoshop CS3

    Choose the Ellipse Tool (E) to draw the sun, colored with #FFF7A4

    Create Happy Easter Postcard in Photoshop CS3

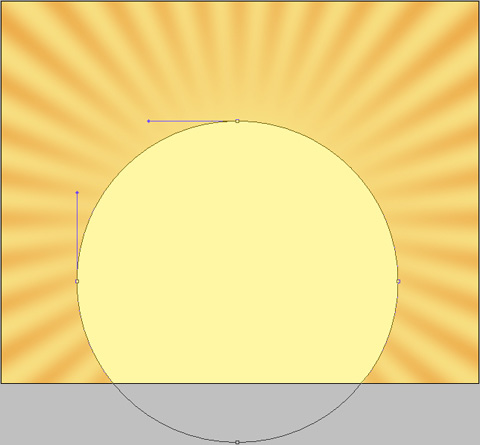
    Blending Options>Outer Glow

    Create Happy Easter Postcard in Photoshop CS3 

    Create Happy Easter Postcard in Photoshop CS3

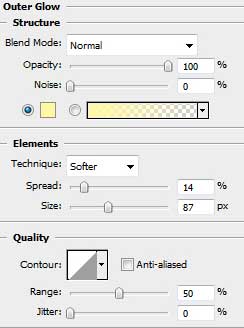
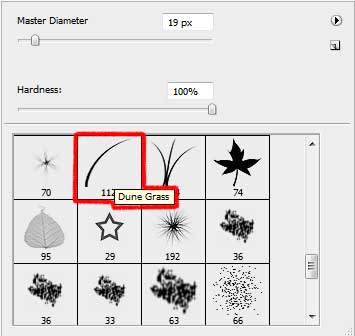
    Create a new layer on which should be applied a standard brush of black color for drawing the horizon.

    Create Happy Easter Postcard in Photoshop CS3 

    Create Happy Easter Postcard in Photoshop CS3

    Share/Save/Bookmark

    Create Happy Easter Postcard in Photoshop CS3 Happy easter postcard
    This tutorial will show you how to activate some of the 'Easter Eggs' in Photoshop.

    WiFiReview.com - your guide to the wireless world