
Easter gifts
Since it’s nearing Easter time, here’s how you can use some Photoshop techniques to paint Easter Eggs.
Start working by creating a new file (File>New) that would have 1280×1024 px and 72 dpi.
Next we shall use the Rectangle Tool (U) to represent the background of the picture we’ll get in the end.
Set the next indicated parameters on the layer we work with by making a click on this layer under process on the layers’ panel: Blending Options>Gradient Overlay
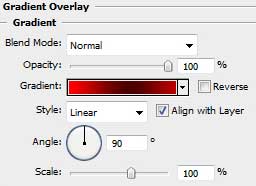

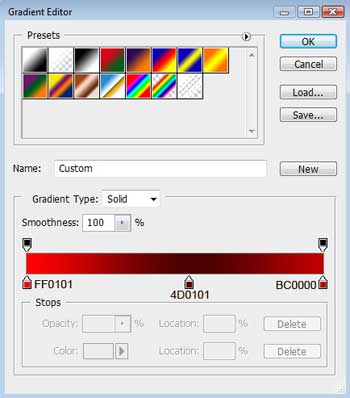
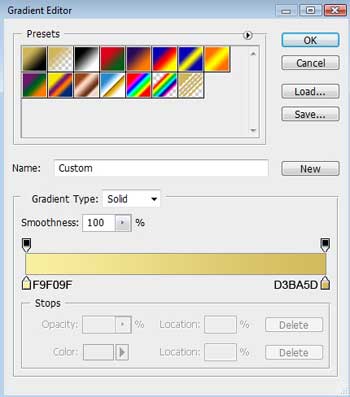
Gradient’s parameters:

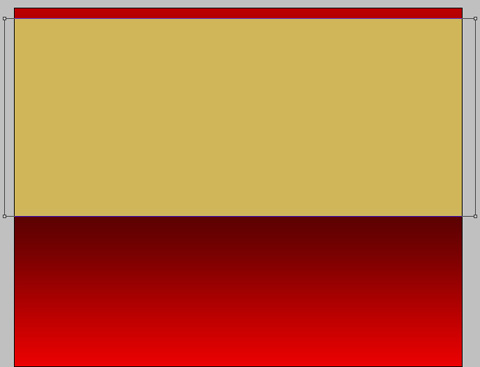
Using the same instrument, try to represent the next layer belonging to the background too. The layer’s color is #D0B659.
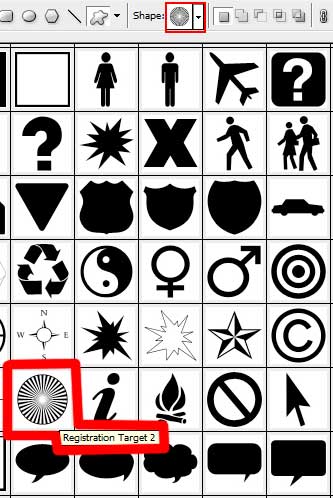
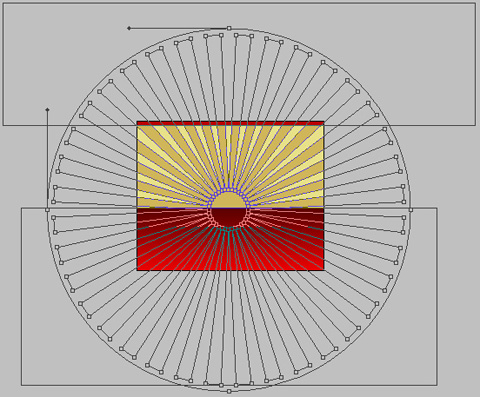
Next we’ll select the Custom Shape Tool (U) to represent the rays on the picture. Press Alt button while using the Rectangle Tool (U) to erase the unnecessary rays from the top and from the bottom.
The layer’s parameters: Blending Options>Gradient Overlay
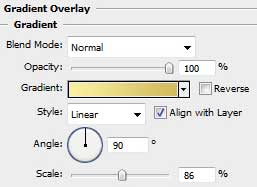
Gradient’s parameters:

Using the Rectangle Tool (U), try to represent the flatness along the upper edge.

Comments