

Abstract art wallpaper
In this tutorial you’ll see how to create blue abstract wallpaper for your desktop. Also, these techniques in Adobe Photoshop CS3 are suitable as design elements used in web design, printing design, etc.
Start working by creating a new file (File>New), having 1600×1200 px and 72 dpi.
Then select the Rectangle Tool (U) to draw the background of the picture we want to get.
Choose the next shown parameters for the first made layer by making a mouse click on the processed layer on the layers’ palette.
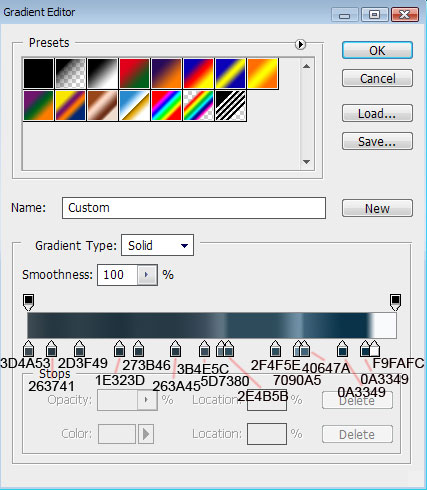
Blending Options>Gradient Overlay
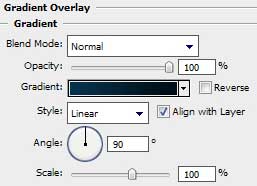

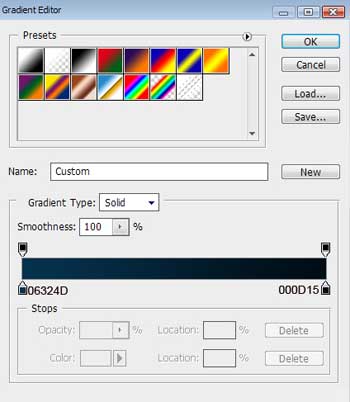
Gradient’s parameters:

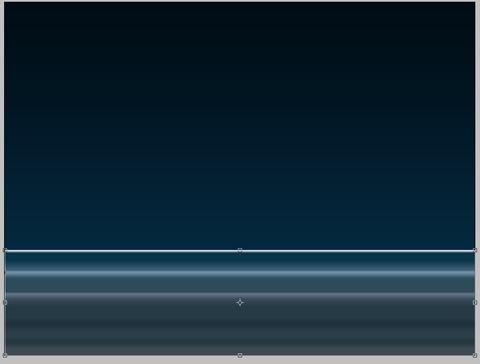
Use the same tool to represent the main basis for the picture’s elements which will be adjusted later:

The layer’s parameters: Fill 0%
Blending Options>Gradient Overlay 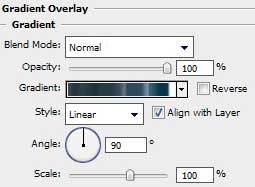
Gradient’s parameters:

Using the Free Transform selection, we must narrow down by vertical position the same layer till getting 30 degrees.
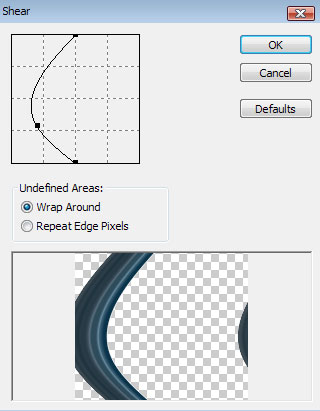
Create a new layer. Mark it out, so mark the previous layer and press CTRL+E. Next we shall rotate the canvas (Image>Rotate Canvas>90 CW) and only after that the Free Transform option will be used for situating the layer on the central part of the picture.

The same layer should get the next option: Filter>Distort>Shear
Comments