
StarCraft Interface Design
April 4, 2008 | 0 comments
A really in-depth tutorial on how to create a nice StarCraft style wallpaper.
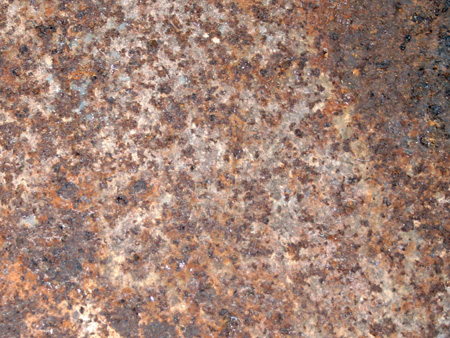
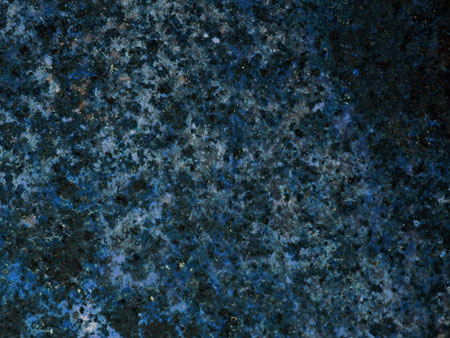
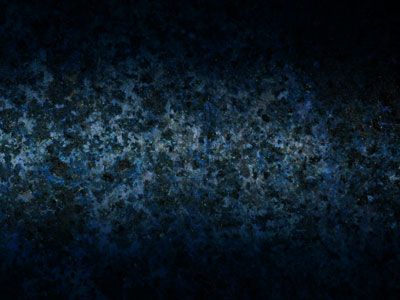
Download out of Internet the same texture we have below, that must have 1600×1200 px and 72 dpi.
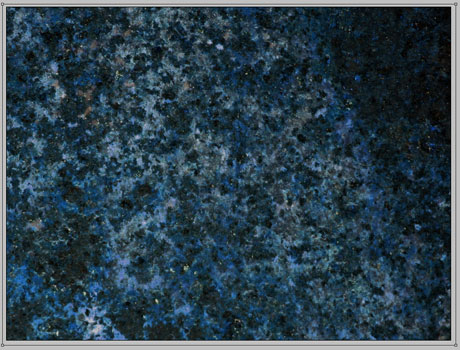
Press CTRL+U 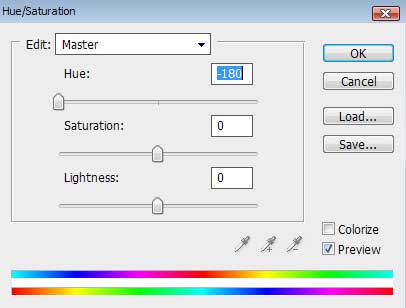
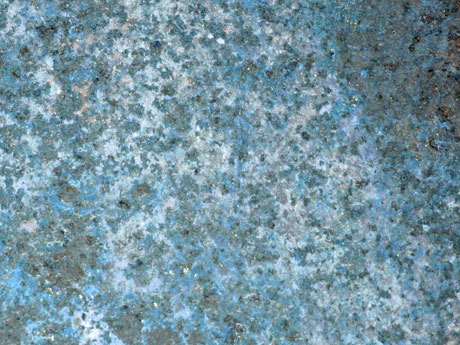
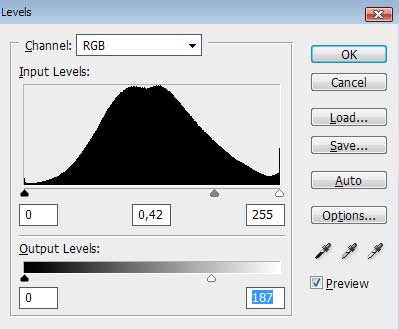
Next press this combination of buttons: CTRL+L

It’s time to use the Rectangle Tool (U) to dark out the picture’s edges:
Set the next parameters for the last made layer by making a mouse click on the processed layer on the layers’ panel: Fill 0%
Blending Options>Gradient Overlay
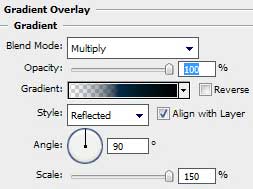
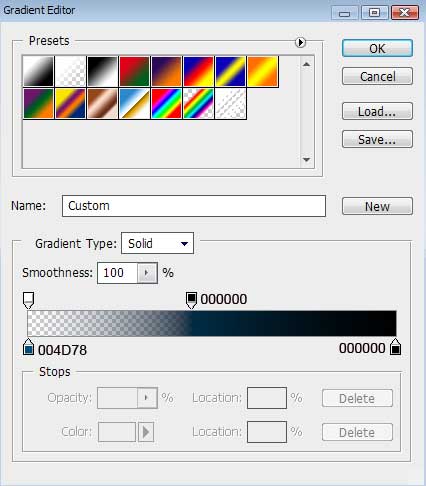
Gradient’s parameters:
Comments