
Company Logo Design
Want a nice logo to represent your site? This simple tutorial shows you how to make a cool logo design.
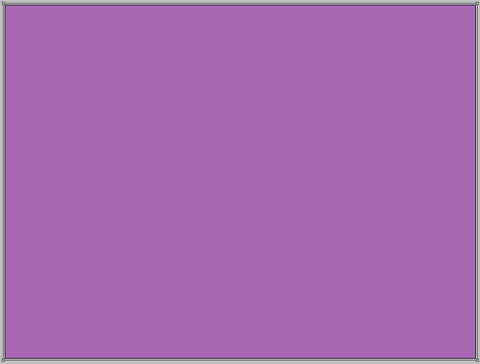
Begin your work by creating a new file (File>New) with 1600×1200 px and 72 dpi. Using the Paint Bucket Tool (G), fill the new file with the color #A666B2

Find in Internet a pattern like this one and open it in Adobe Photoshop program.

Edit>Define Pattern
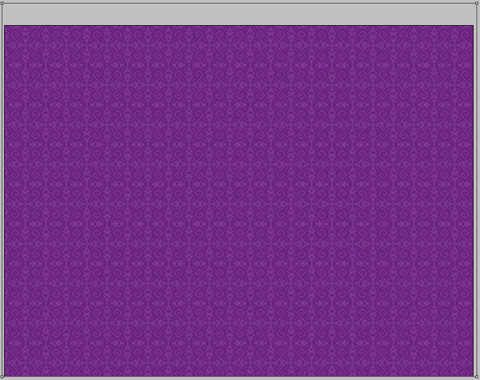
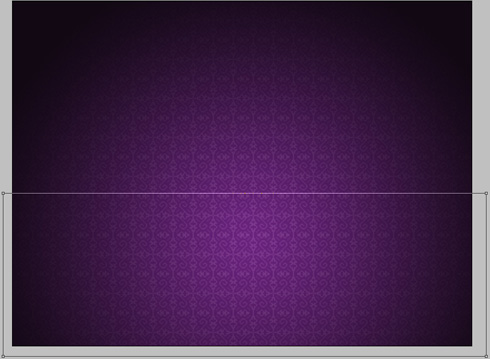
Next select the Rectangle Tool (U) to continue representing the background of our picture.

Select next parameters for the last layer by making a mouse click on the layer we work with on the layers’ panel: Blending Options>Pattern Overlay 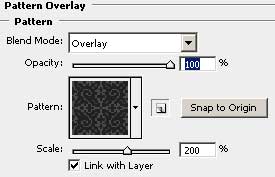

Select again the Rectangle Tool (U) to dark out the edges of our picture.
The layer’s parameters: Fill 0%
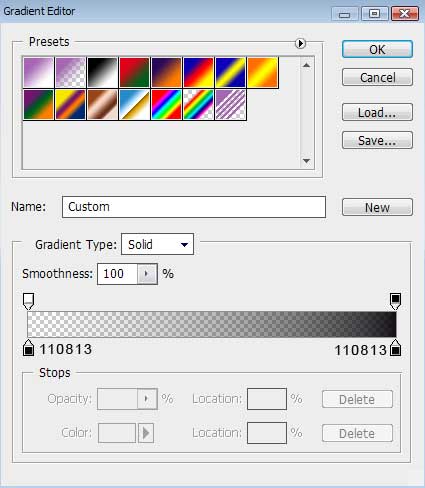
Blending Options>Gradient Overlay
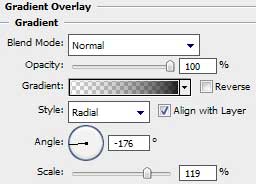
Gradient’s parameters:

Using the Rectangle Tool (U), it’s possible to draw on this stage a kind of flatness.
The layer’s parameters: Fill 0%
Blending Options>Outer Glow 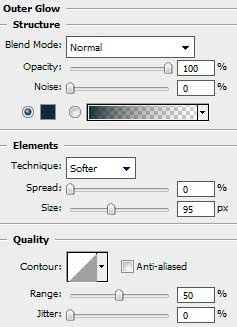
Blending Options>Gradient Overlay 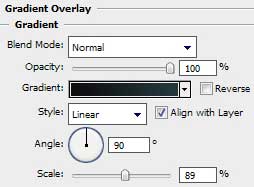
Comments