
Art wallpaper with stars
April 10, 2008 | 0 comments
A really in-depth tutorial on how to create a nice abstract art style wallpaper.
Inspired from Summer Collection – Wallpaper by Benjigarner
Begin by representing the file that would have 1600×1200 px and 72 dpi.
Choose after that the Rectangle Tool (U) to draw the background of the picture to be.

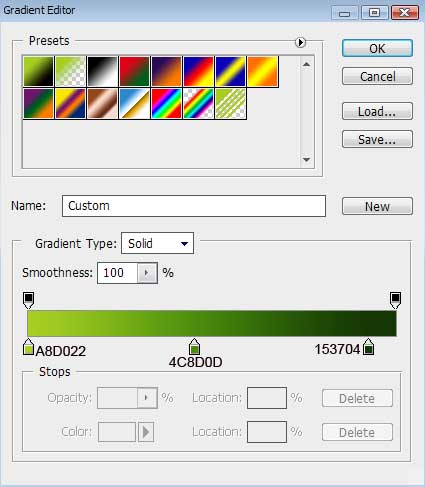
Select next parameters for the made layer by making a mouse click on this layer on the layers’ palette.
Blending Options>Gradient Overlay 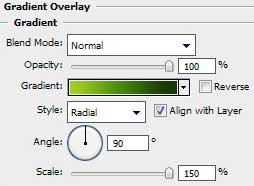

Gradient’s parameters:

Use the last applied tool to draw this time a vertical stripe.
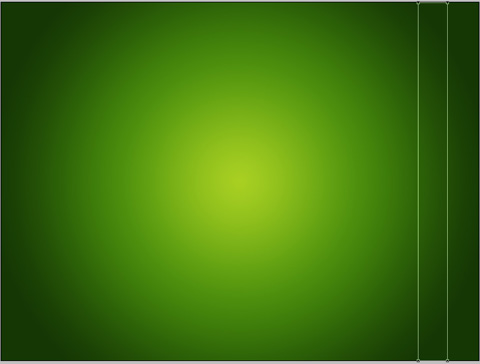
The layer’s parameters: Fill 0%
Blending Options>Gradient Overlay
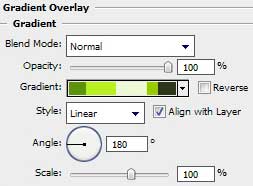
Gradient’s parameters:

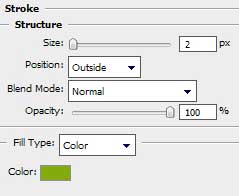
Blending Options>Stroke

Comments